The dust collection on Festool’s TS 55 track saw is bar none – EXCEPT for all those cuts near an edge (then it’s basically non-existent). This quick attachment puts an end to the issue, once and for all.
So listen, if you’ve ever had an encounter with one of these track saws, you’d quickly make two observations. Number one: how good the dust collection is.

Number two: well, contradictingly – just how disappointing the dust collection can be in a few situations.

Such as the inevitable beginning of every sheet goods project that requires removing the beat-up factory edge.
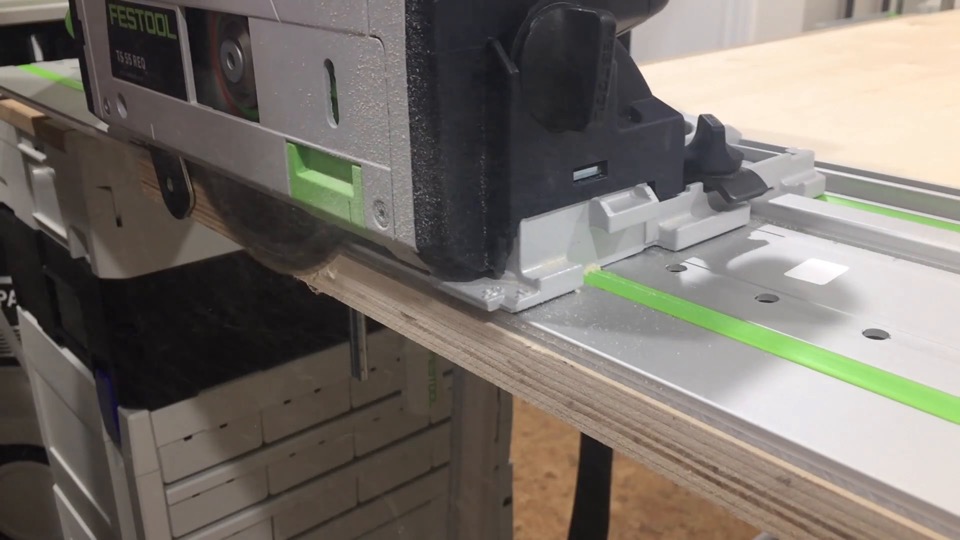
You see all that sawdust?

Even with this monstrosity on, I still see it. First world problems, you hear me? No really, can you can me? If you have doubts, spend a few minutes truing up the edges on a stack of MDF and then let me know what you think.

Anyway, I’m not one to complain so that leaves no choice but to fix this.
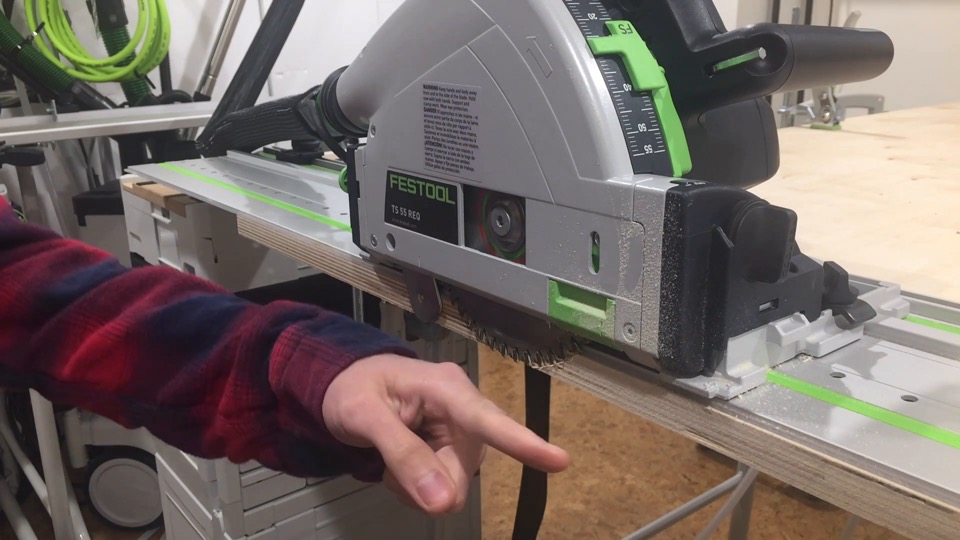
The issue is that when a circular saw blade makes contact with the edge of a workpiece, the majority of debris spews out the front and side rather than being channeled into the magical sawdust teleportation chamber.
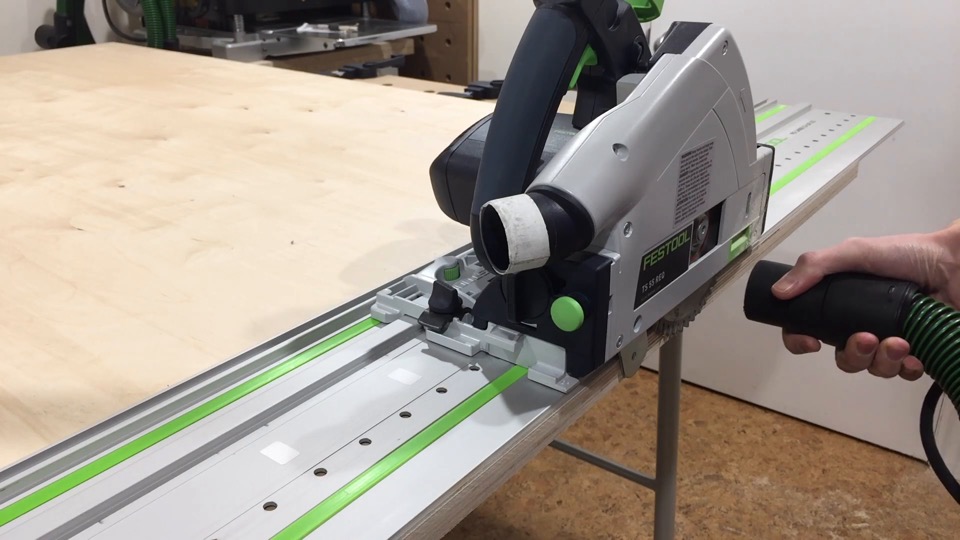
The solution I have in mind, is to move the dust extraction hose closer to the source of sawdust production.
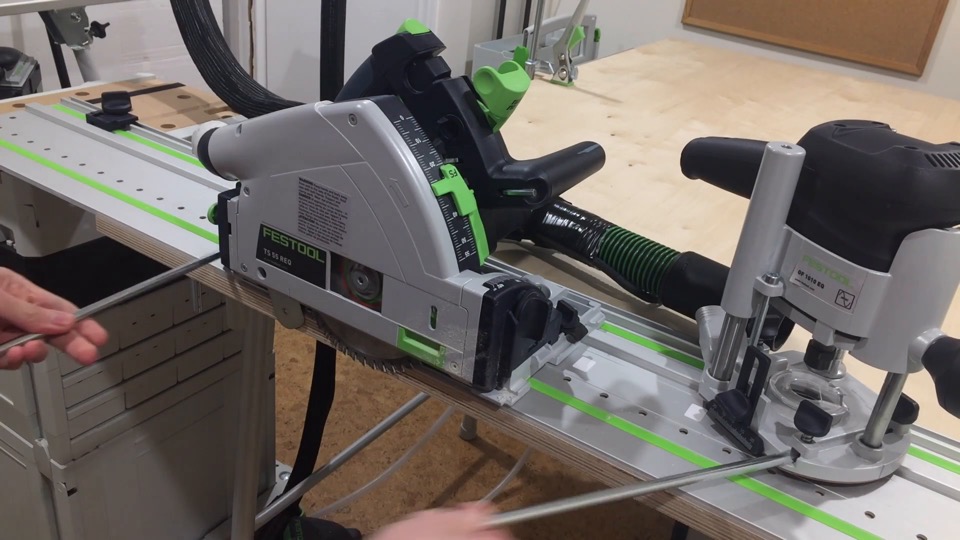
After pondering how to actually connect this attachment to the saw, I decided to check if the accessory rods from my router fit the track saw. And they did!
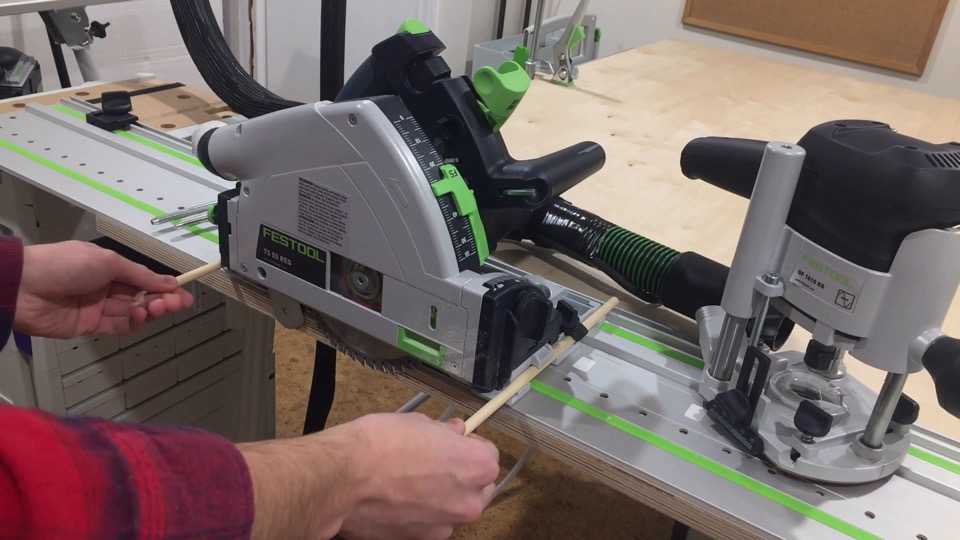
Although, appropriately sized wooden dowels should also do the trick. Basically you want something close to 8mm or 5/16-inch in diameter.
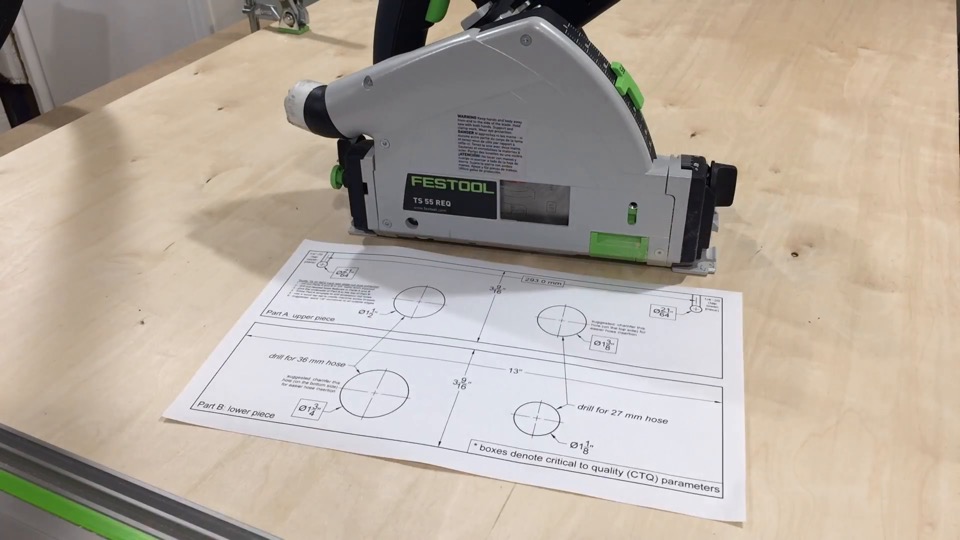
I’ve got my design drawing ready to go.
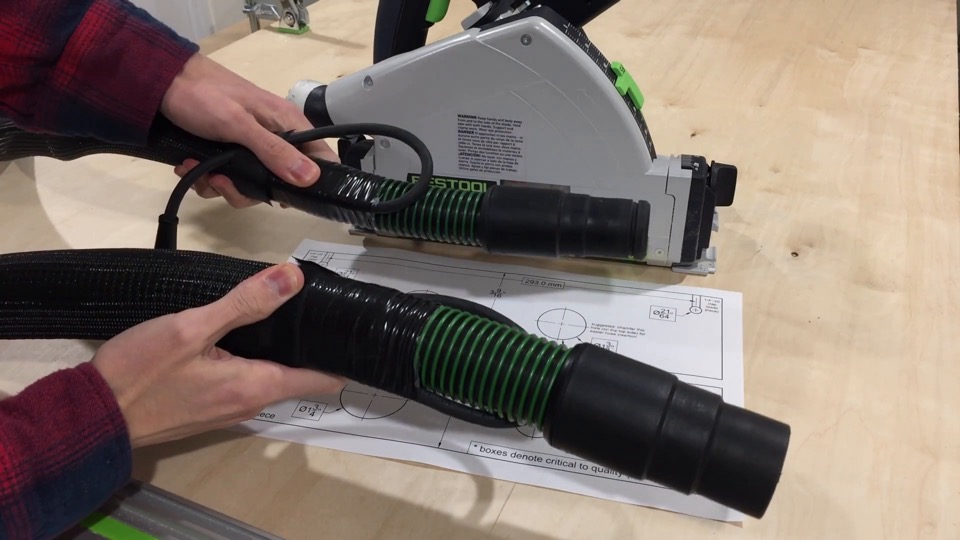
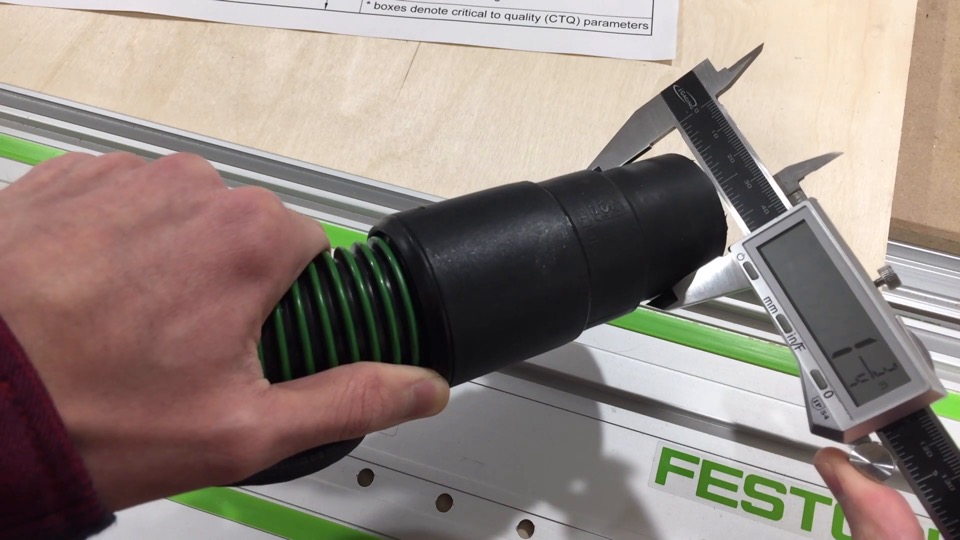
Out of the box, it will accept both standard Festool hoses. If you’ve got something different, it shouldn’t be difficult to adapt.
Just measure the hose end’s outer diameter, and pick a drill bit accordingly. You should still use the same center points from my drawing. Based on testing I believe to have found the optimal hose center.
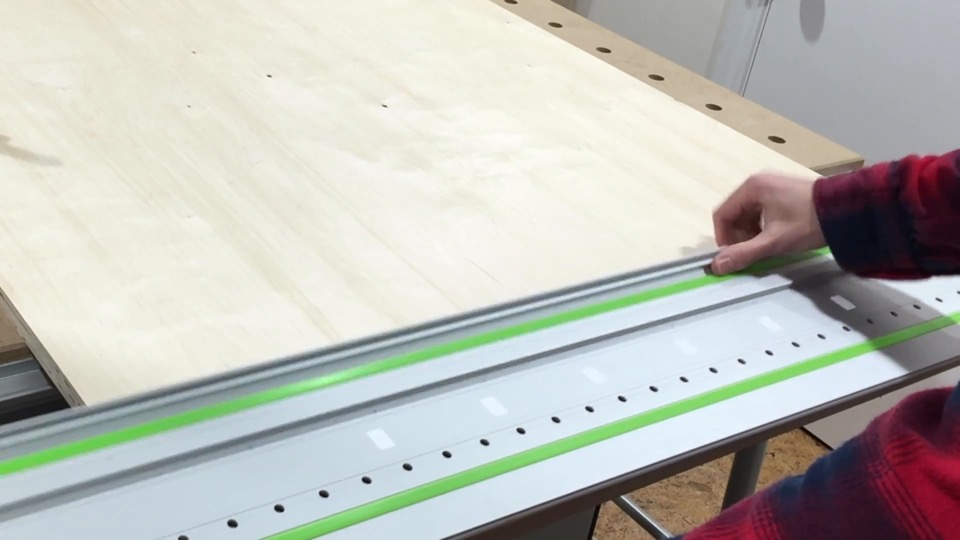
Now let’s dive to building this. Material is 3/4-inch baltic birch plywood.
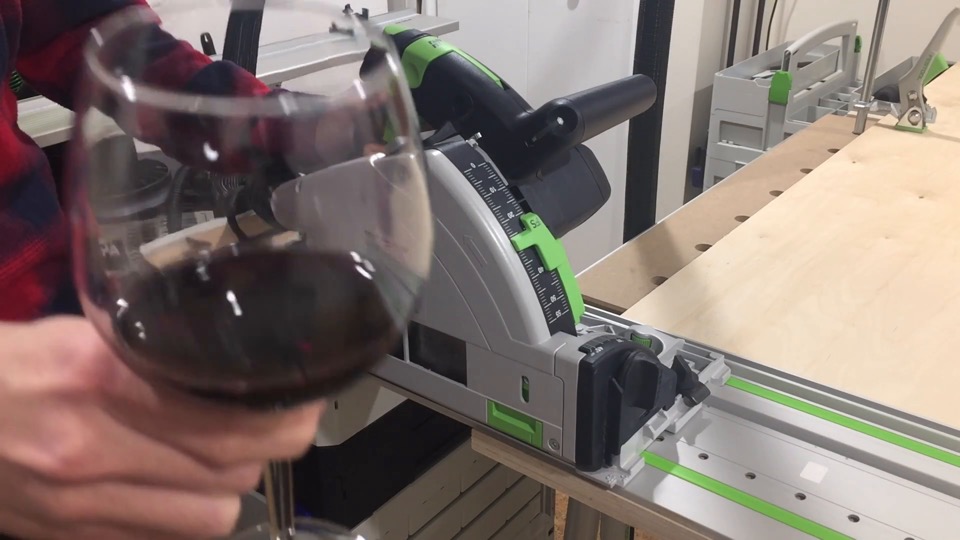
The first step, as you might guess is to remove the beat up factory edge. Here’s to this saw’s final uncontrolled production of sawdust.
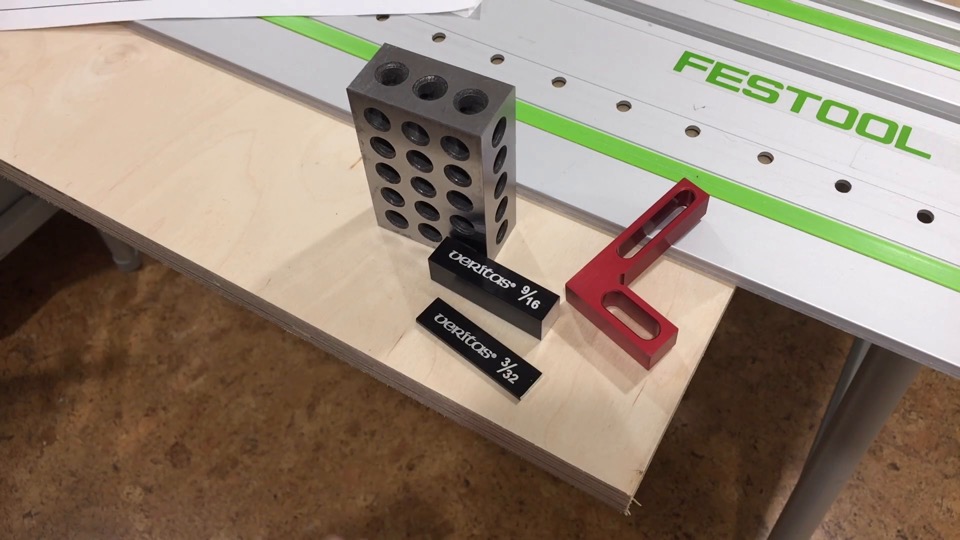
The plans call for a part width of 3 + 9/16-inch, I measure that out with setup blocks. Since my keeper piece will be on the open end of the track, I also factor in the saw blade kerf, in this case 2.2mm which is close enough to 3/32-inch.
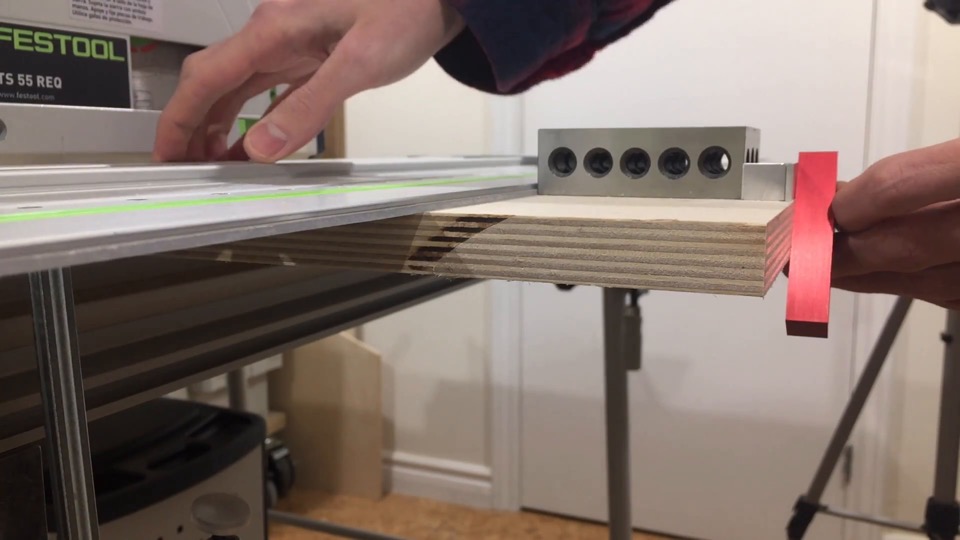
I get one end of the track in position, then repeat for the other side. I’ll double check that nothing moved around, then clamp down the track.
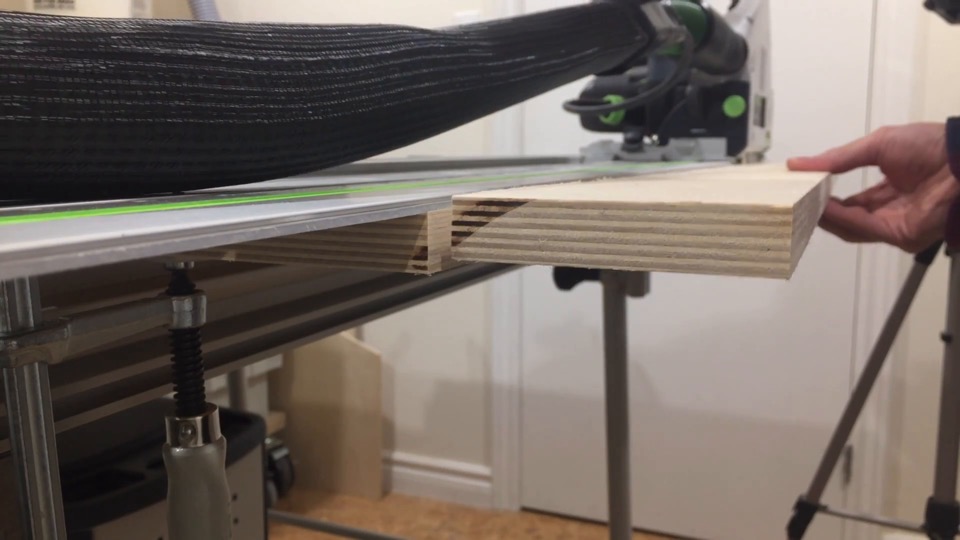
Now I can make the cut.
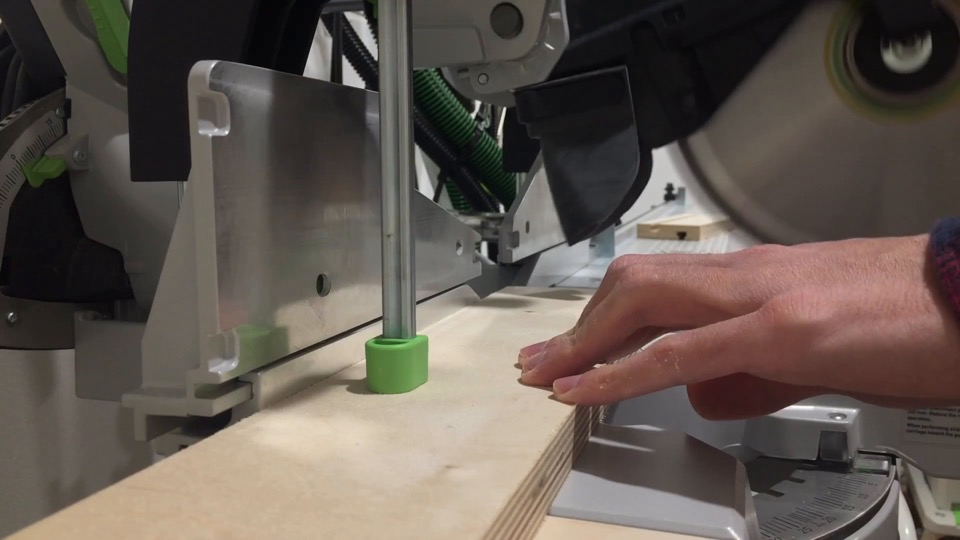
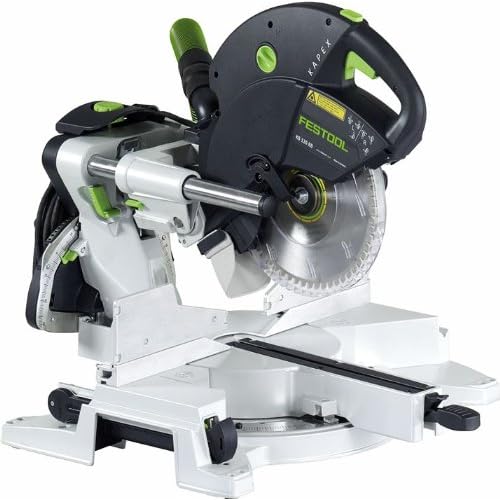
I take this strip of plywood to the mitre saw, and follow the same principles. Clean up the factory edge. Now I know what you’re thinking, but fortunately this saw has pretty good dust collection – even for this type of cut.
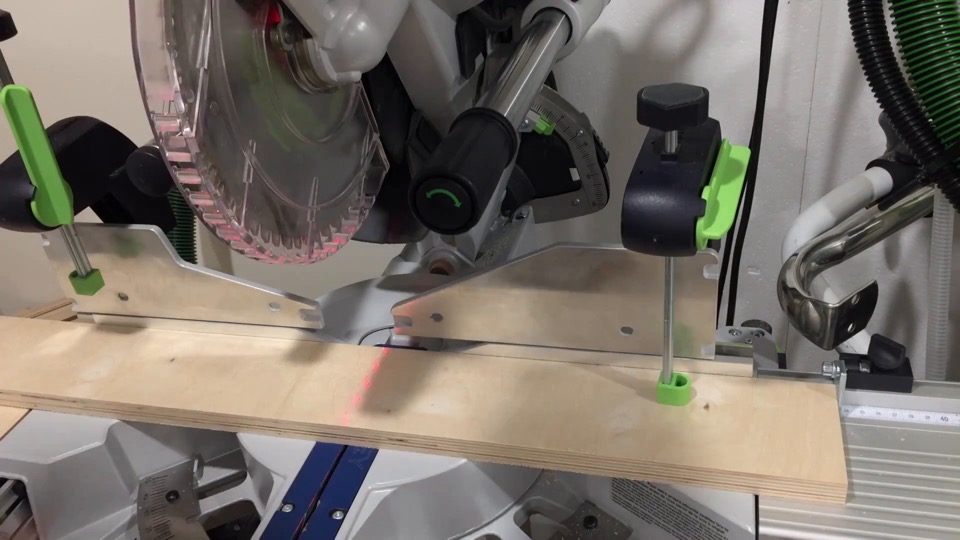
Next I set up a stop block, butt up that fresh cut edge, clamp down the material, and make the cut.
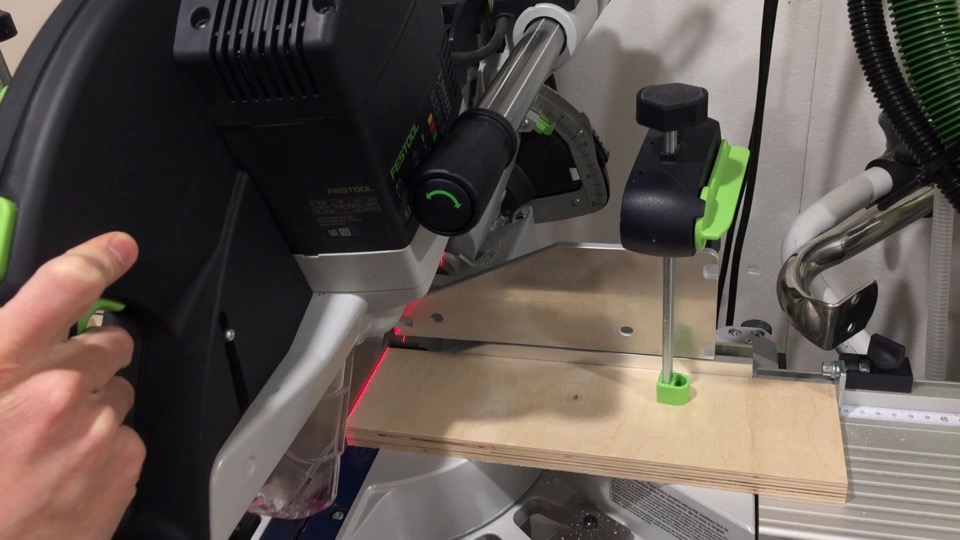
This process is repeated once more for the second piece.
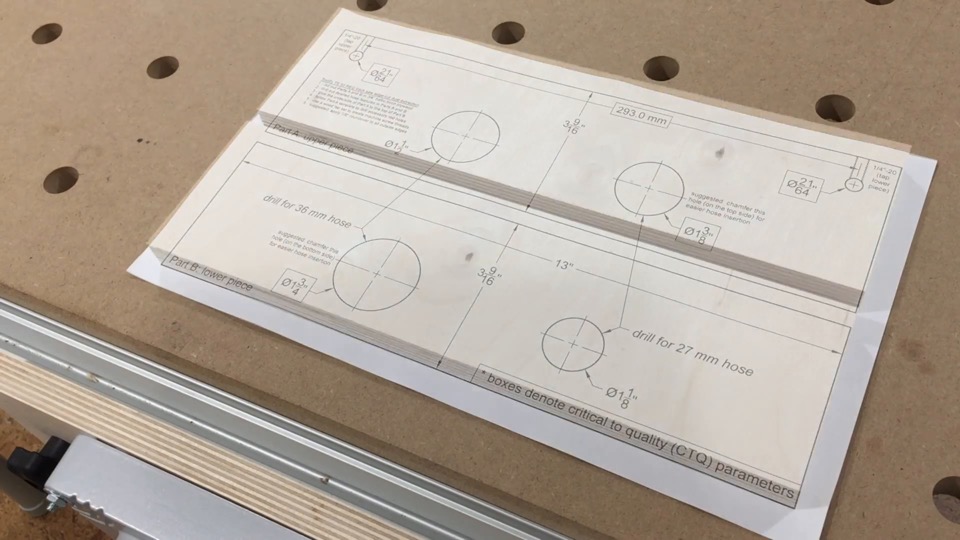
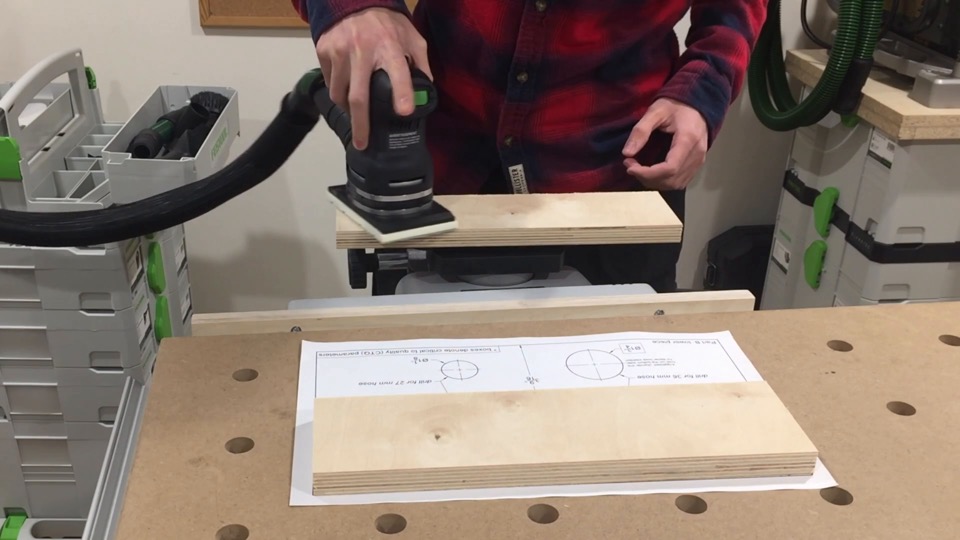
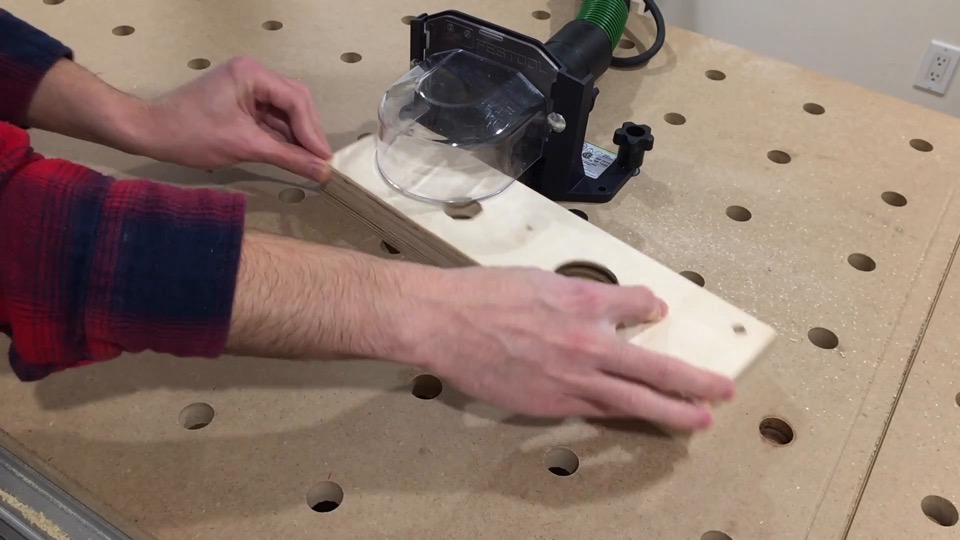
With the materials cut and dimensioned, I’ll take a minute to sand down the faces.
As you might imagine, it won’t be as much fun to do any sanding after the holes are drilled.
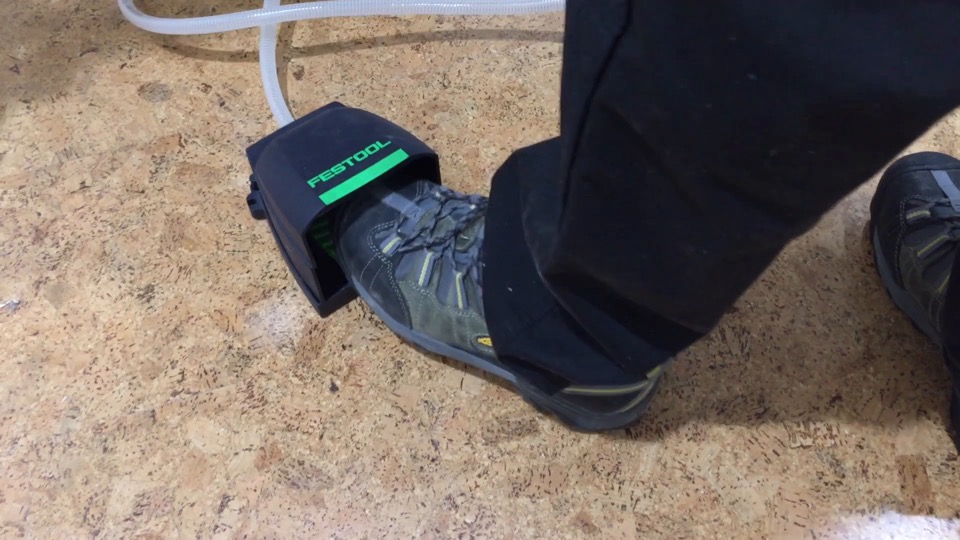
Namely, because my vacuum clamp won’t work.
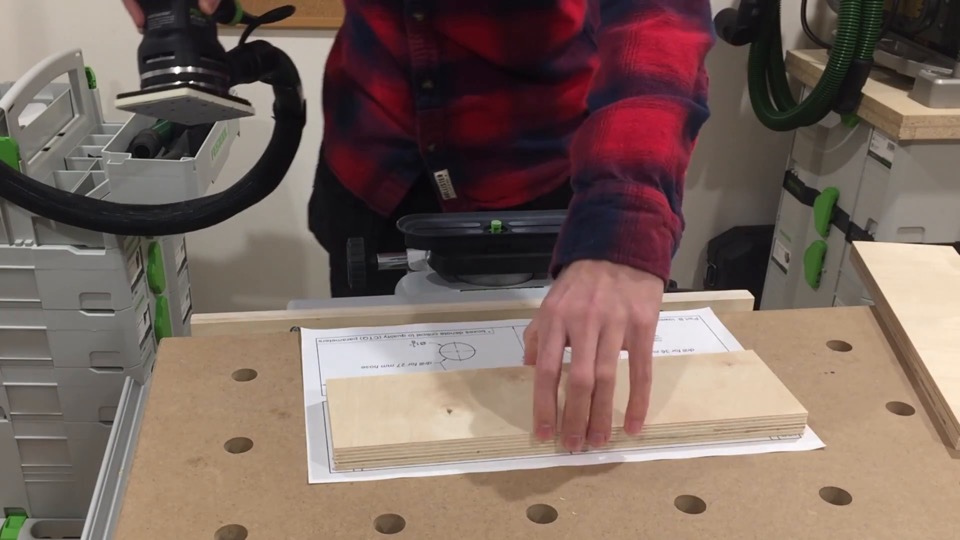
Alright, so you get the idea.
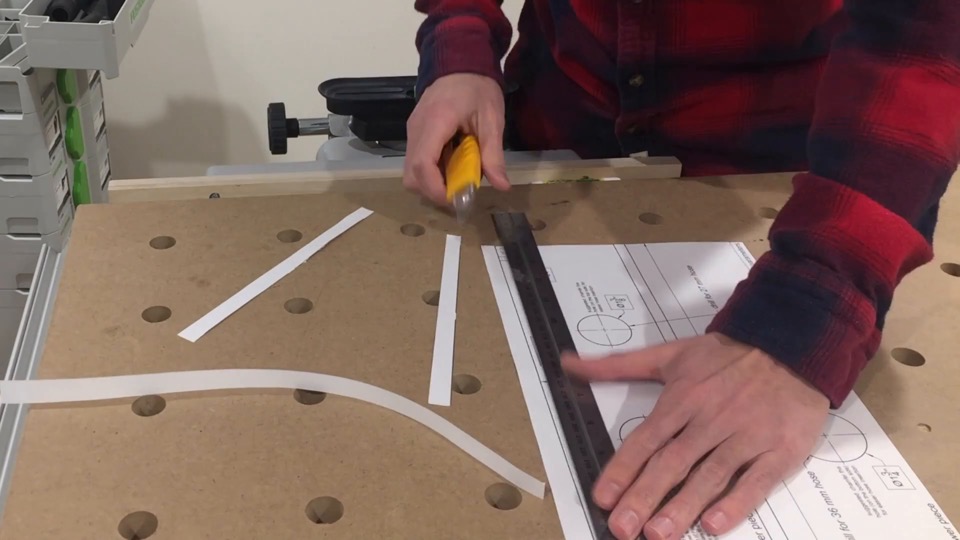
Next I’m cutting out the paper templates.
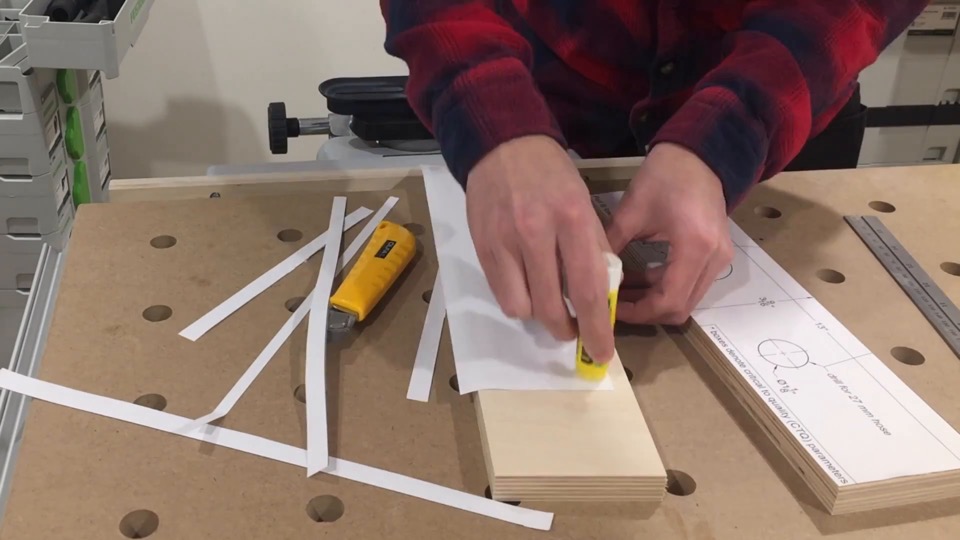
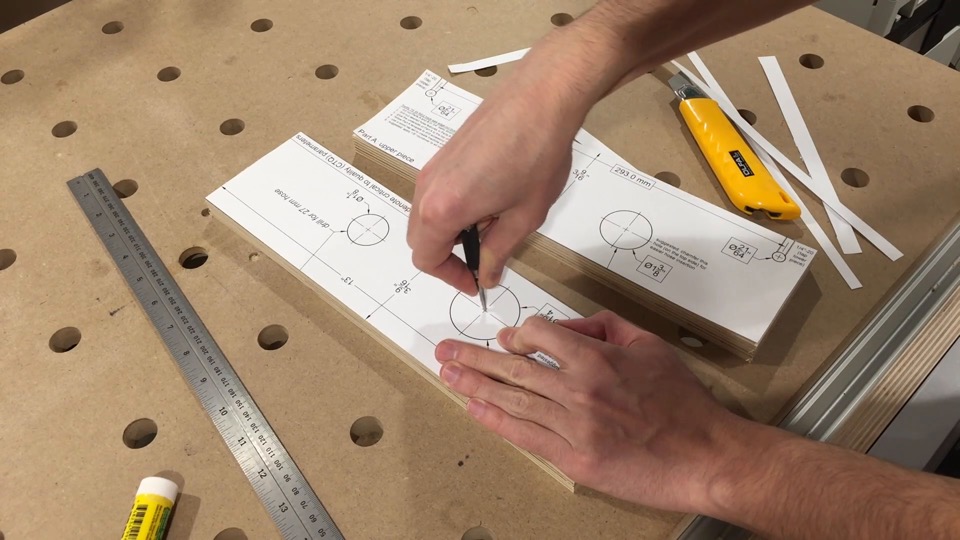
I’ll stick these onto the plywood parts.
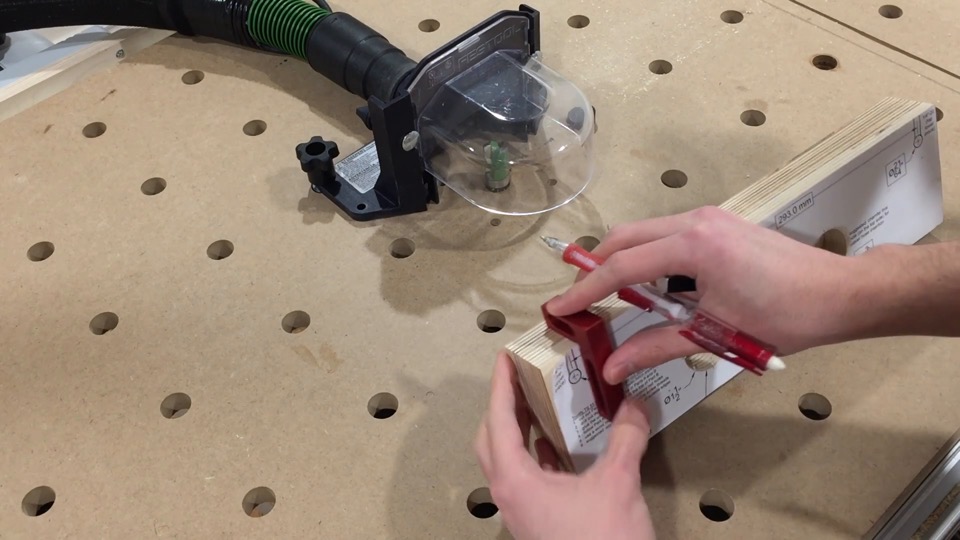
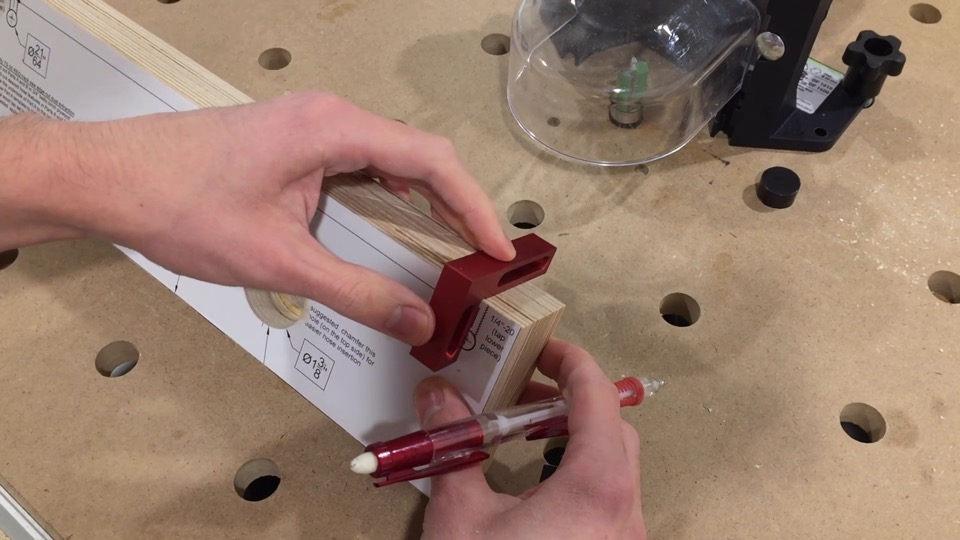
Following the drawings, I use an automatic punch to mark hole centers.
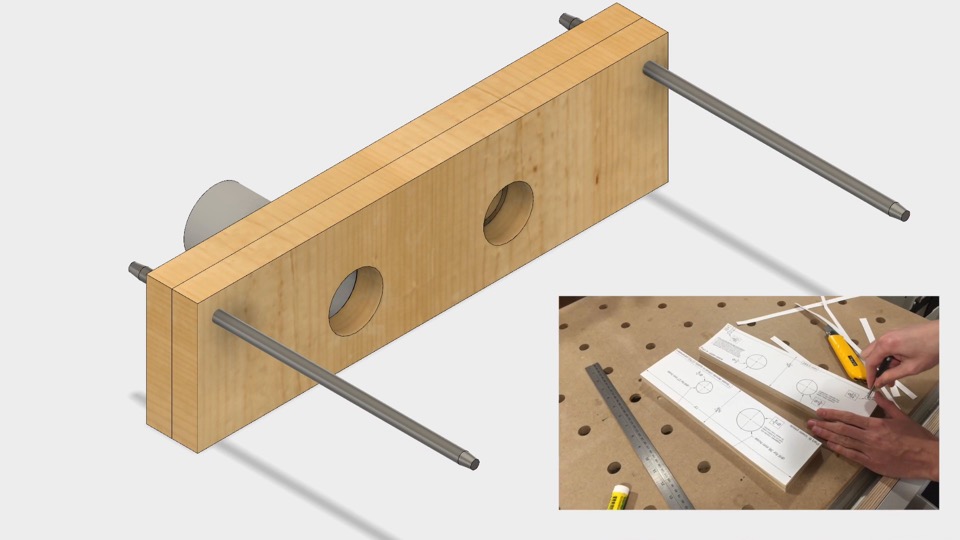
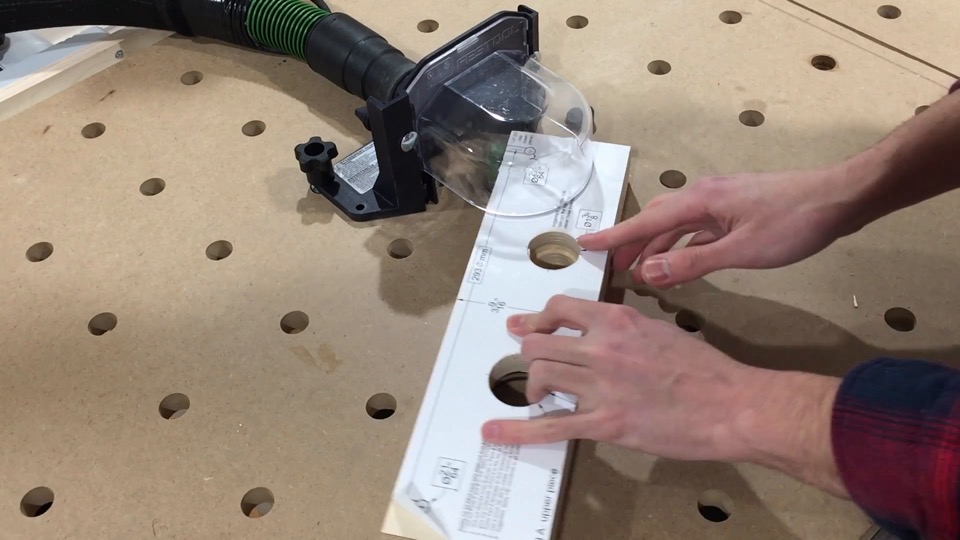
To elaborate, each hose channel consists of a pair of holes. When joined side by side, they creates a counterbore hole, otherwise known as a stepped hole. The large diameter opening is a friction fit for the vacuum hose, while the small diameter hole allows air to flow, but keeps the hose from sliding all the way through and into the blade. Finally, two small holes at the top corners are there to connect the attachment to the accessory rods on the saw.
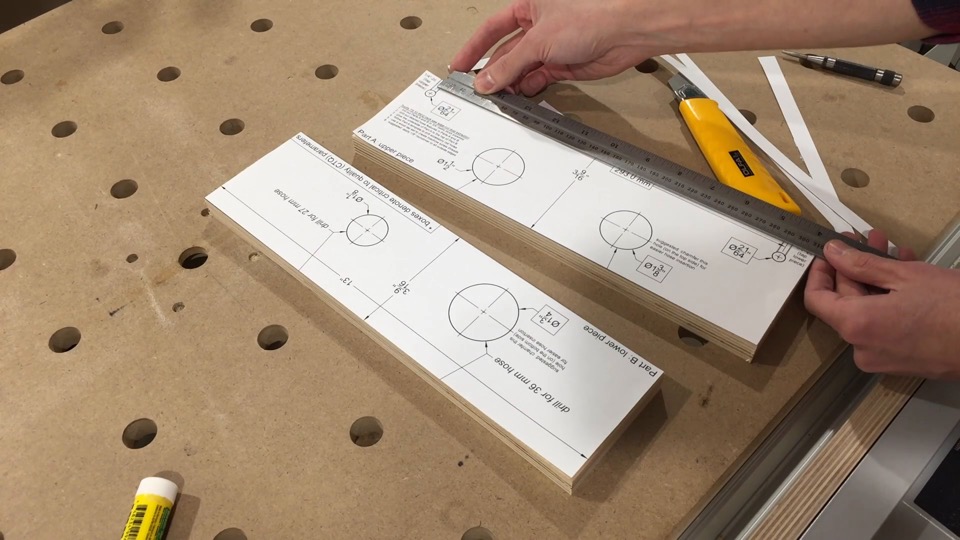
Although it may be a little late at this point, if you’re using my template it’s a very good idea to verify the center-to-center spacing between these two holes is exact. Per the plan, all dimensions in boxes are critical to quality.
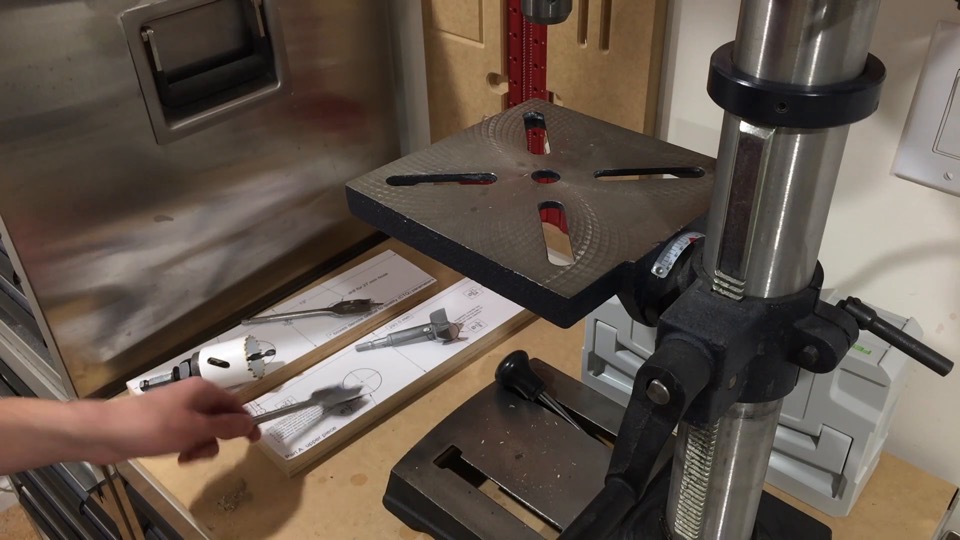
This project makes use of some odd diameter holes. I had to scour through my drill bits, but eventually found what I need. In my case that consisted of a forester bit, two spade bits, and a hole saw.
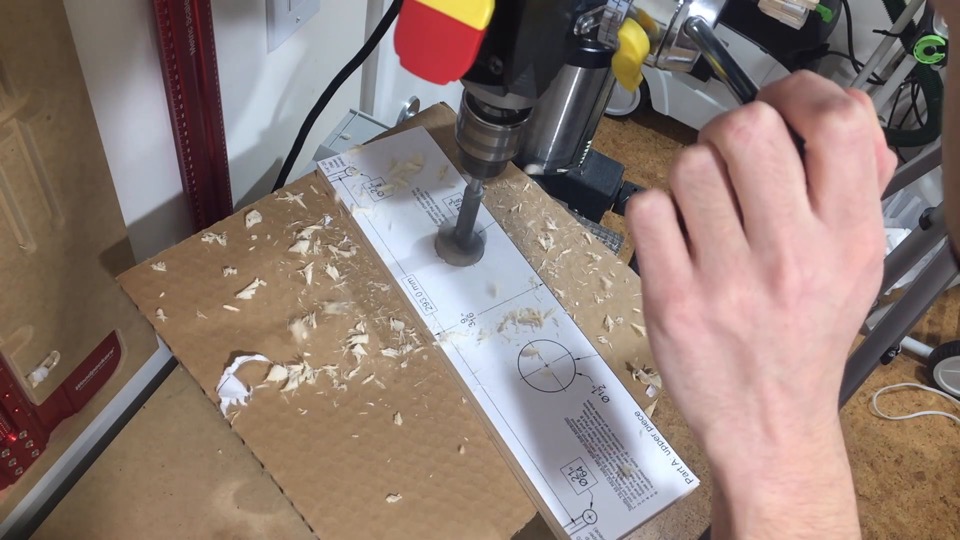
At the end, it doesn’t matter what kind of drill bit you’ve got, as long as it’s the called upon diameter.
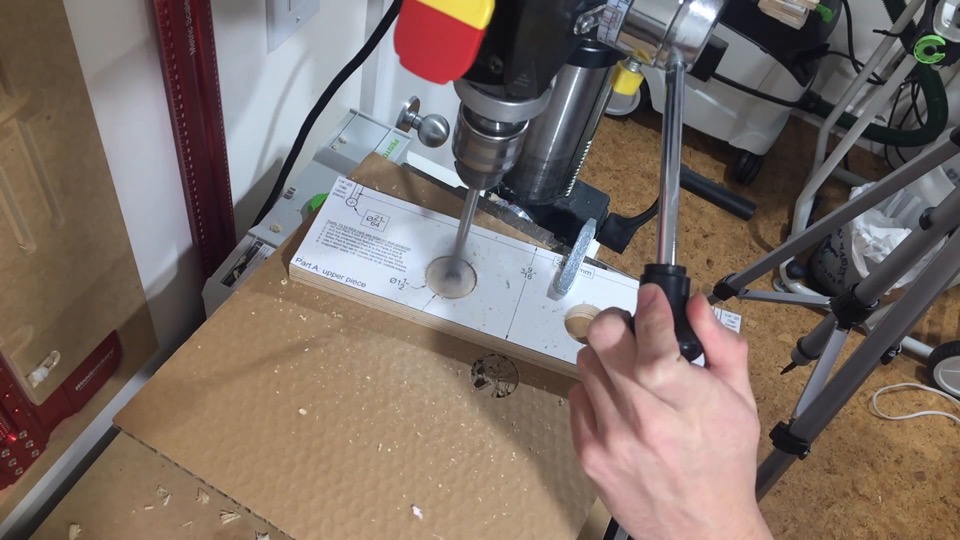
If in doubt, drill a test hole in some scrap and confirm it will be a good fit for your exact hose.
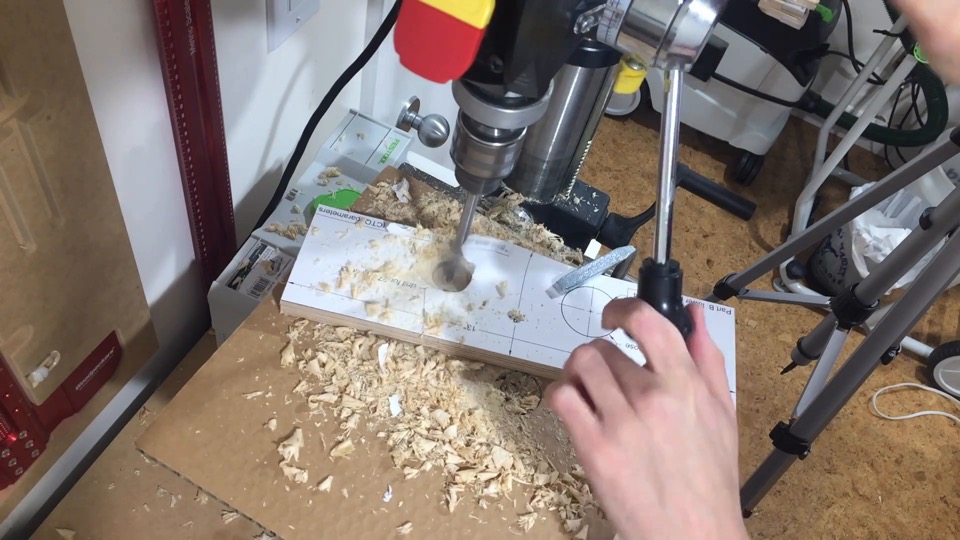
It should be self evident that if you intend to use only one type of hose with this accessory, you don’t have to create the second set of holes. However, in my case, I want to have the flexibility for multiple hoses, so I don’t get to skip a step.
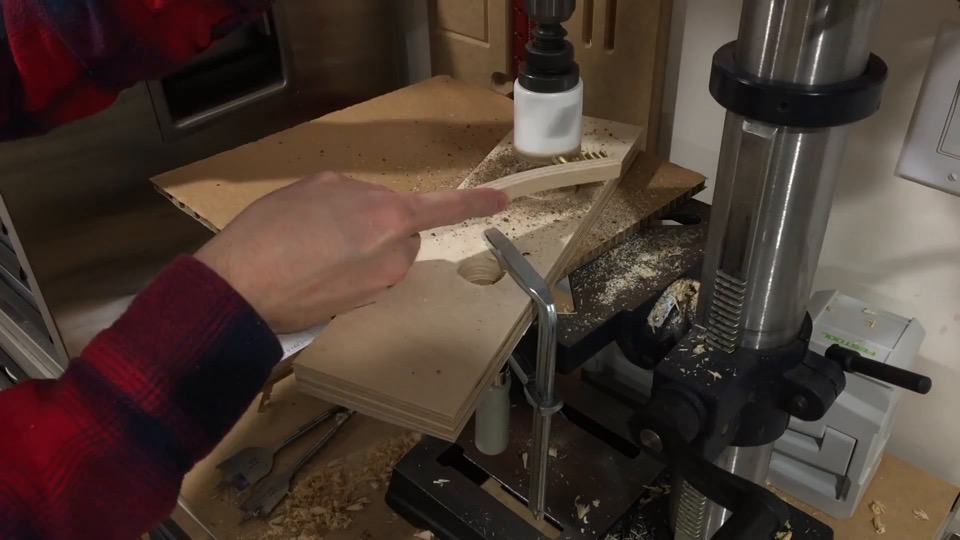
Times like this I really wish I had a had a spade or forester bit of this size. Hole saws and plywood never mixed well for me.
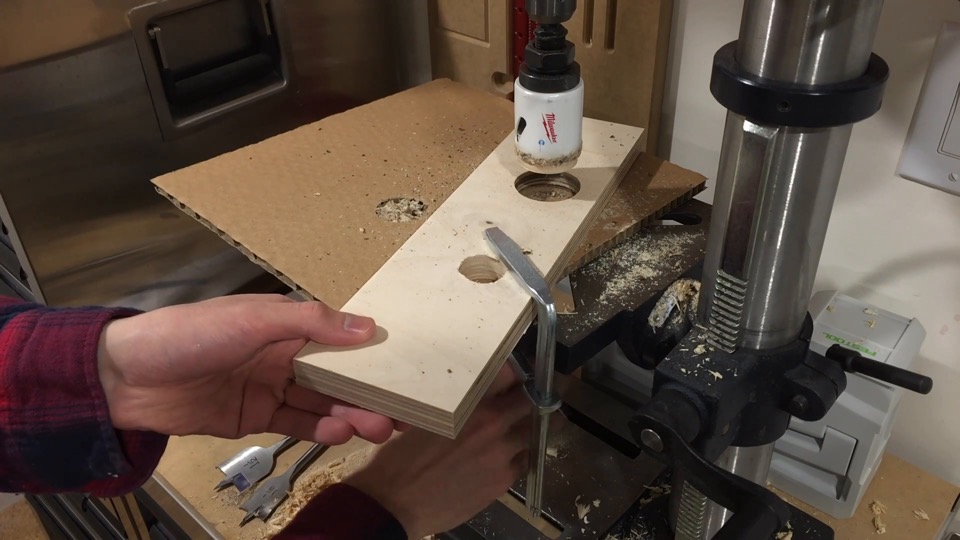
There we go. With that, it’s ready for the glue-up.
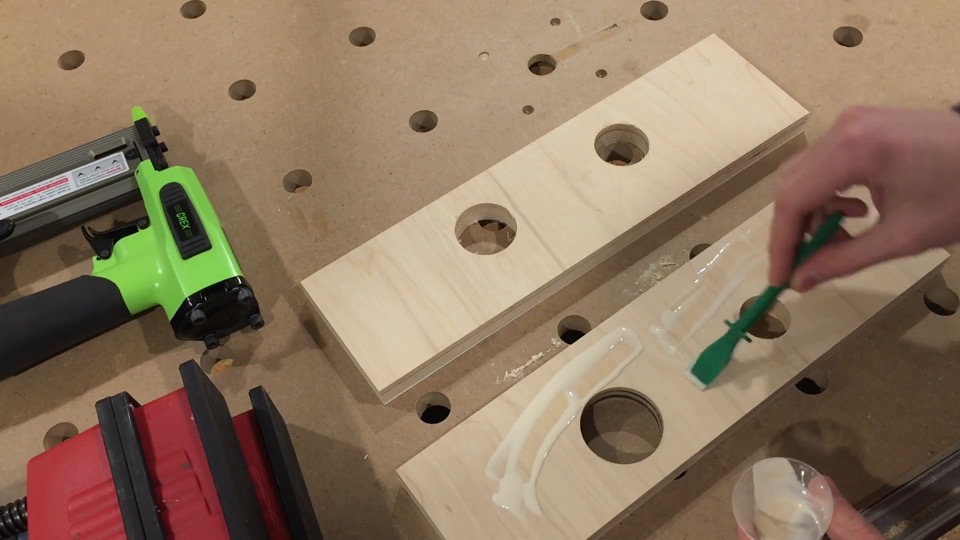
The idea is to glue the top of part B to the bottom of part A. It is at this point that I realized I need a larger glue spreader.
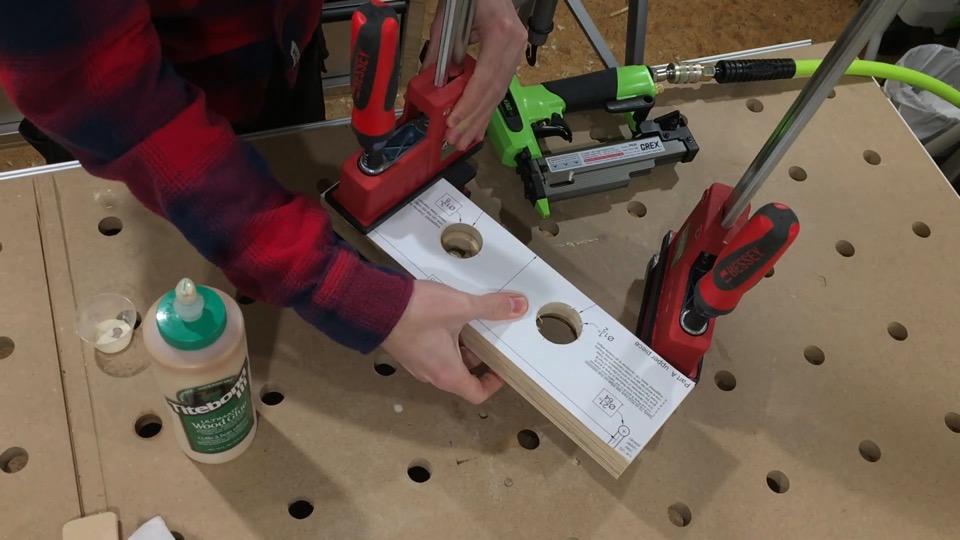
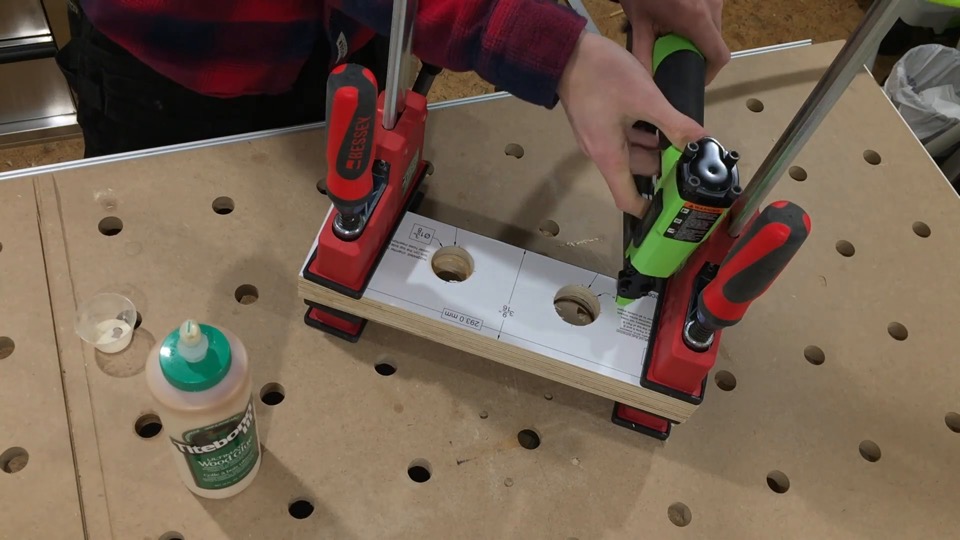
Into the clamps it goes.
For added measure, I tack on a few pin nails, but mostly because it’s fun to use a nail gun and I’ll shamelessly take every opportunity I get.
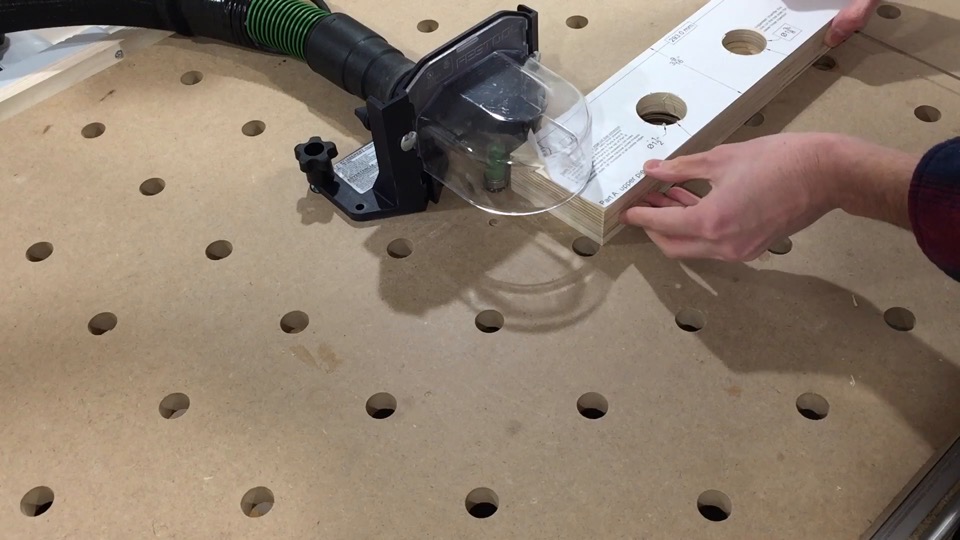
When I took the piece out of the clamps, I felt a slight misalignment of the two parts, so I’m going to correct that at the router table with a bottom-bearing flush trim bit.
This will get the edges matched and flush. I trim from both sides in case there’s anything protruding either way.
If you’ve been keeping track, you’d be right to wonder when the accessory rod holes will be drilled. The answer is soon. First I have to transfer the hole center marks onto the top edge. The design makes use of threaded holes and thumbscrews to ultimately secure itself onto the rods. If you’re building this, note the position of the thumbscrews. At one end, it’s on the near side.
At the other end, it’s on the far side. If you don’t follow the plan, access to these screws may be blocked off when the accessory is installed on the saw.
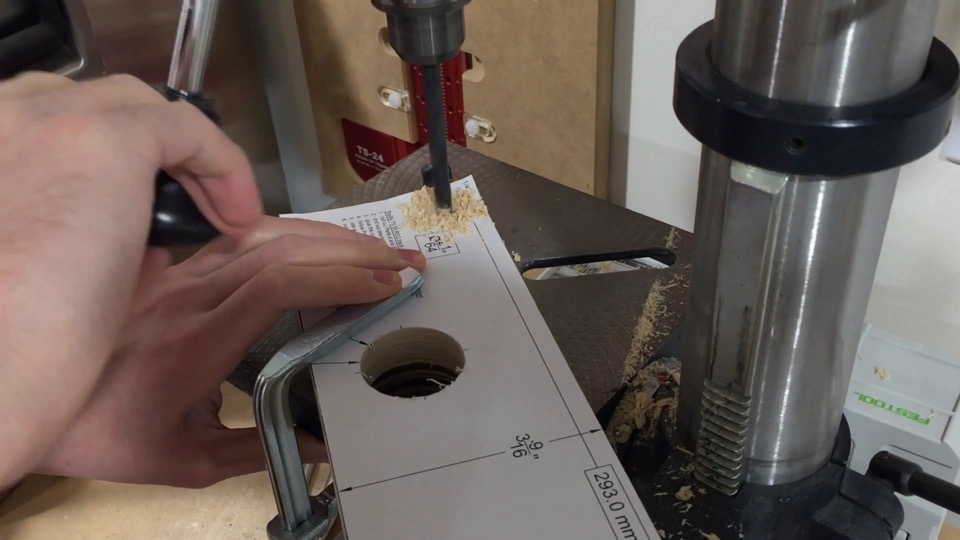
Okay, now finally on to drilling the accessory rod holes. The reason for waiting until after the glue up to drill these, is to guarantee alignment through both layers of plywood, since you know – that’s kind of important.
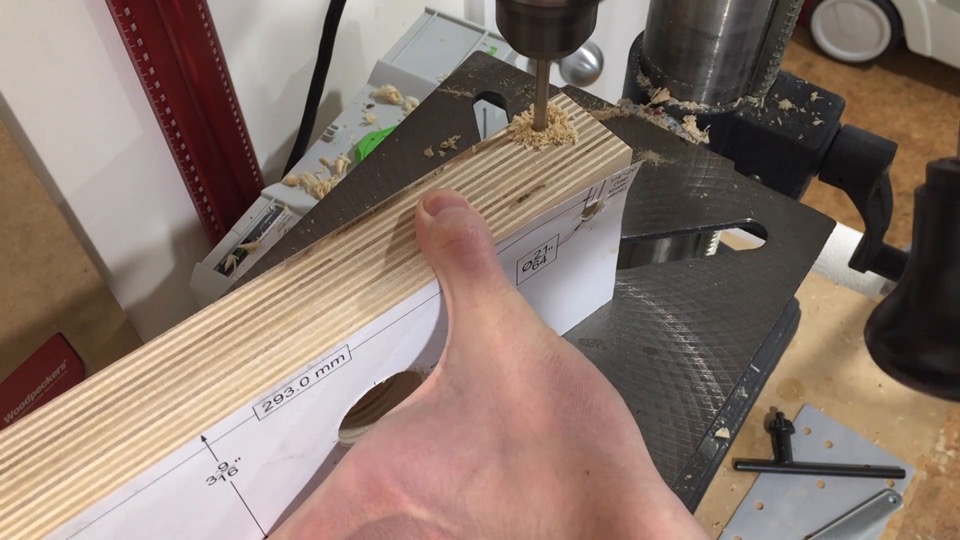
Subsequently, the thumbscrew holes are drilled from the top.
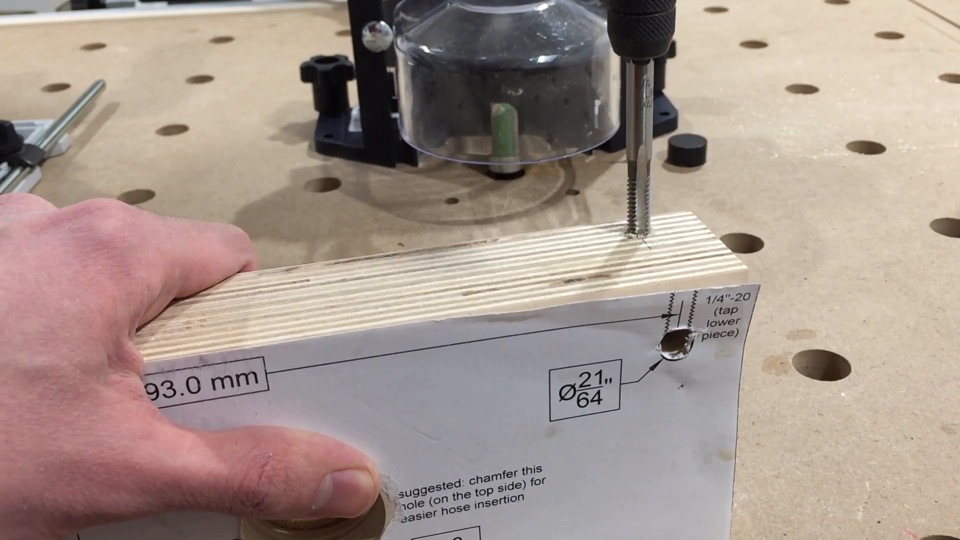
And, they’re tapped to accept a threaded bolt.
At this point I’d suggest applying a slight roundover to all edges.
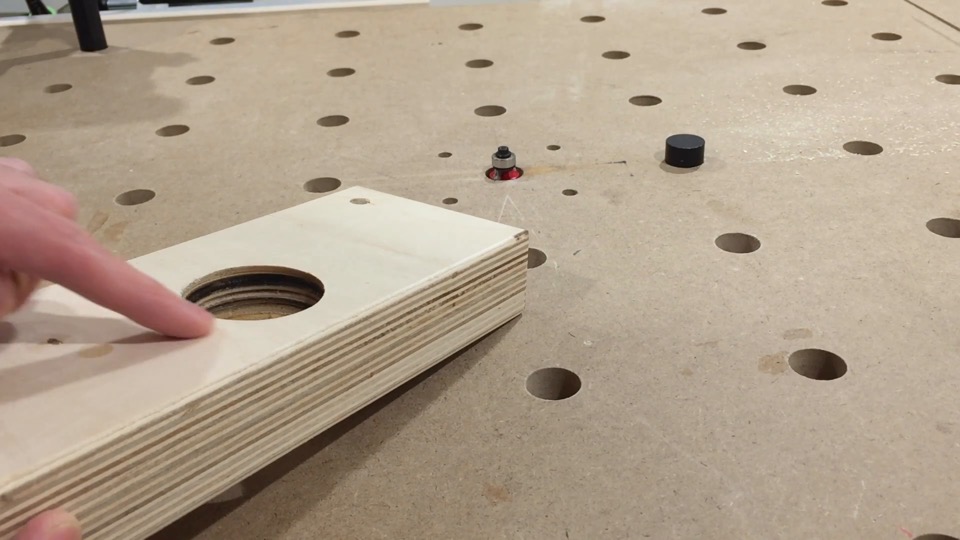
This applies to the hose holes as well, since the roundover makes it easier to insert a hose.
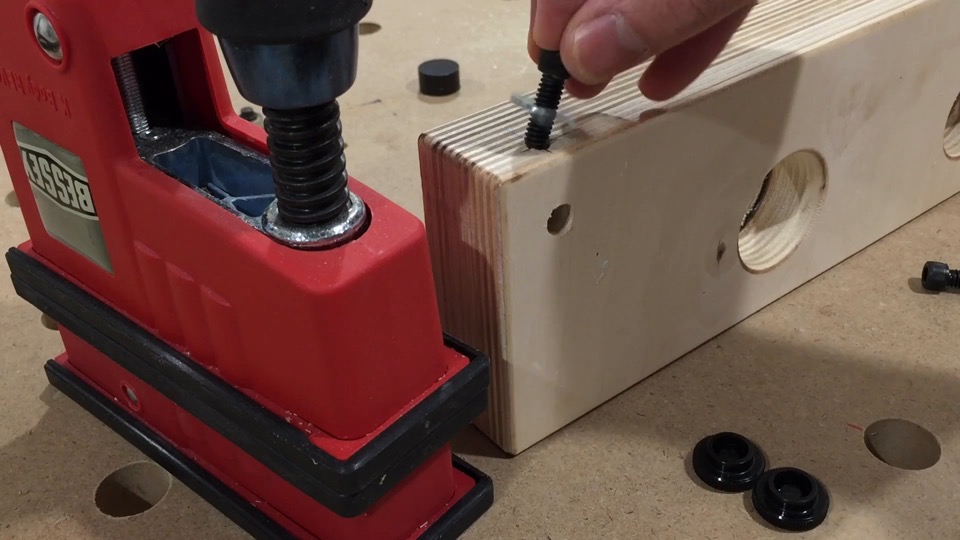
As for the thumbscrews, I’m sure the sky’s the limit when it comes to the kind of fastener you could use here. But I’ve got these cap screws which you press a plastic knob onto – and it forms a pretty badass thumbscrew. I use a washer here just to prevent the screw-head from digging into the plywood while applying pressure on it with the clamp.
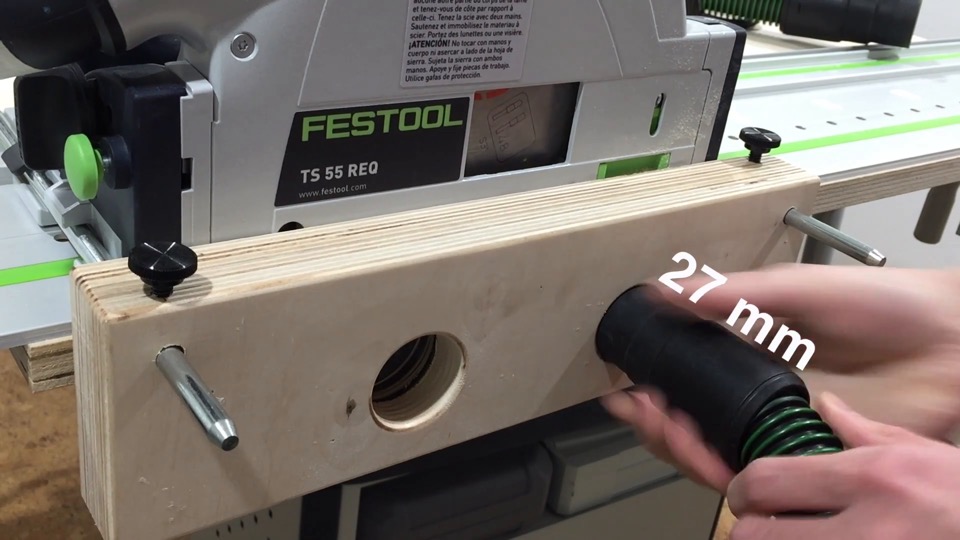
So to illustrate the versatility, you can see that by flipping the accessory around it accepts both my 27mm and 36mm hoses.
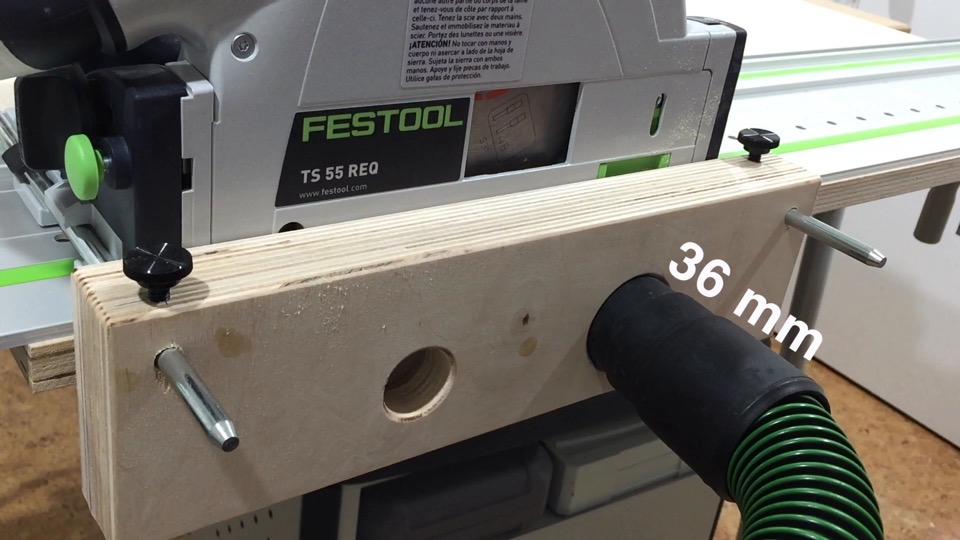
The big moment. Let’s see how it performs!
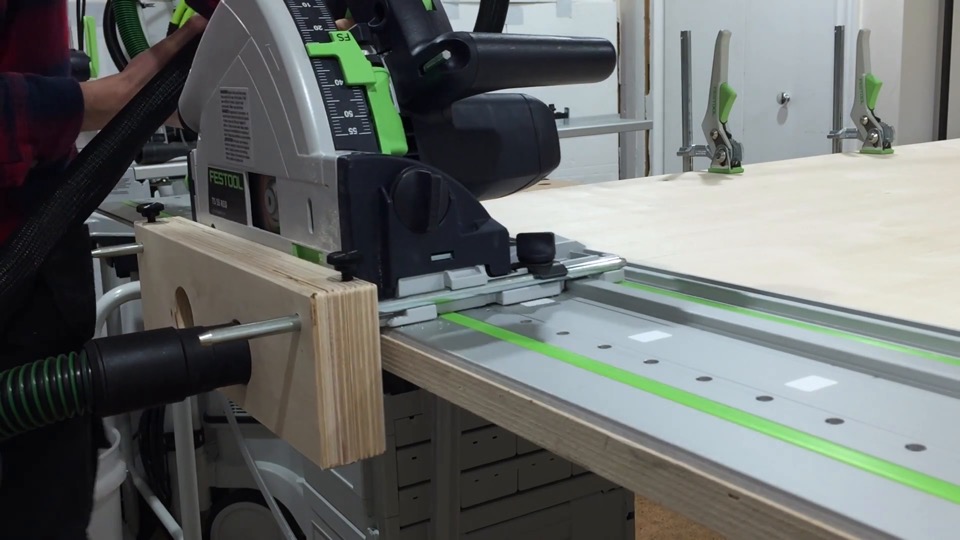
I have a 36mm hose on the saw’s built in dust port, and a 27mm hose on the side. A little bit of sawdust escaped at the start. Otherwise looking pretty good. Compared to standard dust extraction, there’s a notable improvement. HIGH FIVE for reading!
Festool TS 55 Track Saw
3M Full Facepiece Respirator
Festool OF 1010 Router
iGaging Fractional Caliper
Veritas Setup Blocks
Festool KS 120 Miter Saw
Festool RTS 400 Orbital Sander
Festool VAC SYS
OLFA Exacto Knife
Starrett 18AA Automatic Center Punch
8″ Drill Press
Glue Spreader
Bessey 24-inch K-Body REVO Clamp
Grex P635 Pin Nailer
DeWALT DW611 Router Kit
Festool MFT/3 Multifunction Table
Woodpeckers Mini Square
Tap/Drill Sets for Wood
Freud 1/8-inch Radius Roundover Router Bit
 http://toolify.ca/wp-content/uploads/0033-toolify.jpg
540
960
Kriss
/wp-content/uploads/logo/toolify_enfold_header_x96.png
Kriss2016-05-16 08:00:002021-08-31 15:58:35Snagless Vacuum Hose Cover
 http://toolify.ca/wp-content/uploads/0014-toolify.jpg
540
960
Kriss
/wp-content/uploads/logo/toolify_enfold_header_x96.png
Kriss2015-05-08 08:00:292018-02-27 21:24:59How to Make an Adjustable Routing Template
http://toolify.ca/wp-content/uploads/0014-toolify.jpg
540
960
Kriss
/wp-content/uploads/logo/toolify_enfold_header_x96.png
Kriss2015-05-08 08:00:292018-02-27 21:24:59How to Make an Adjustable Routing TemplateLeave a Reply
Want to join the discussion?Feel free to contribute!
Leave a Reply Cancel reply
This site uses Akismet to reduce spam. Learn how your comment data is processed.
















In the video on how to create a Festool TS55 Dust Collection for edge work, you used a router mounted to the underside of the MFT and dust collection hood mounted to the top of the table. What is the part number or name of the dust collection hood that was mounted to the top of the table?
Thank you!
John
Hey John, The hood is Item No. 472932 – P.S. I have a quick video on the setup here: https://youtu.be/B7xzzAgSFX0