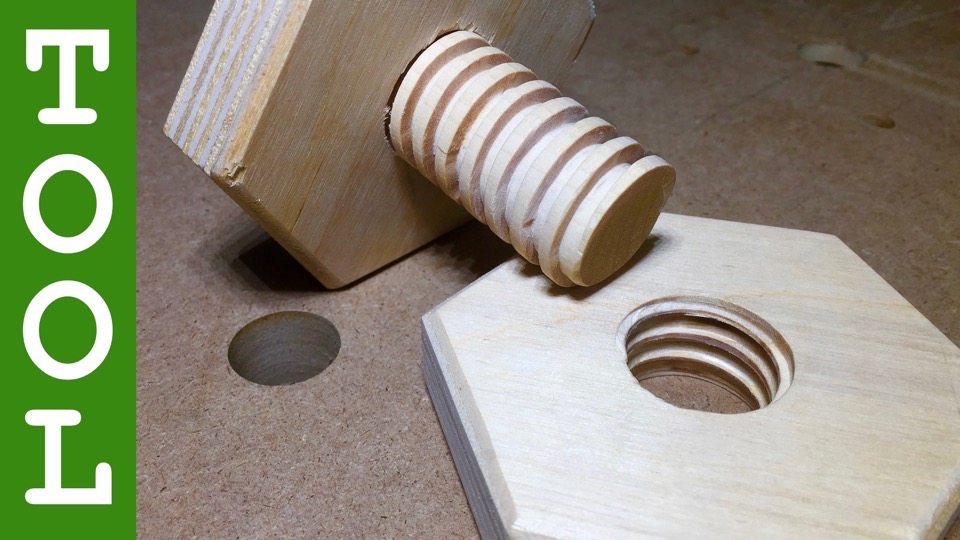
A ROUTER JIG that makes WOODEN HEX NUTS! (and a bolt…) The following program contains material which may be offensive to some hand tool woodworkers. Power tool guidance is advised (;
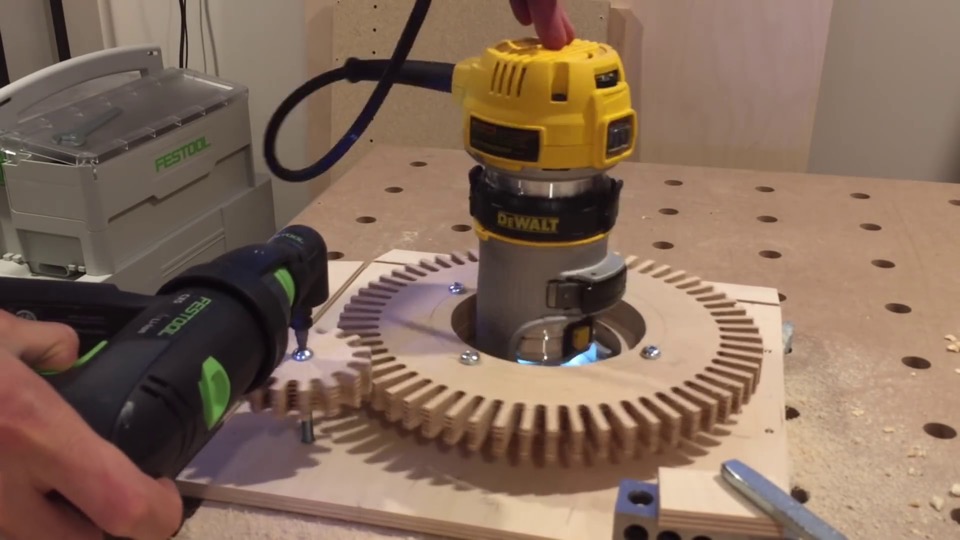
It makes wooden hex nuts! Yeah, that’s it. That’s all it can do.
To design this jig, I dissect the motion of cutting a wooden thread into two components: a vertical component, and a rotational component. So if you can imagine, when you have a router bit, in order to cut this thread, the bit needs to circle around and move down to advance to subsequent layers.
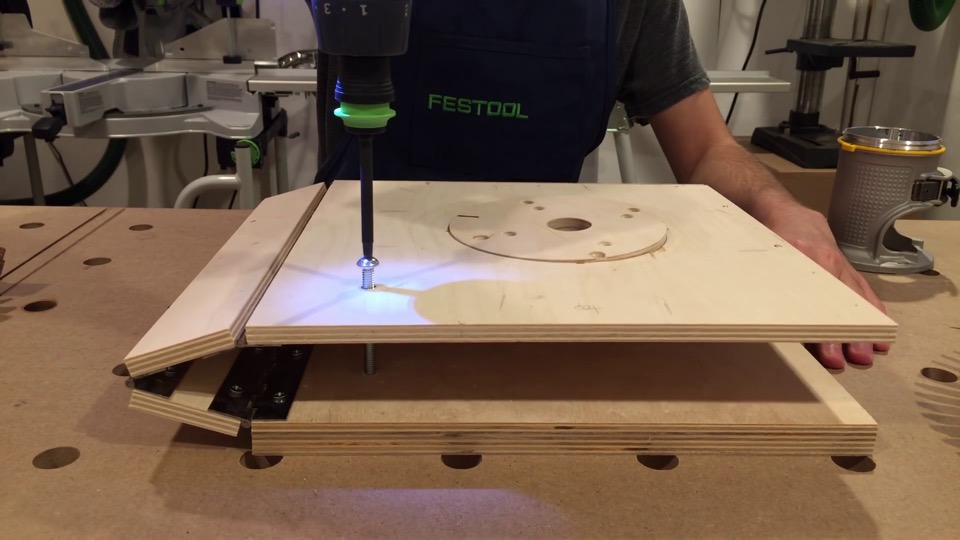
For the vertical motion, I designed this system that uses a lot of hinges to ensure that this platform is always parallel to the surface below. So now with a machine screw through here, there’s precise control of the vertical position.
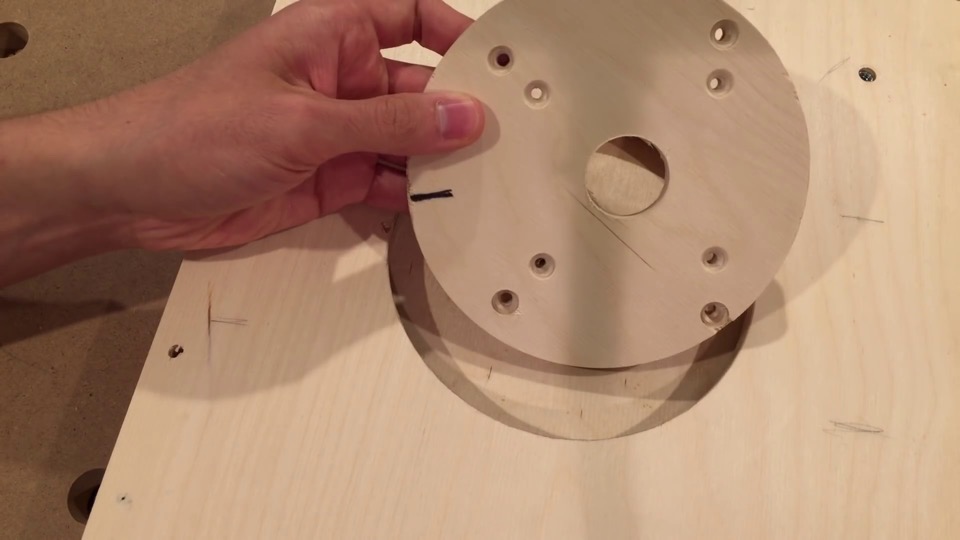
For the rotational component, a router will be mounted to this circle (off center) so that when this circle goes into this hole, and as you spin it around, the router bit will follow a circular motion in accordance with the diameter of the screw thread.
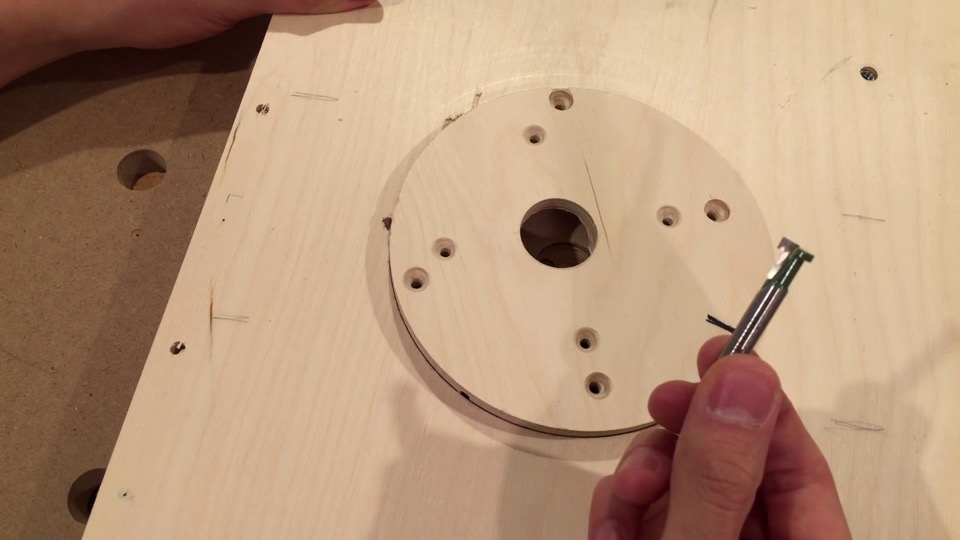
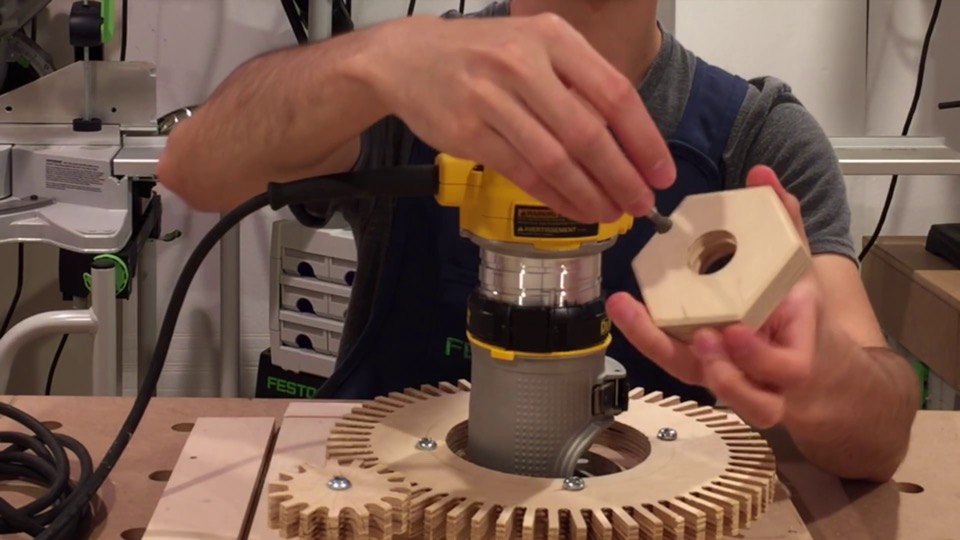
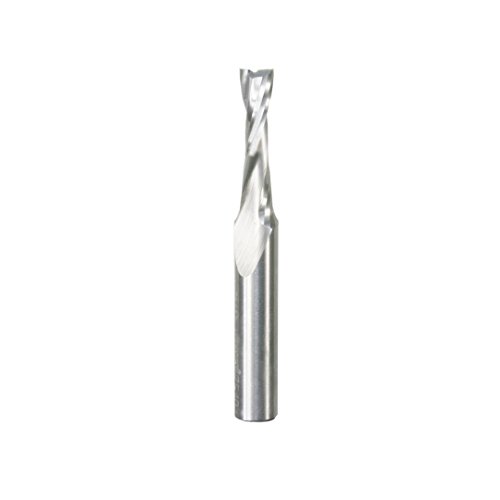
Using a keyhole router bit like this one, that will create just the pattern that’s needed for a square thread.
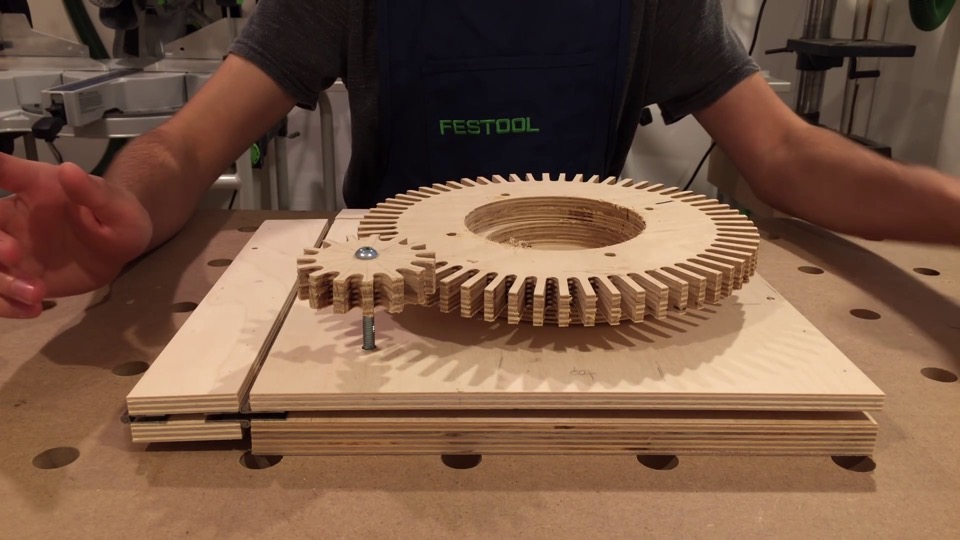
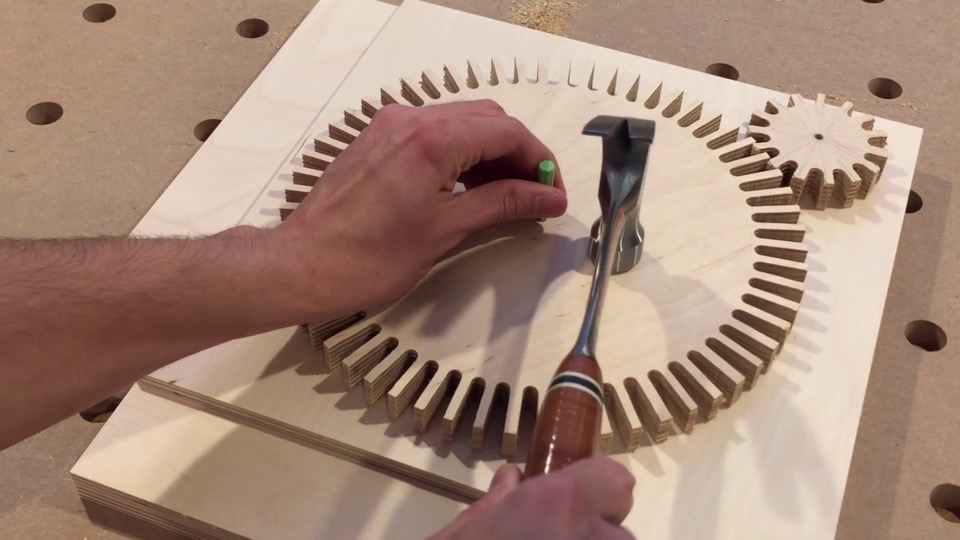
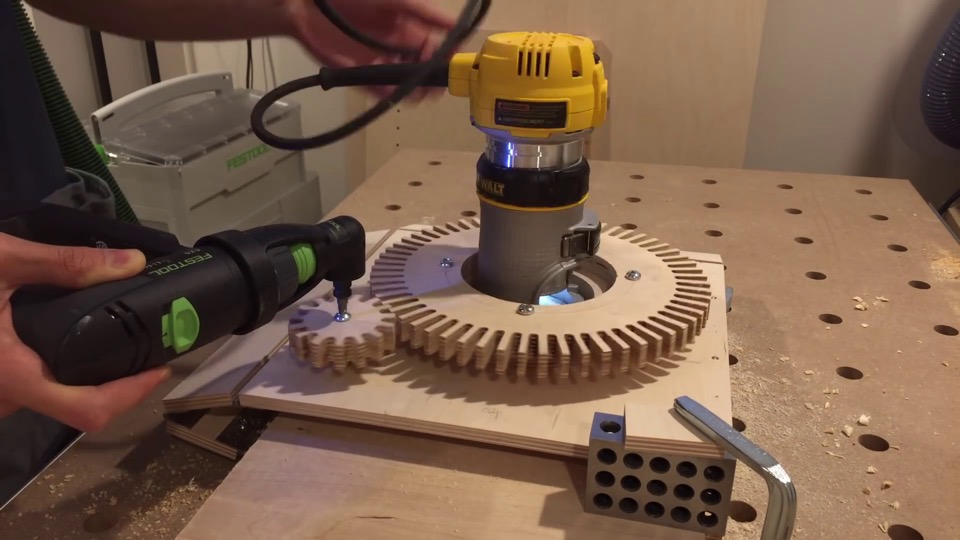
All that’s left is to control the relationship between vertical position and rotational motion. For that, gears! But because this little gear will be moving up and down relative to this surface, this spacer is required to ensure the gears mesh. So let me put all this together, including the router, and then we’ll take a closer look at how the bit moves.
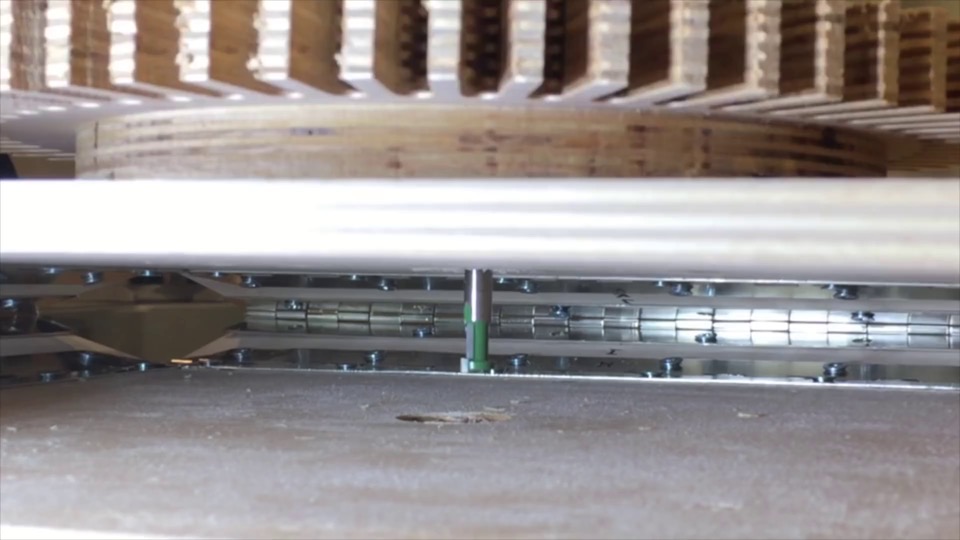
Here is what the cutter will look like.
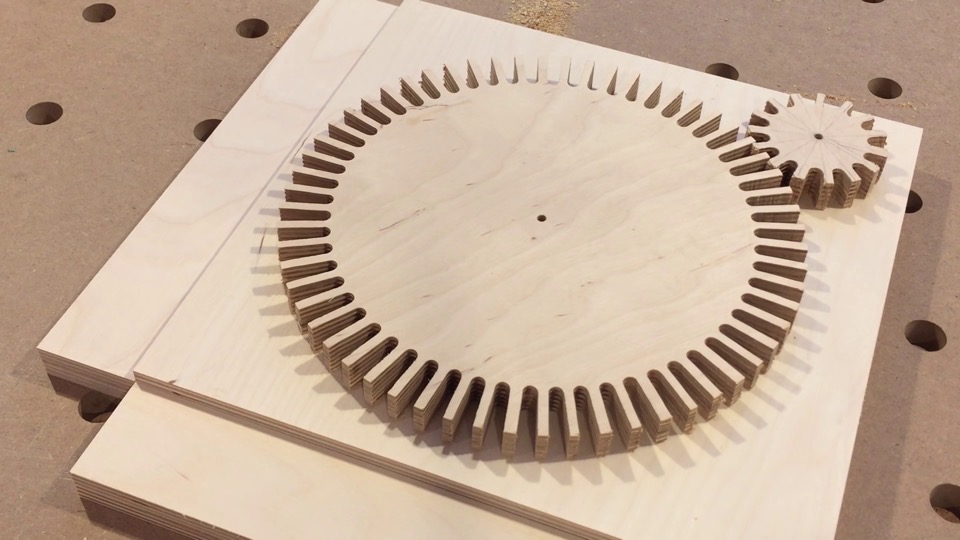
Here’s the build process: I’ve already cut out the basic shapes, which are 2x 12″ squares, and 4x 12″ by 2″ rectangles. The most difficult part really, is cutting the gears. Watch my video from last month to see how I did that.
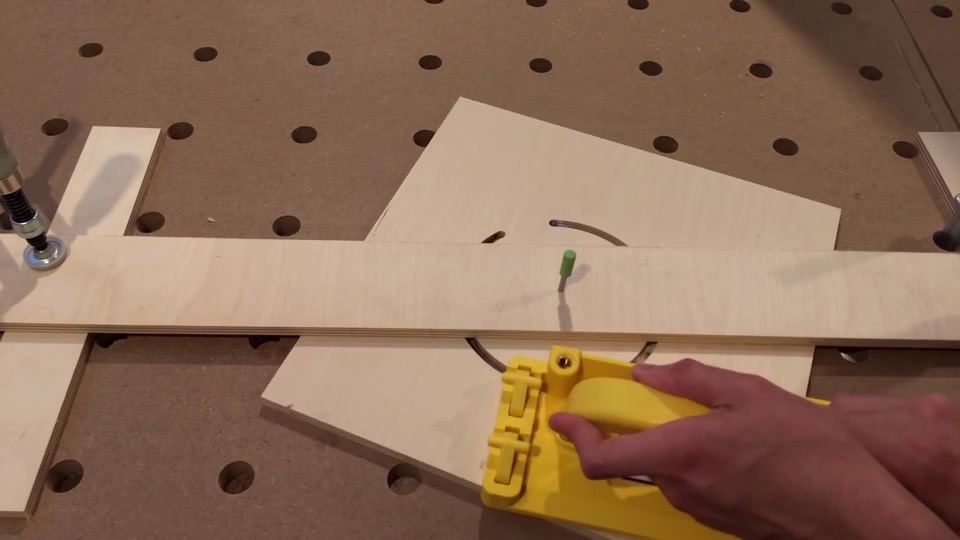
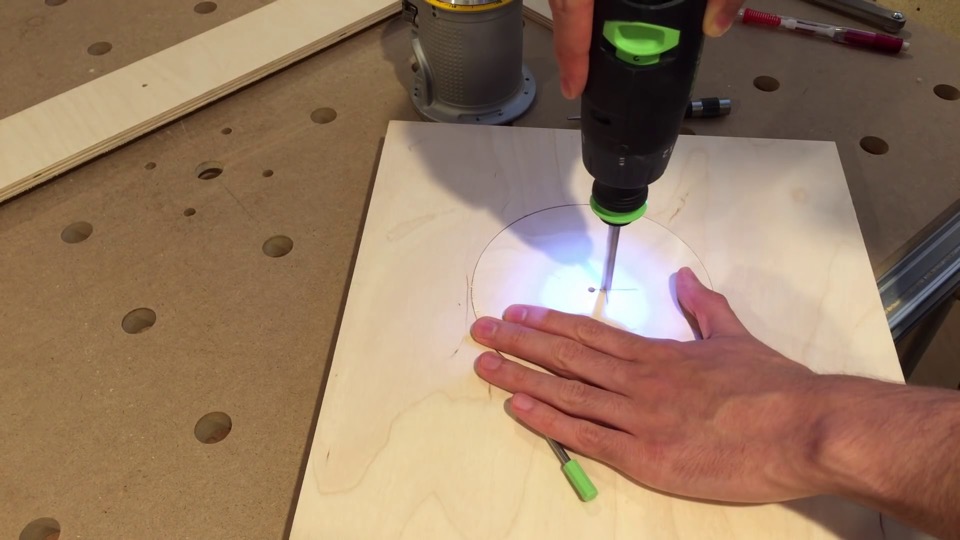
Now I just mark the center of the big gear, and drill a hole so I can use this on my router table circle cutting jig.
That’s the hole cut out, and off-camera I cut a circle that should fit in here. I recommend starting with it a little bit oversized, and creeping up on the final dimensions.
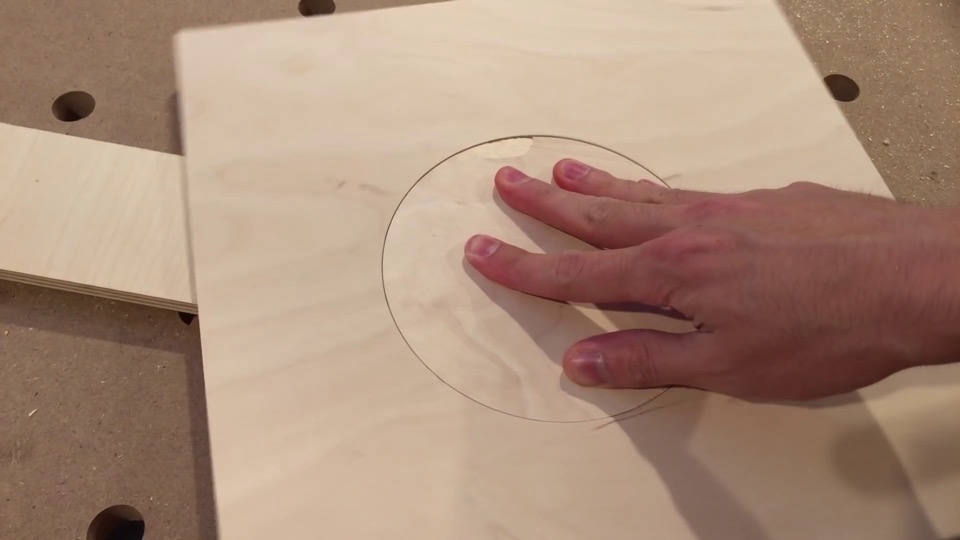
Perfect!
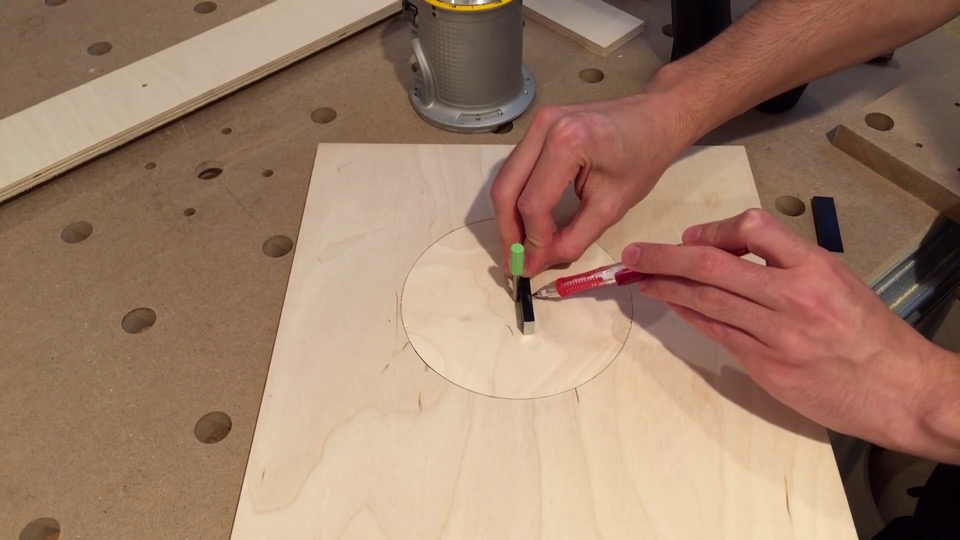
Here I’m figuring out where to center the router. This is specific to the diameter of the thread the hex nut is being created for.
Once the location is marked, I’ll drill out a 1/4″ hole, and a 1/4″ router bit will fall directly into place.
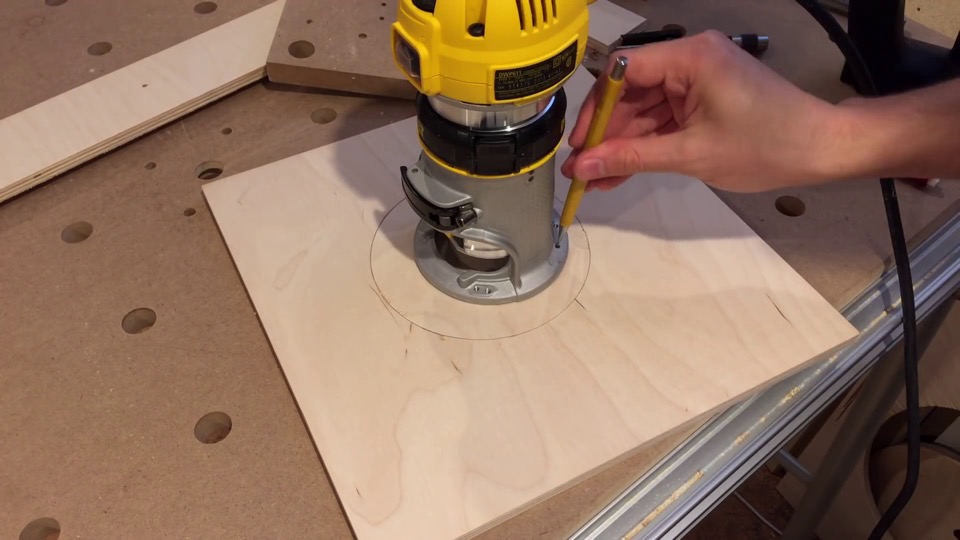
The mounting holes for the router are now marked.
With the specifics of the router mount taken care of, I move on to create the spacer for the big gear. The router table circle cutting setup is pretty great.
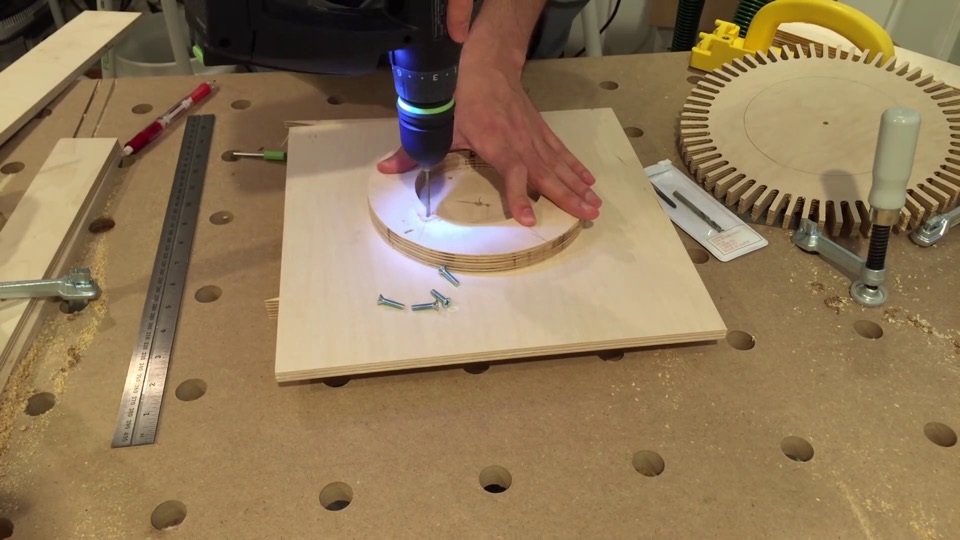
Screws will secure the spacer to the smaller circle below. I chose to use machine screws, and although I only show drilling pilot holes, off-camera I tapped the threads and countersunk the side of entry so all hardware sits flush with the surface of the wood.
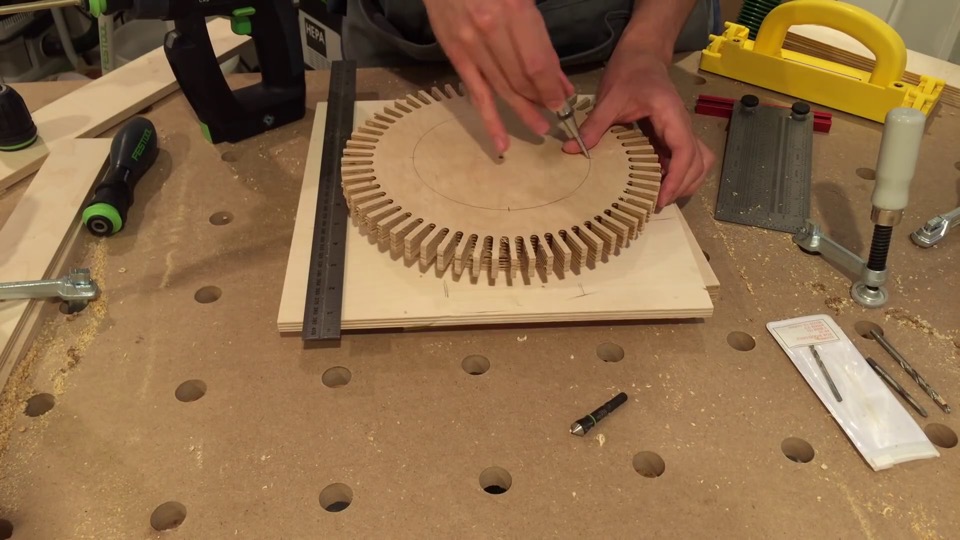
The big gear comes next. I use its center hole to figure out the correct position. Mark and pre-dill the holes first.
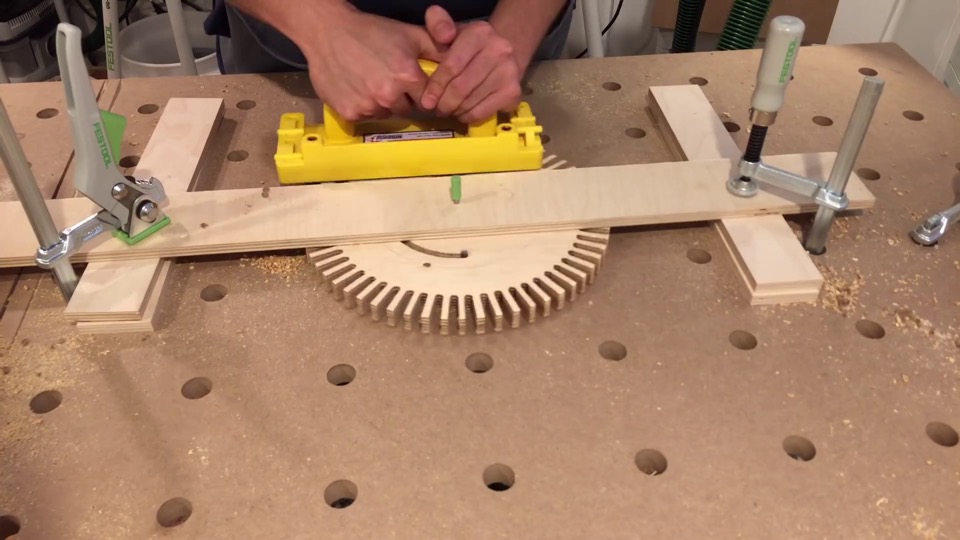
Then cut the inner circle.
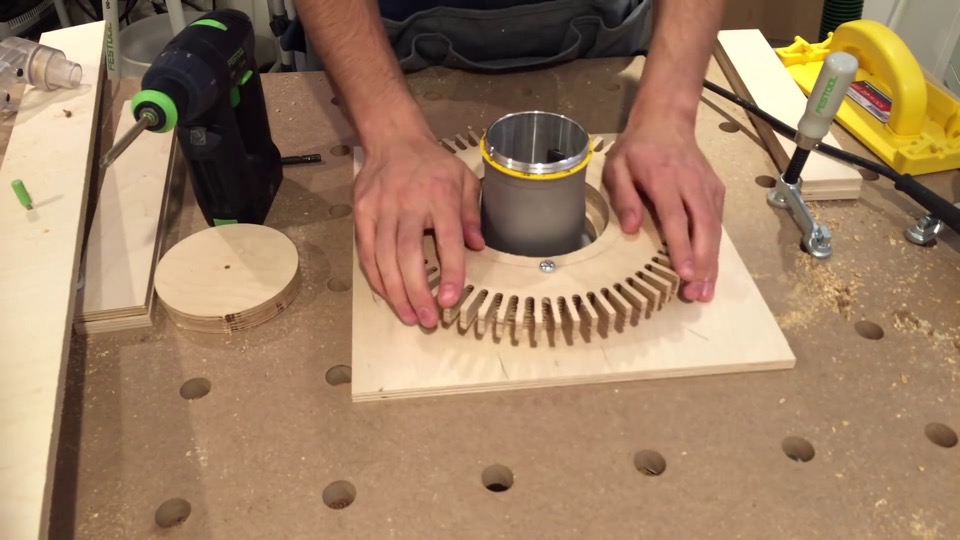
Finally I’ll screw on the router base to complete the assembly.
Now making all the hinges…
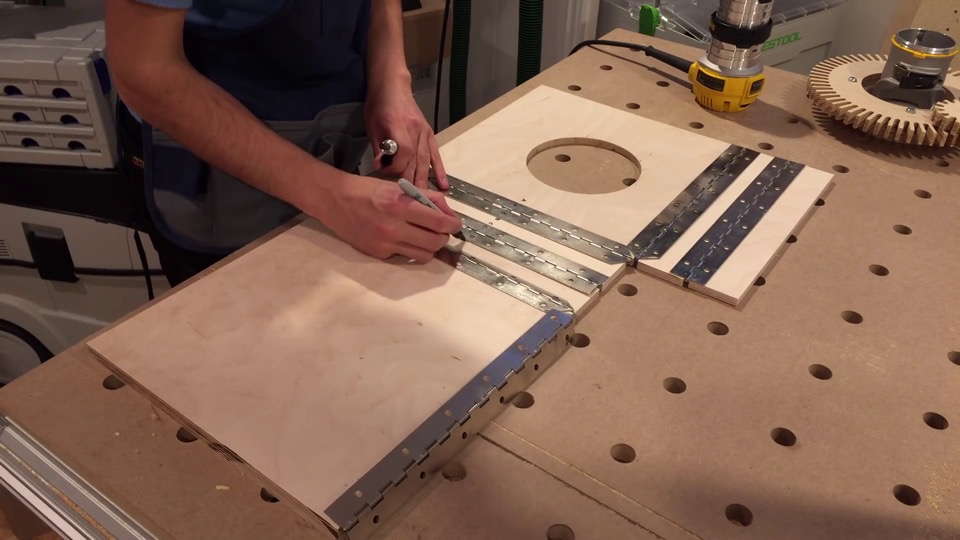
I basically bought a 6-foot piano hinge, and cut it into 6x 1-foot pieces. I write down where each piece will be.
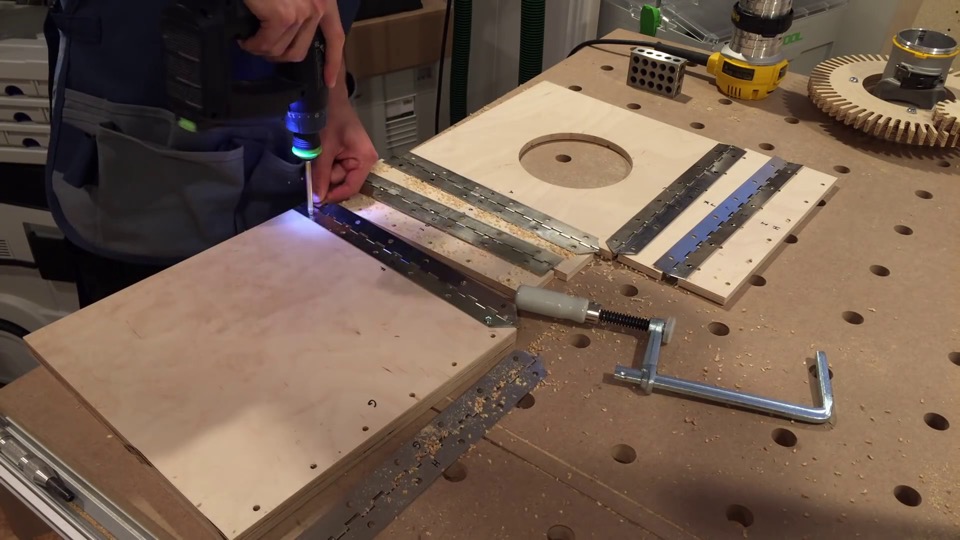
Then mark centers, pre-drill, and screw them down.
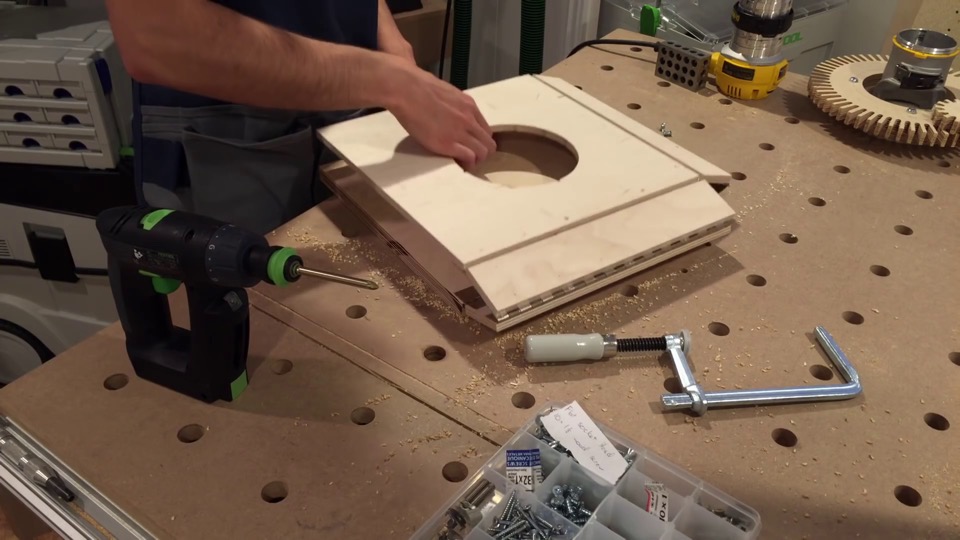
Now the whole thing folds up, and I can fasten the final screws.
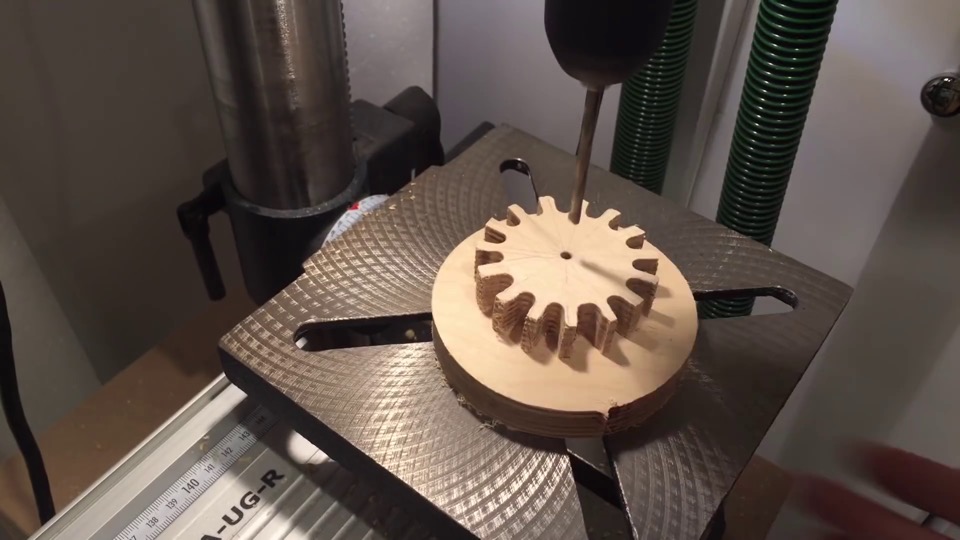
This little gear is the only remaining part.
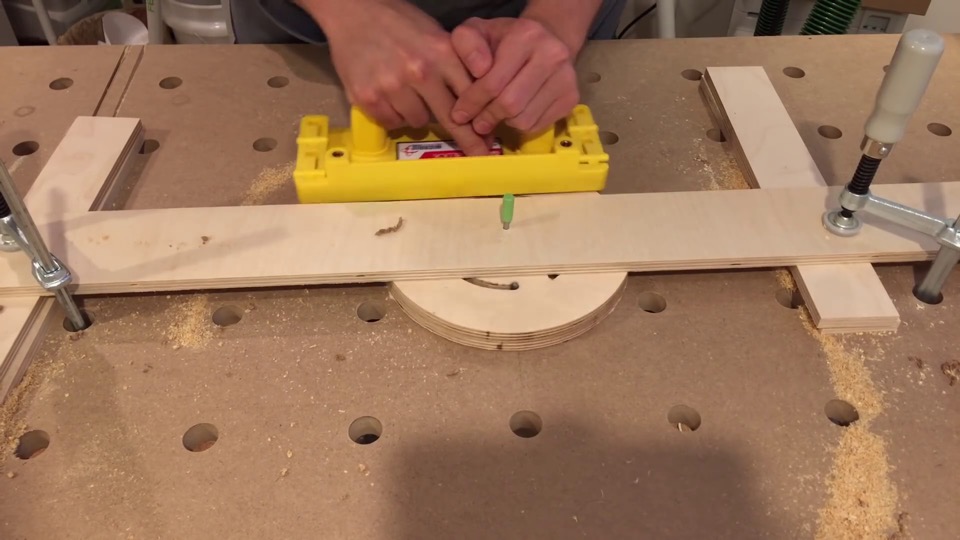
The first pass is made with a 1/4” straight cutter. That makes it easier on the keyhole bit later on.
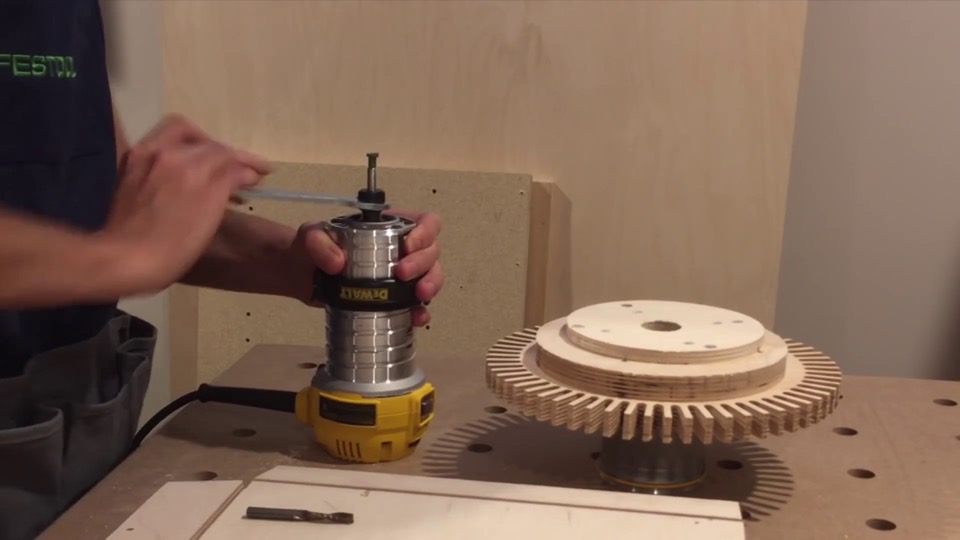
Then the keyhole bit creates the thread.
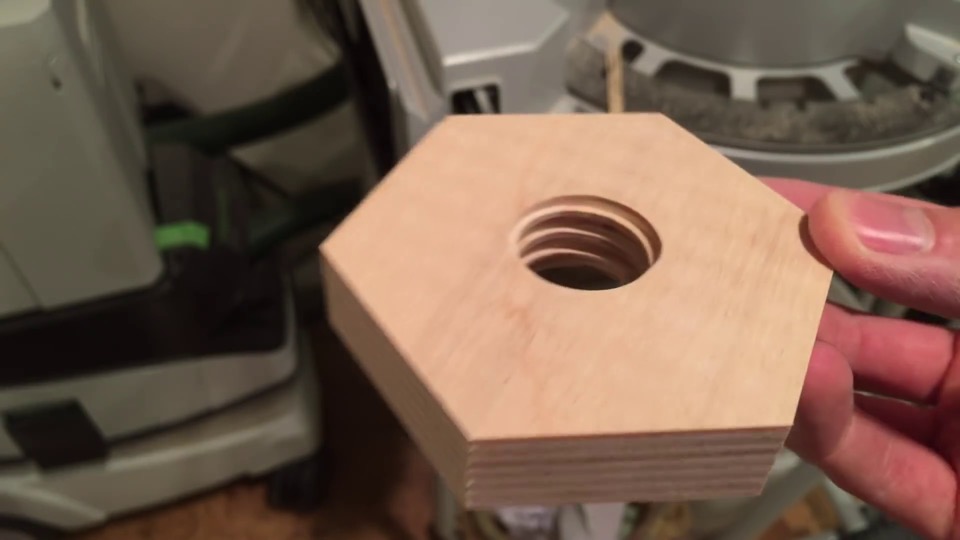
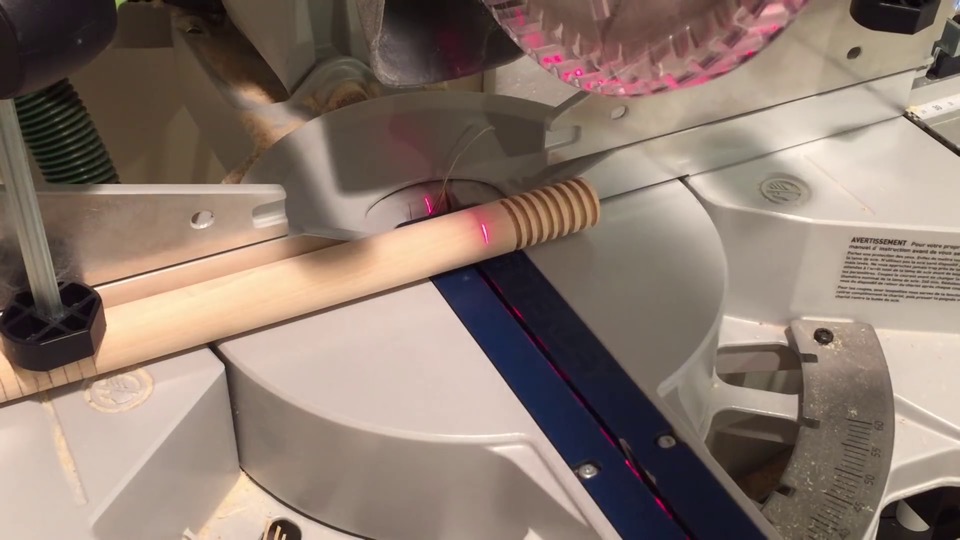
At the miter saw, I shape it to actually resemble a hex nut. So there’s the nut, but of course I have to make a bolt to prove that it works!
I used John Heisz’s method for cutting wooden threads at the router table – it worked out pretty great! I highly recommend his video.
Here’s a head for that holt… and the moment of truth.
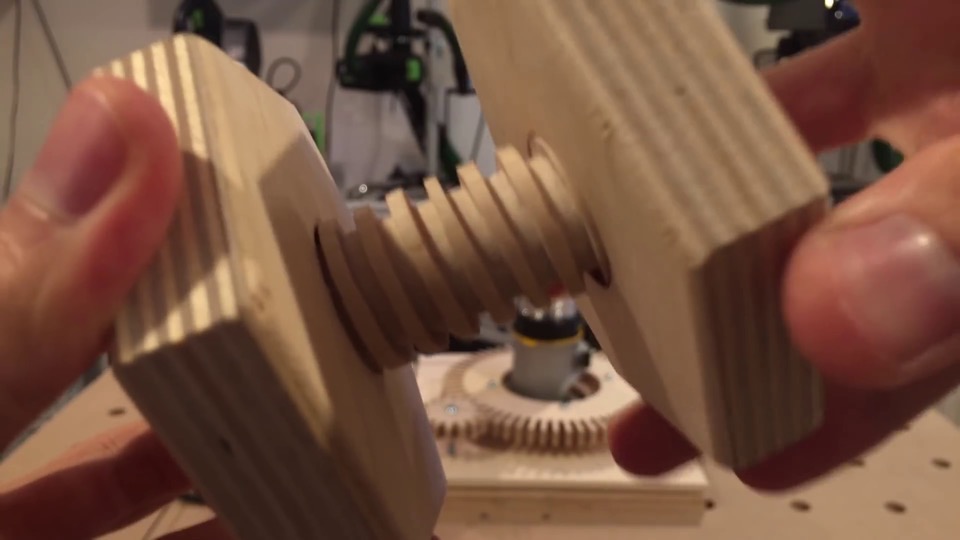
With the edges chamfered, there’s the bolt and nut in final shape. Well, that turned out pretty darn cool. I hope you enjoyed it!
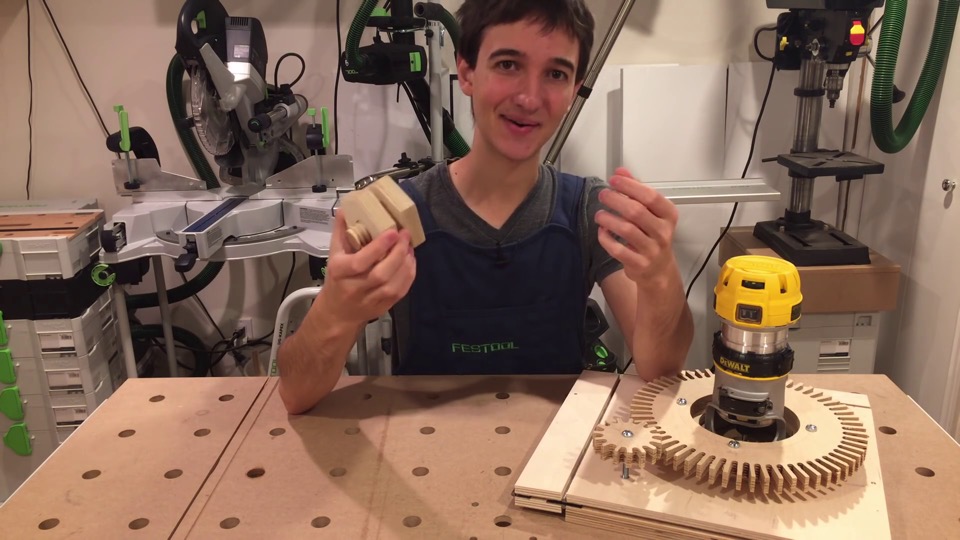
Now I don’t have any idea what I’m actually going to do with these wooden hex nuts now, but if you have any thoughts I’d love to hear about it in the comments! Otherwise, I don’t have plans available for this jig, but I hope I went through all the details you need if you decide to make your own version. Of course, if you have any questions feel free to contact me and I’ll do my best to help out. Otherwise, until next time take care guys!
DeWALT DW611 Router Kit
12oz Estwing Claw Hammer
Festool MFT/3 Multifunction Table
Veritas Setup Blocks
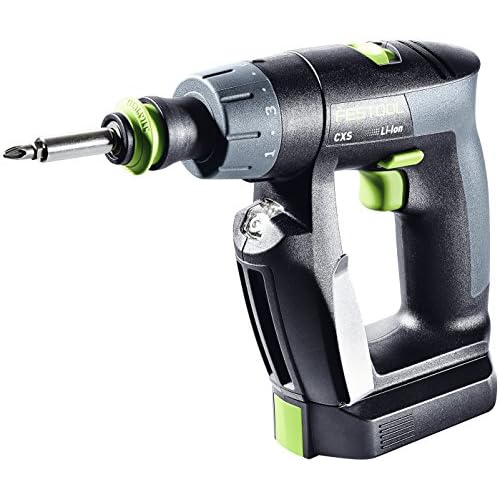
Festool CXS Drill
Microjig GRR-Rip Push Block
Tap/Drill Sets for Wood
Starrett 18AA Automatic Center Punch
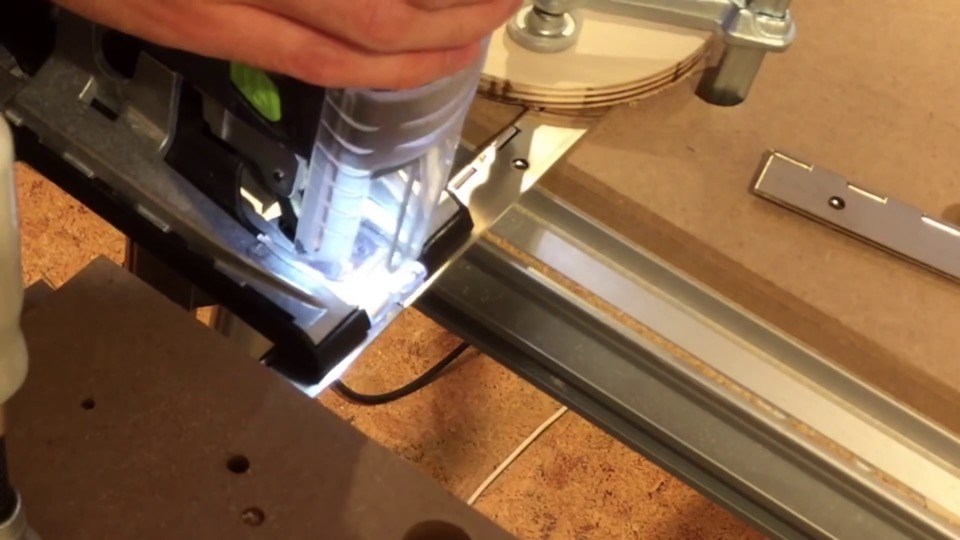
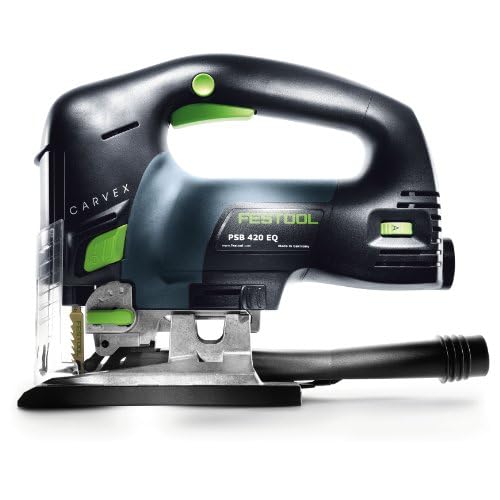
Festool PSB 420 Jigsaw
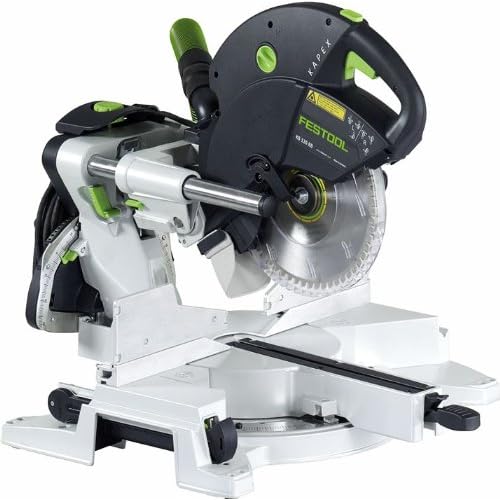
Festool KS 120 Miter Saw
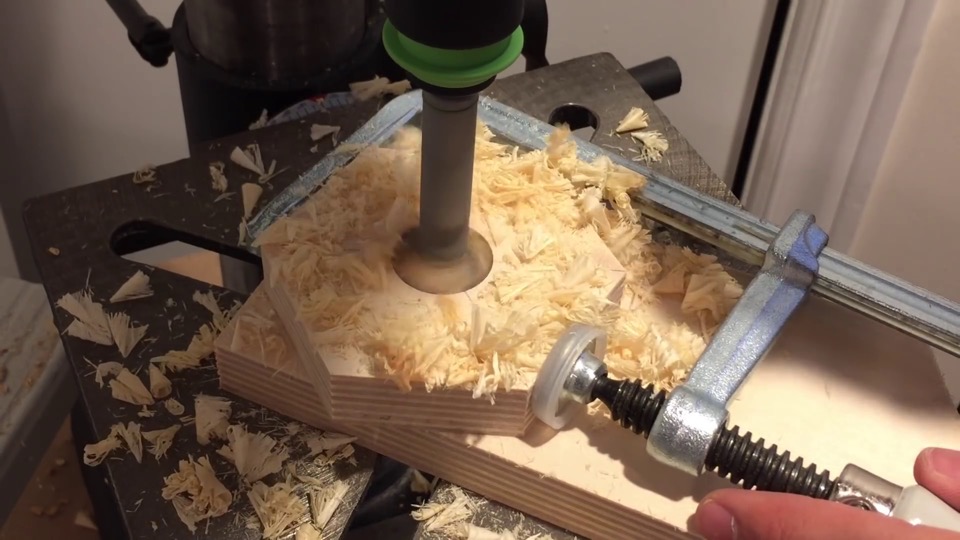
Festool Forstner Bits
Festool Screw Clamps (2 pack)
Festool Ratcheting Quick Clamp
Leave a Reply
Want to join the discussion?Feel free to contribute!
Leave a Reply Cancel reply
This site uses Akismet to reduce spam. Learn how your comment data is processed.











Outstanding nut making process Kriss! It’s very inspiring to watch such genius unfold. You are right up there with the best of woodworkers. Keep up the good work.
Thanks Rick!
I wish I had your skills, I have been thinking for months on how to make a screw and nut set up for a leg vise so I wouldn’t have to pay Benchcrafters a bunch of money for their leg vise. I am sure a lot of guys would like to make a large bolt and nut set up for the vise. Nice work, I just look forward to your videos.
Great work. Its very inspiring to someone that very new to wood working. But at same time a bit overwhelming. I was wondering if you make these jigs to sell? An if so how much would you charge? I make hand widdled canes an walking sticks an there is a project coming up that i would need to have the peices of wood to screw together and unscrew. With my lack of knowledge an skills on such power tools. I opted to find a person with the knowledge an skills to make jigs an such for me.
Hi David, I’d be happy to sell you a jig; but the reason I generally don’t ofter this is because jig construction is a labor-intensive and time consuming process. The cost can easily become prohibitive. What is your budget? Feel free to reach out to me via email if you’d like to discuss http://toolify.ca/contact/
Will these gears work at right angles
There is one great usage for small wooden screw / bolt,
This can replace the wooden anchors / plugs on which the metal screw is screwed.