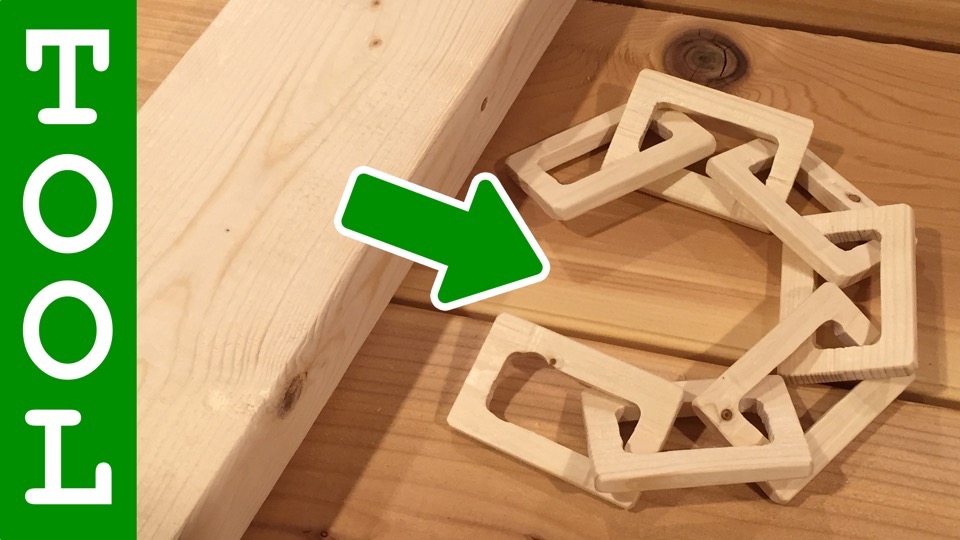
A seemingly impossible wooden chain made out of some scrap 2×4. This project is as much fun to PLAY with as it was to build – and a great conversation starter!
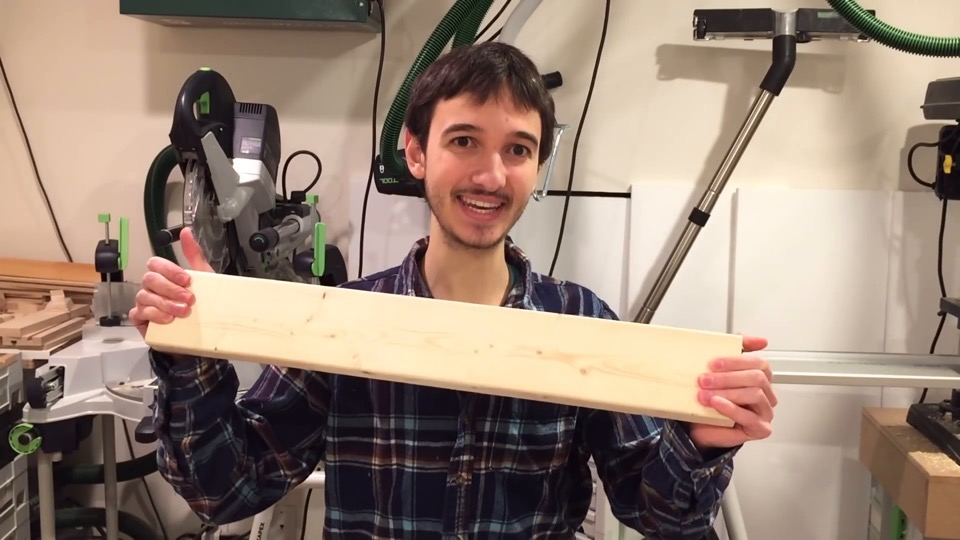
Hey guys, it’s Kriss – and it’s time to build something! A wooden chain out of a single piece of wood. Now, when I set out to do this I wasn’t at all confident that it would actually work.
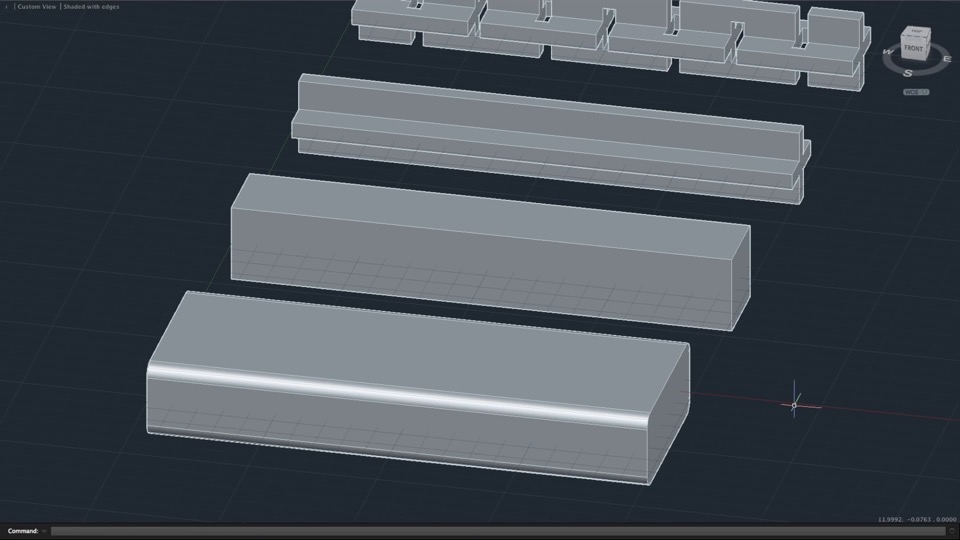
The plan was to start with a scrap piece of two-by-four, cut it square. Then notch out the four edges to end up with a cross, after that I’d make a series of vertical holes at regular intervals alternating upright and sideways direction. Then I would make these horizontal slits so that in the end the only connection remaining between the chain links is this tab here.
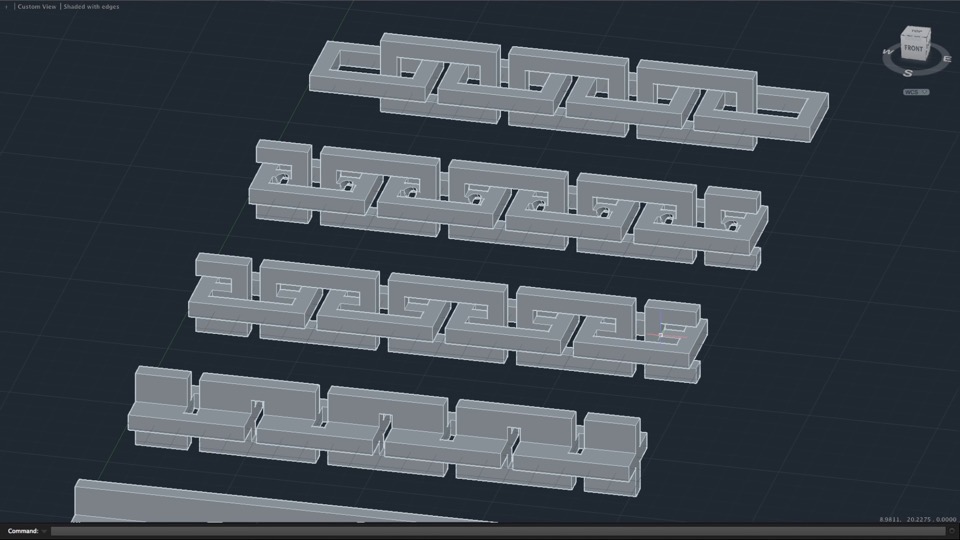
I could then drill through the connecting tabs, and if all goes well I should end up with a chain from a solid piece of wood. Ultimately the project was a success, but it wasn’t without challenges along the way. Want to see how I made it? Well keep watching!
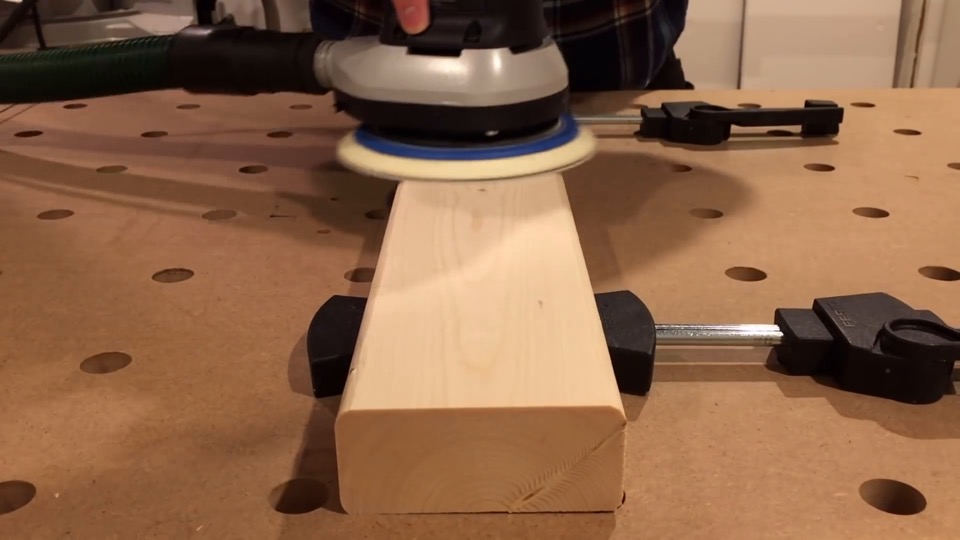
Two-by-four building material isn’t the smoothest lumber around, so I start by giving it some much-needed surface treatment.
Then it’s a matter slicing it down to a square. Since a two-by-four actually measures an inch and a half by three and a half inches, this square measures inch and a half by inch and a half.
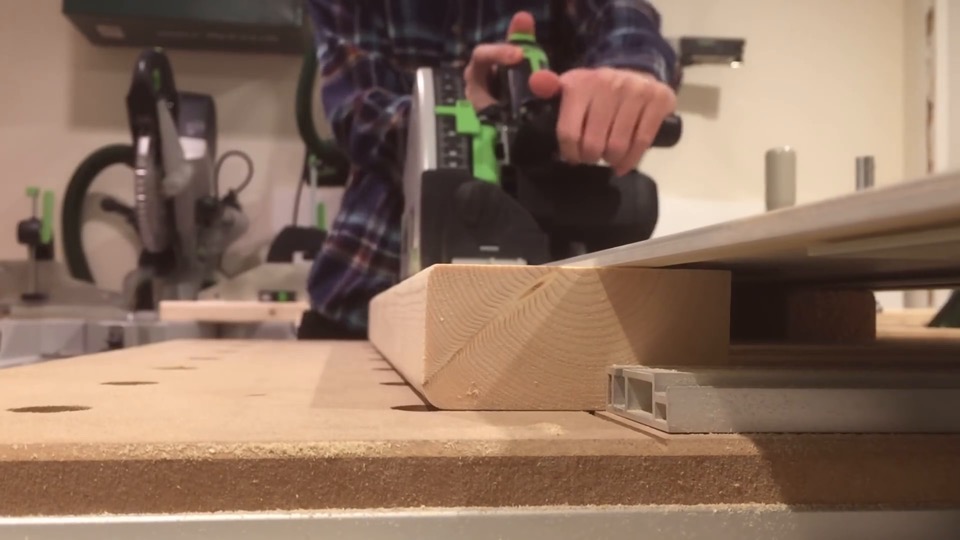
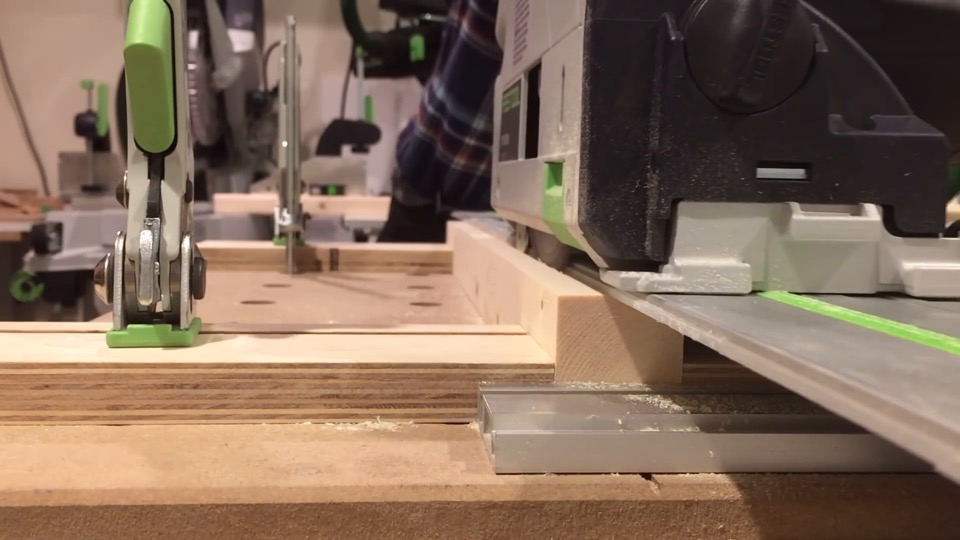
Now I can cut slits to create that cross shape. I’m making stopped plunge cuts now so the workpiece keeps its shape. If I were to start parting away the way the edges now, it would become increasingly difficult to support it while cutting.
Two cuts have to be made on each of the four sides.
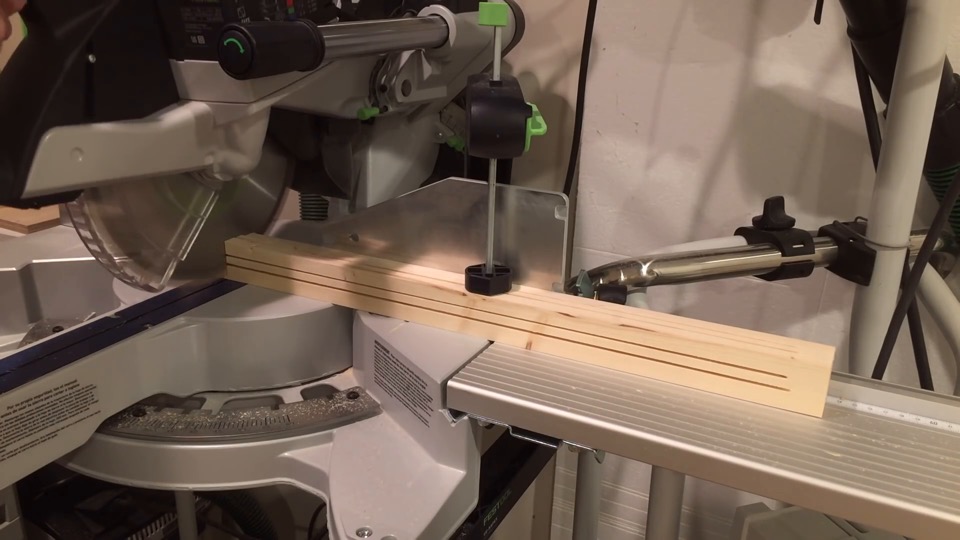
This is rather repetitive, so I’ll jump into the next step which is cutting the ends off at the miter saw to reveal the cross!
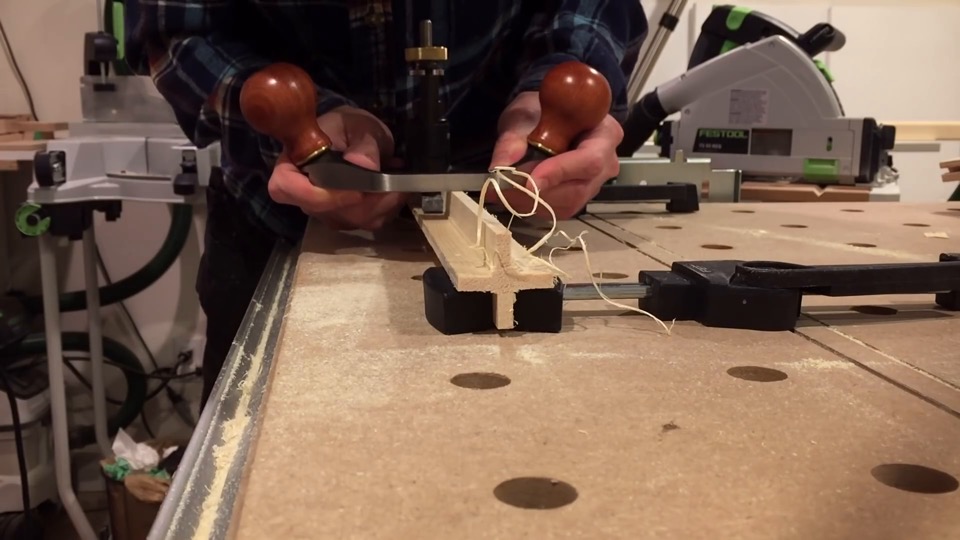
Where the track saw didn’t quite reach because I set the plunge depth conservatively, there’s a little bit of excess material to clean up. Easy work with a router plane, and some sanding. So far so good, but now let’s see how to make those vertical holes.
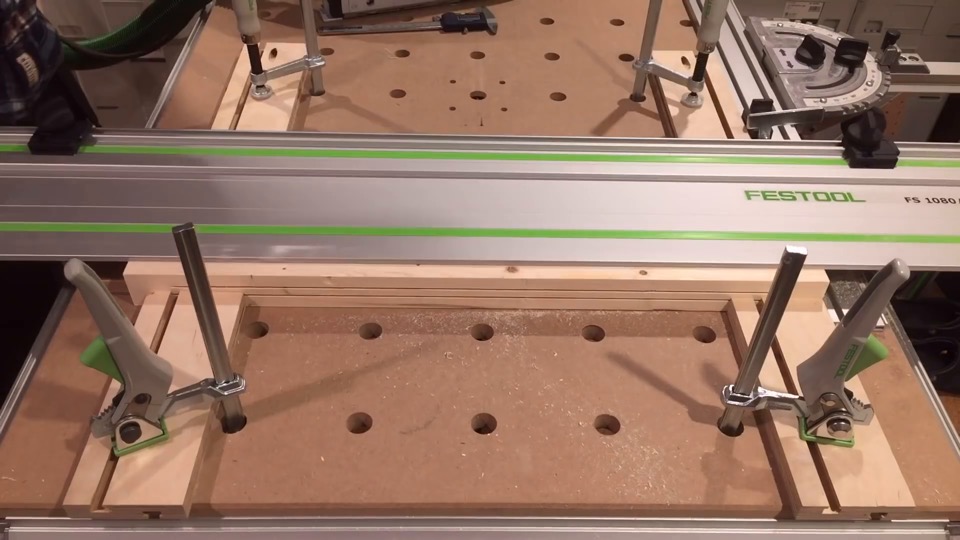
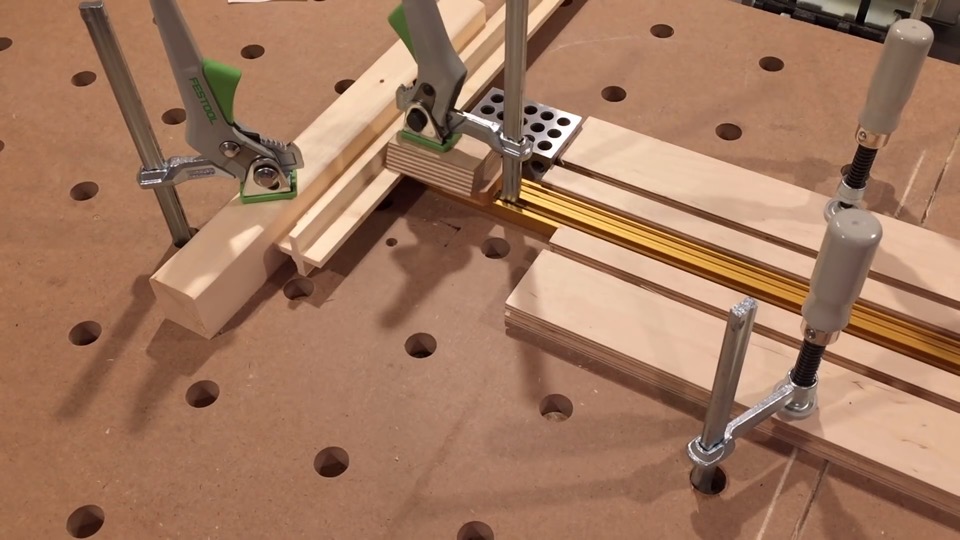
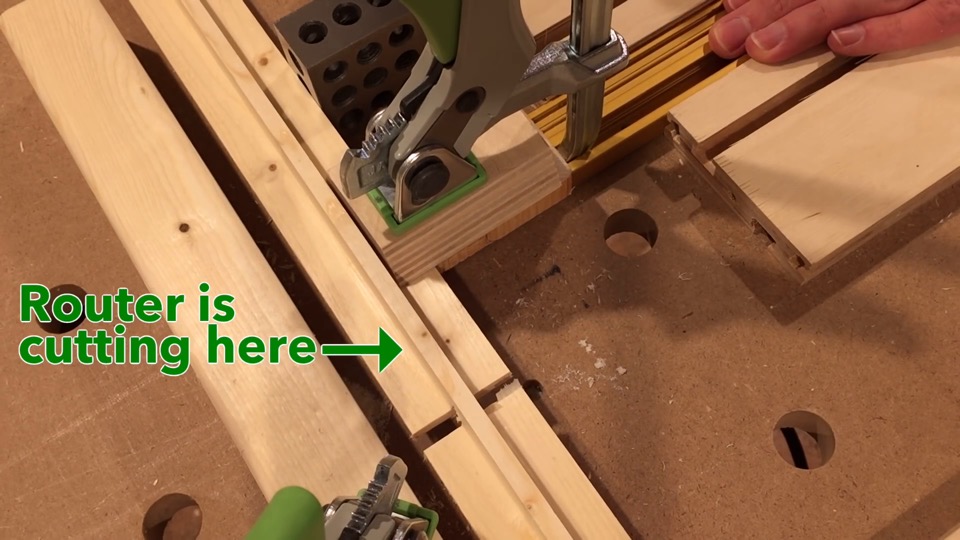
This is the router table jig setup (a T-Track) that secures the workpiece and lets me move it back and forth a precise distance.
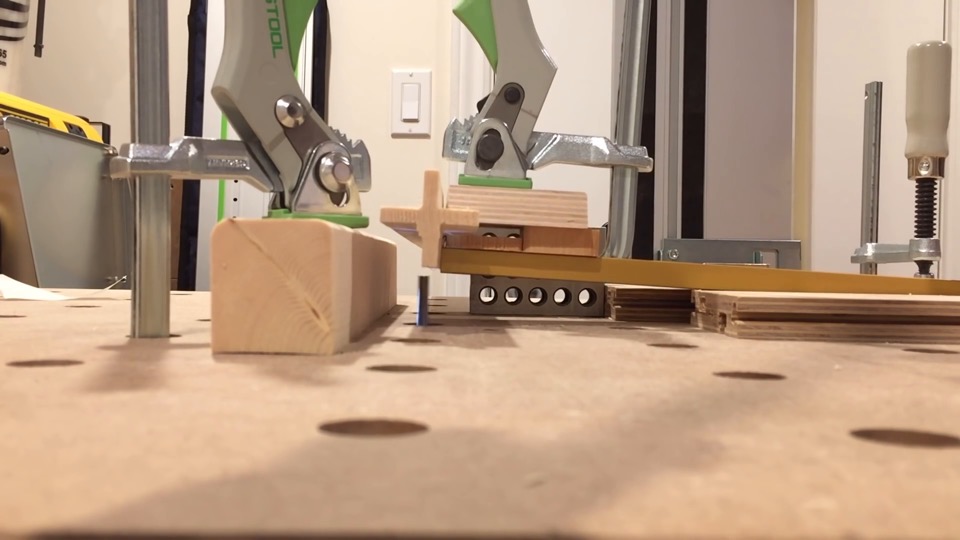
I carefully lower the cross onto the router bit and follow through with the cut. Since the router bit isn’t long enough to cut through the entire piece in one pass, I have to cut one side, flip the cross over and repeat. You’ll get a better view of this in a second.
Now I’ve shifted onto the next hole. So this is the first pass, and the bit is hidden by the cross.
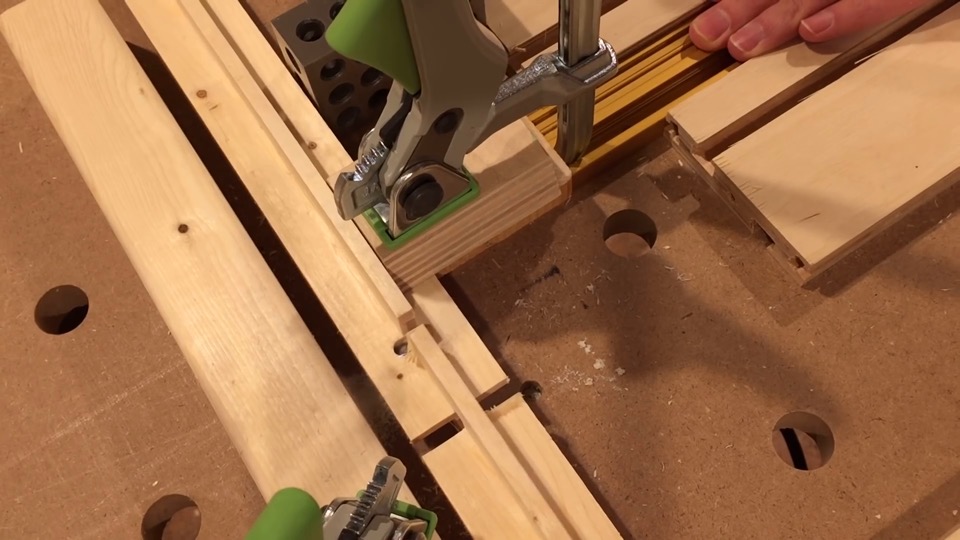
You won’t see the hole open up until the second pass. To emphasize exactly how I felt while making these cut I will play some dramatic music.
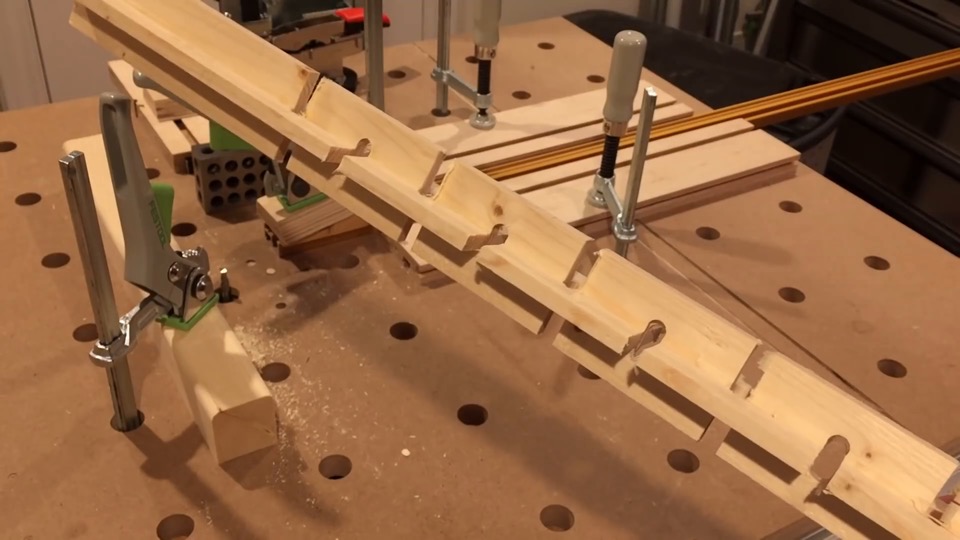
[dramatic music] After a long time, this part of the process is done. Look at that! It’s already looking amazing.
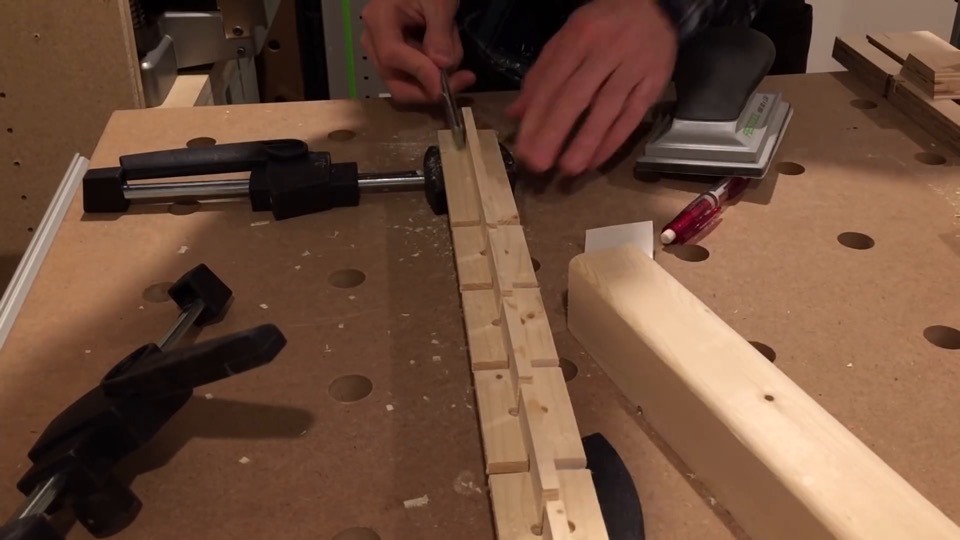
At this point I realize I didn’t clean up the excess material too well at the ends of the cross, so I pause to tickle it with a file. Here is that, at lightning speed… or you can watch the big shadow of my head.
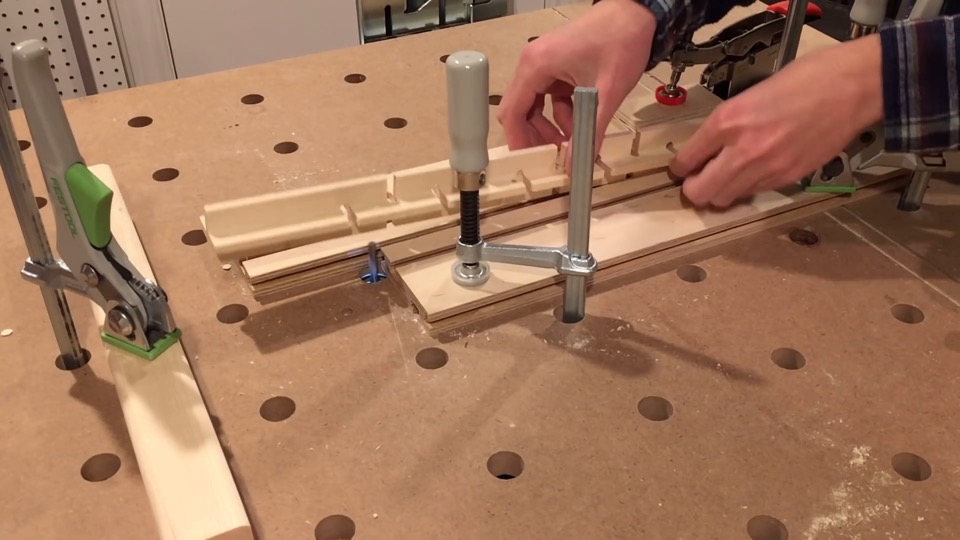
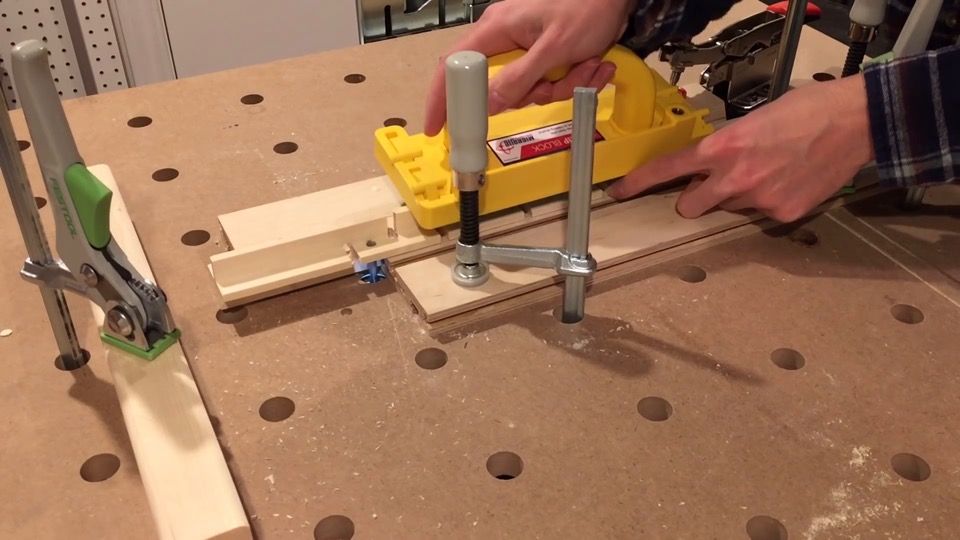
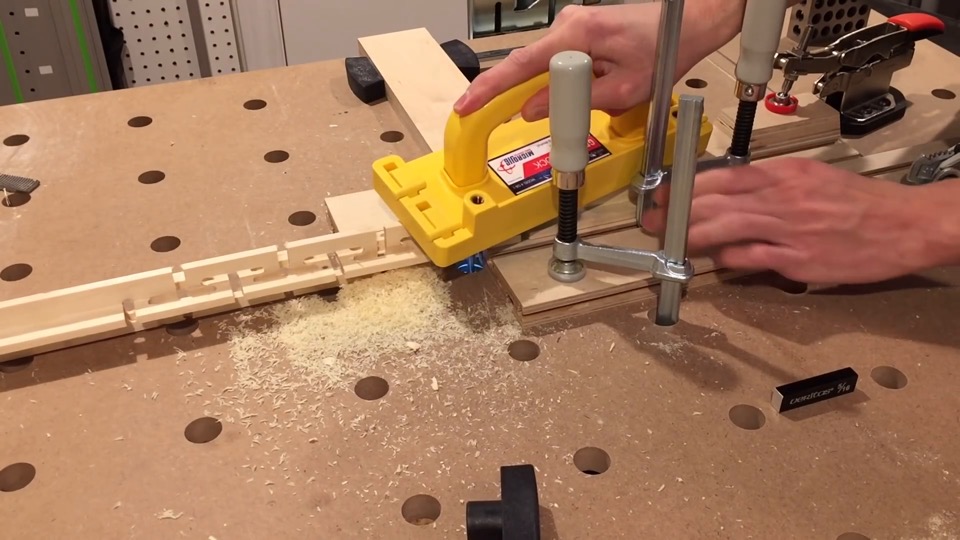
So now I’ve got this other router table jig setup that lets me maneuver the workpiece to cut the horizontal slits.
My router was wobbling here, and then I realize the position lock wasn’t engaged. That could have been dangerous. Be safe. Don’t do what you see. Ultimately all that happened is it made the hole a little wider than it was supposed to be. Moving on.
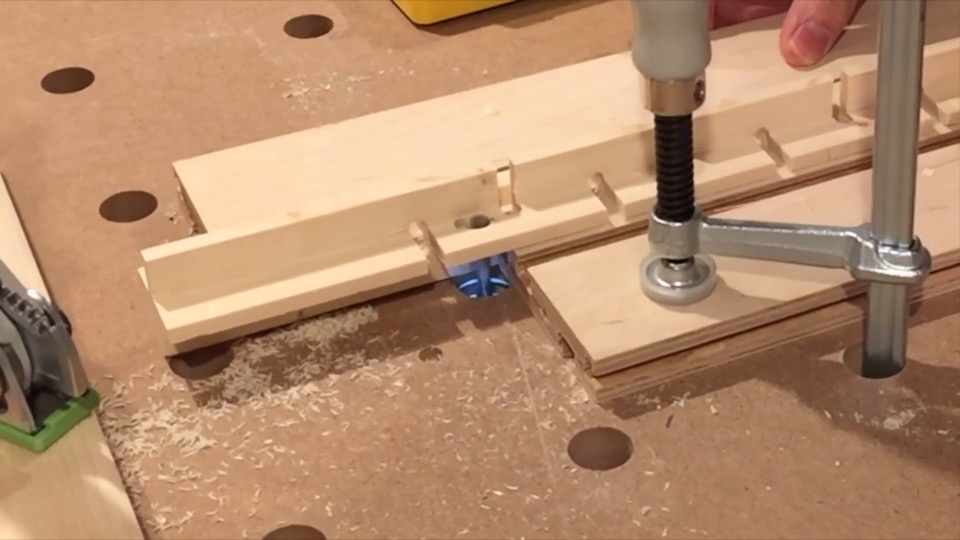
Woah! The guide just slipped on me. Woah!
So everything is working out now, but I should tell you that first attempt I made at this, I cut these horizontal slits before the vertical holes from the previous step, and that ruined out to be a catastrophic mistake because when I went to cut the vertical holes, apparently the workpiece couldn’t handle the forces exerted on it by the router bit, and for lack of a better word it basically fell apart, for lack of better word. This is especially nerve-wracking now towards the end, because at this point I have a lot of time invested and I’m really afraid of breaking it. There’s not much material holding the links together, and it gets more fragile with each subsequent cut.
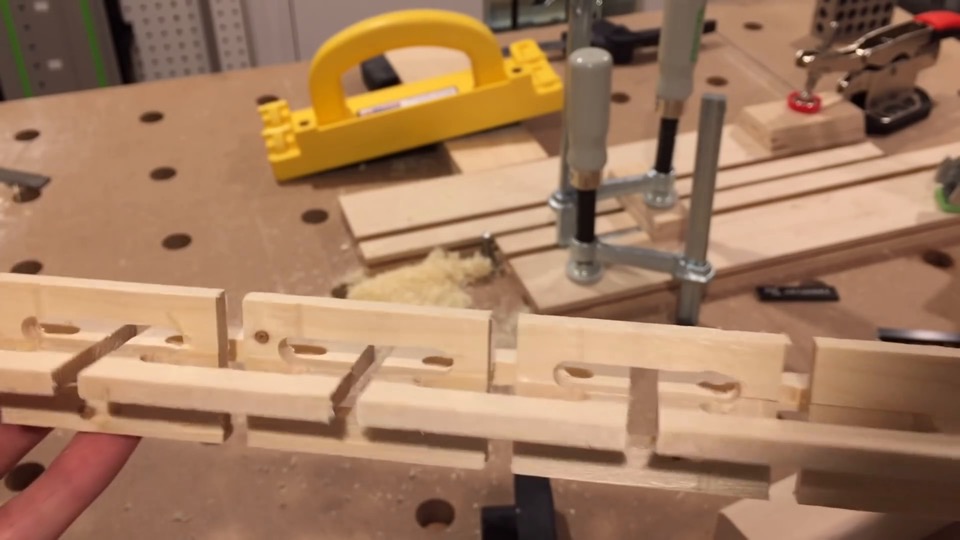
Alas, it’s complete – a total of 7 links in this piece. This is looking pretty good, apart from that mess-up at the beginning.
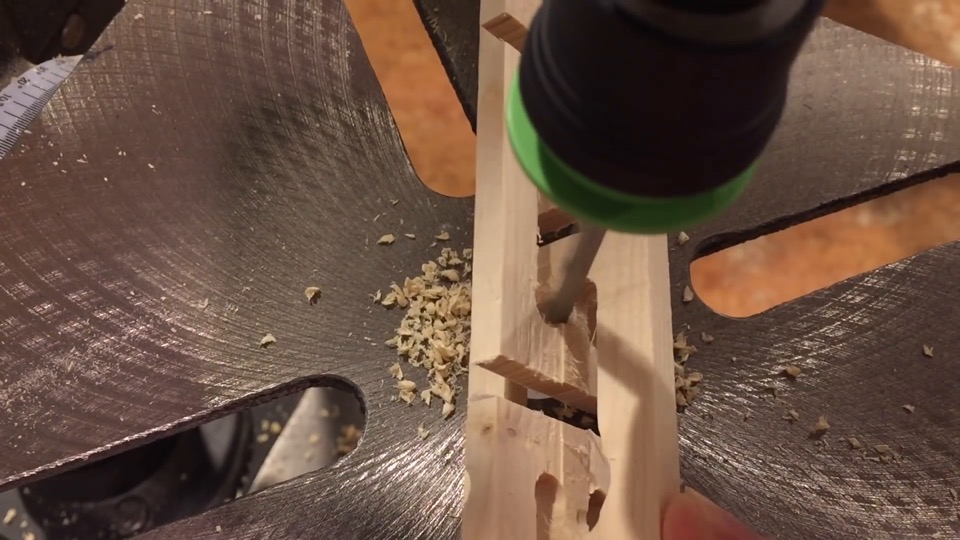
So now it’s over to the drill press. Drilling in the center of a sharp object isn’t as easy as I wish it would be, but with time and care, the job gets done. Ultimately these don’t have to be perfect – as long as I don’t drill into the chain links, it’s all good.
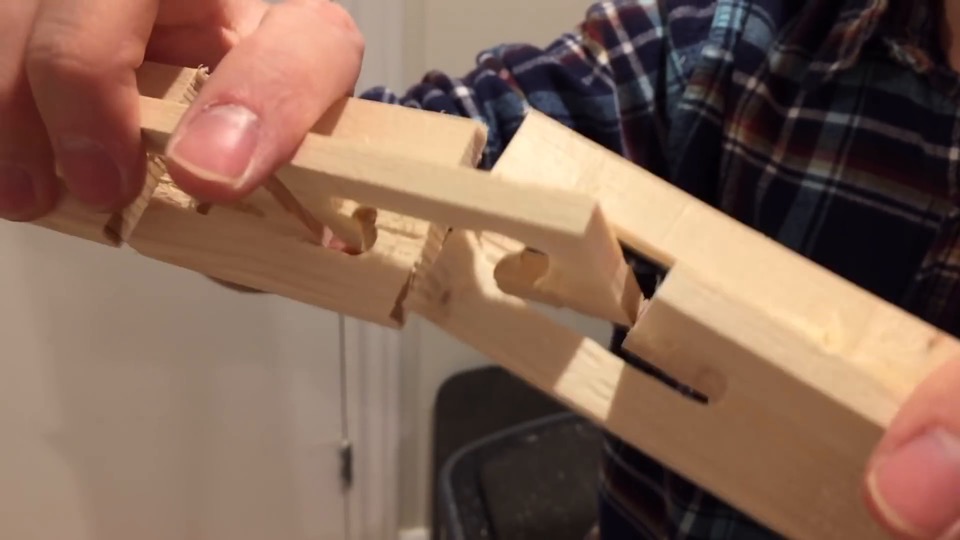
Then comes the satisfaction of breaking what’s left of the connecting tabs. The soothing sounds of cracking wood. Close your eyes and it almost sounds like you’re sitting in front of a fireplace. I said almost.
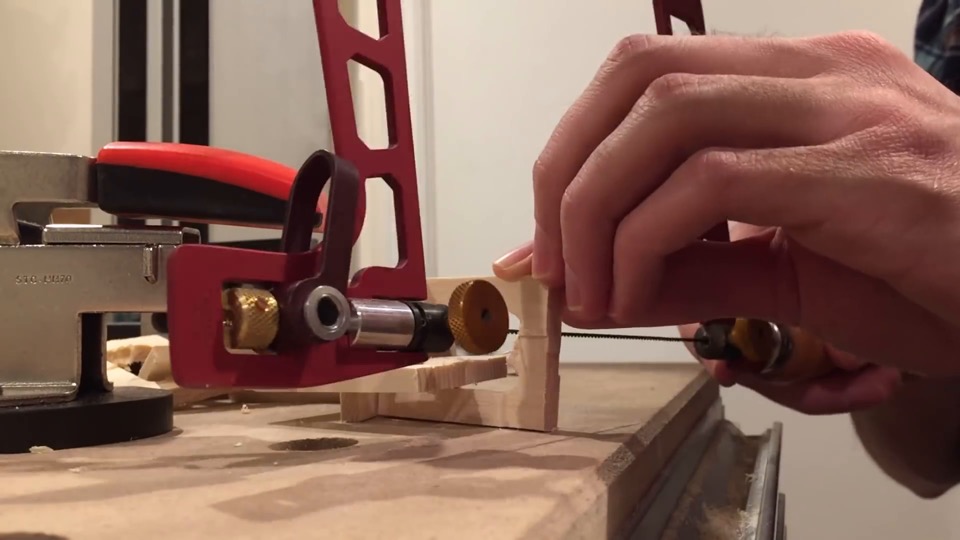
A fret saw is used to trim away what’s left of the connecting tabs that drilling didn’t remove. I’m trying my best to do this without loosing any fingernails.
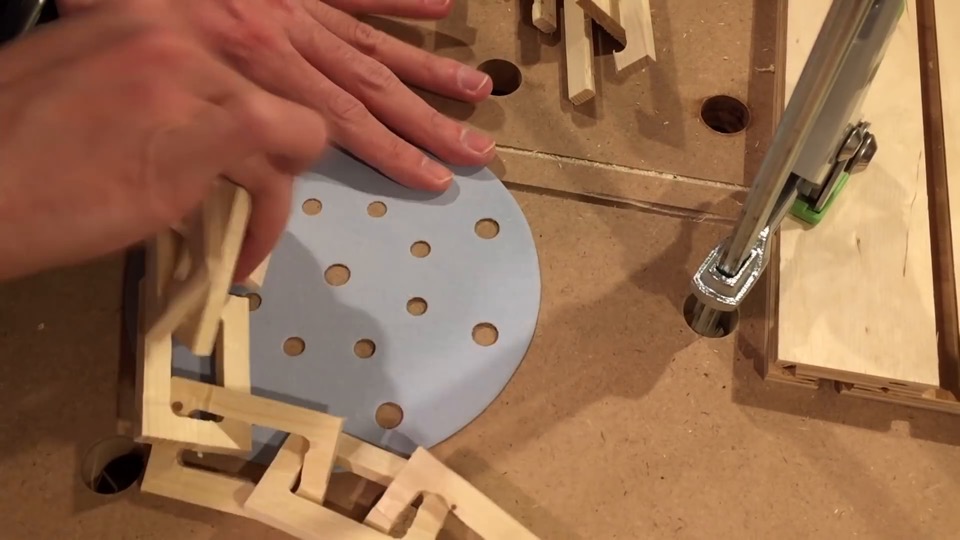
And now the familiar sounds of aluminum oxide. I sand the edges and faces as best I can. The more patient you are, the better it’s going to look. Although as I found out it can be quite a challenge to sand something while it’s attached to six other things. All the while, I’m really afraid I might press down too hard and snap it.
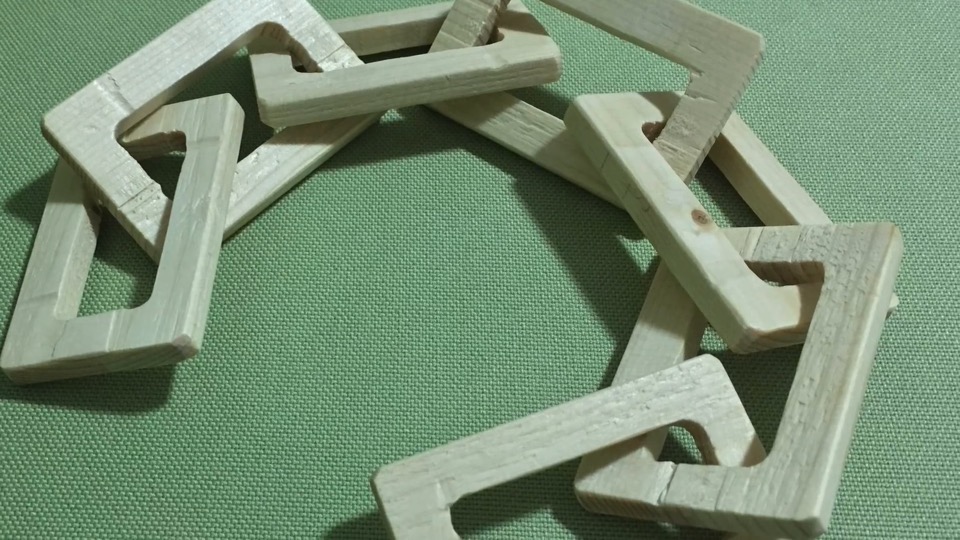
So here’s the glamour shot.
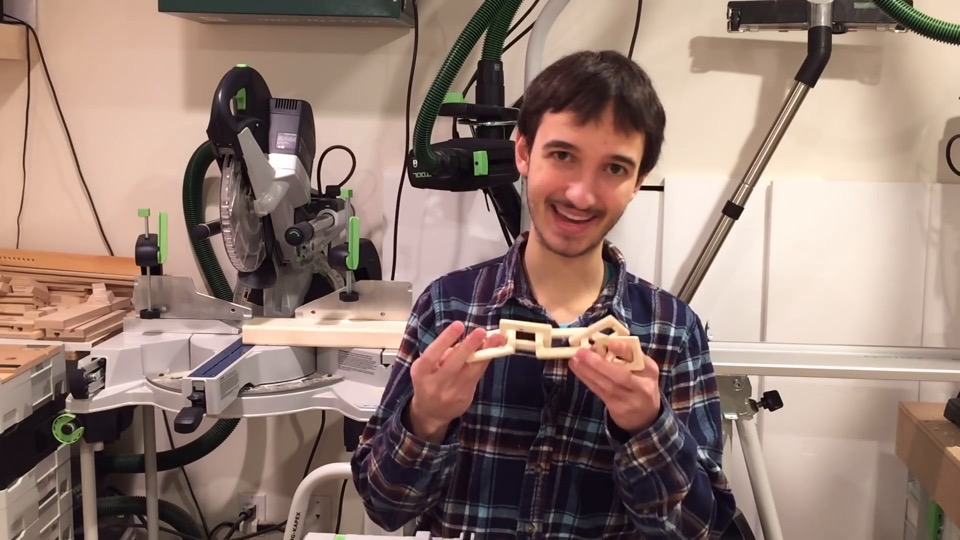
I hope you enjoyed that at least half as much as I did. This was really one of my bucket list builds, and frankly words can’t describe how happy I am with the way it worked out out. I’m always looking to make seemingly impossible things possible, so if there’s something you’d like to see me build, that seems impossible, I’d love to hear it in the comments. As always guys, stay awesome, and I’ll see you again soon!
Festool ETS 150/3 Sander
Festool Clamping Elements
Festool TS 55 Track Saw
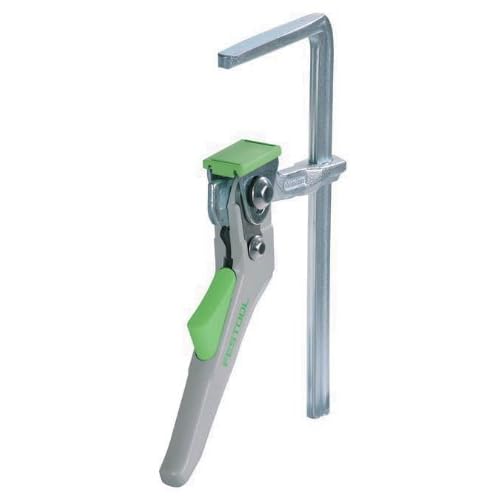
Festool Ratcheting Quick Clamp
Festool Screw Clamps (2 pack)
Festool MFT/3 Multifunction Table
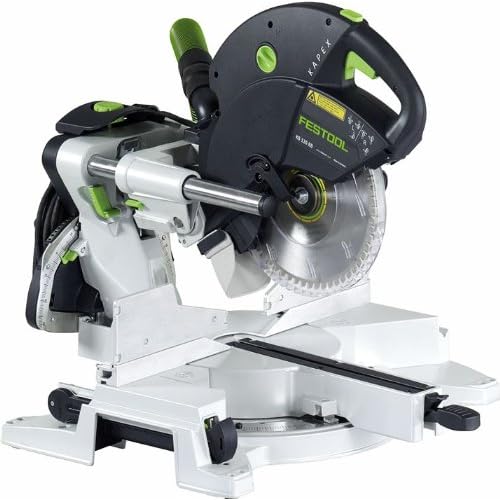
Festool KS 120 Miter Saw
Veritas Router Plane
Veritas Setup Blocks
DeWALT DW611 Router Kit
Japanese Milled-Tooth File
Microjig GRR-Rip Push Block
Bessey Toggle Clamp
Toggle Clamp Mounting Plate for MFT
8″ Drill Press
Knew Concepts 5” Fret Saw
 http://toolify.ca/wp-content/uploads/0035000000.jpg
540
960
Kriss
/wp-content/uploads/logo/toolify_enfold_header_x96.png
Kriss2016-05-30 08:00:462016-12-11 21:16:36Wooden Chain Stress Test
 http://toolify.ca/wp-content/uploads/0020-toolify.jpg
540
960
Kriss
/wp-content/uploads/logo/toolify_enfold_header_x96.png
Kriss2015-10-01 08:00:012016-12-16 09:17:13How to Make Wooden Hex Nuts
http://toolify.ca/wp-content/uploads/0020-toolify.jpg
540
960
Kriss
/wp-content/uploads/logo/toolify_enfold_header_x96.png
Kriss2015-10-01 08:00:012016-12-16 09:17:13How to Make Wooden Hex NutsLeave a Reply
Want to join the discussion?Feel free to contribute!
Leave a Reply Cancel reply
This site uses Akismet to reduce spam. Learn how your comment data is processed.










that’s was good.
what about a router (easy) lift?