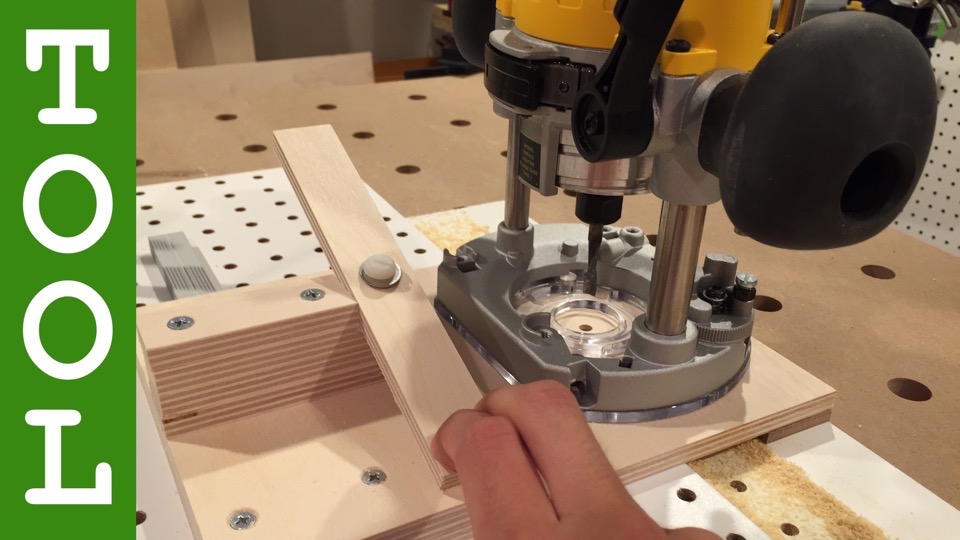
Drill PERFECT shelf holes with a router and this SIMPLE homemade guide! If you haven’t heard of the LR 32, you HAVE to watch.
This is my shelf pin hole drilling jig.
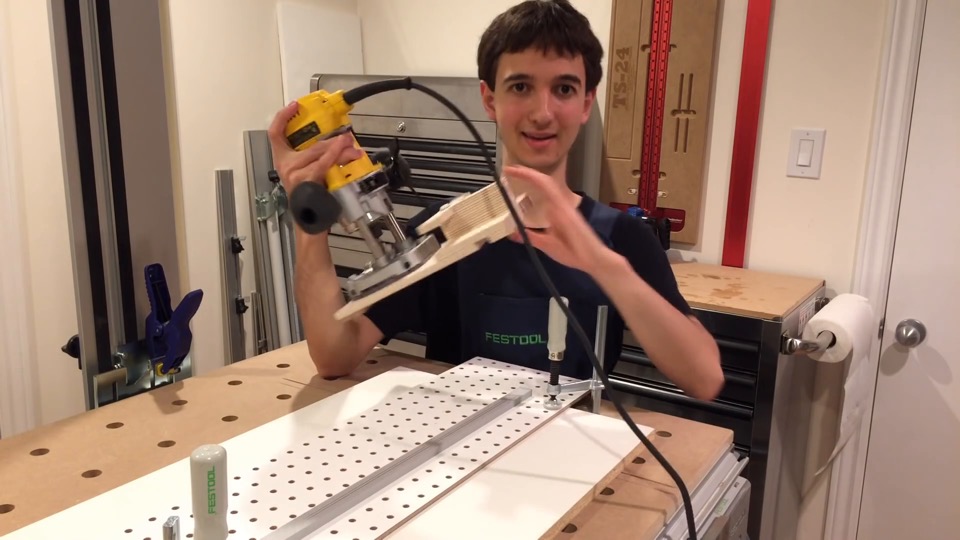
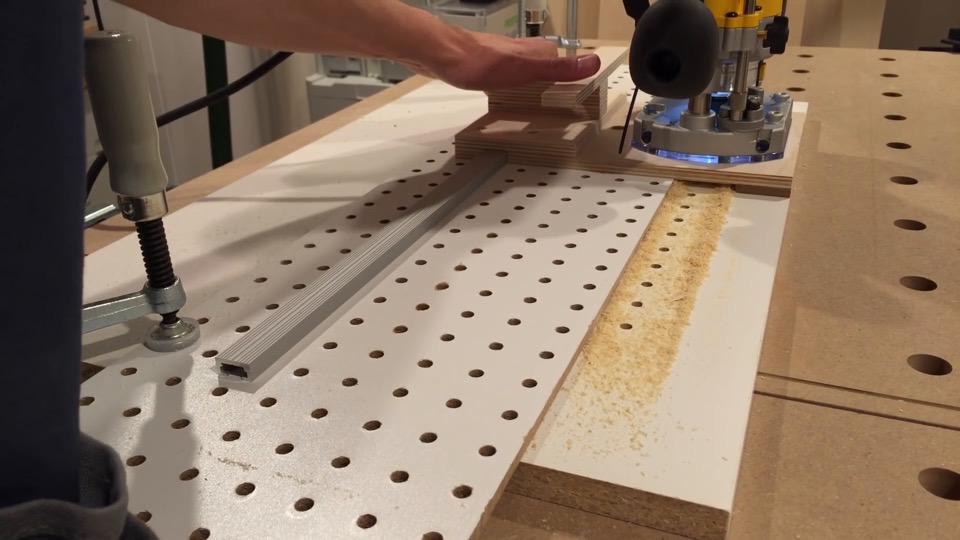
The jig comprises a simple router guide, and a spring-loaded indexing pin.
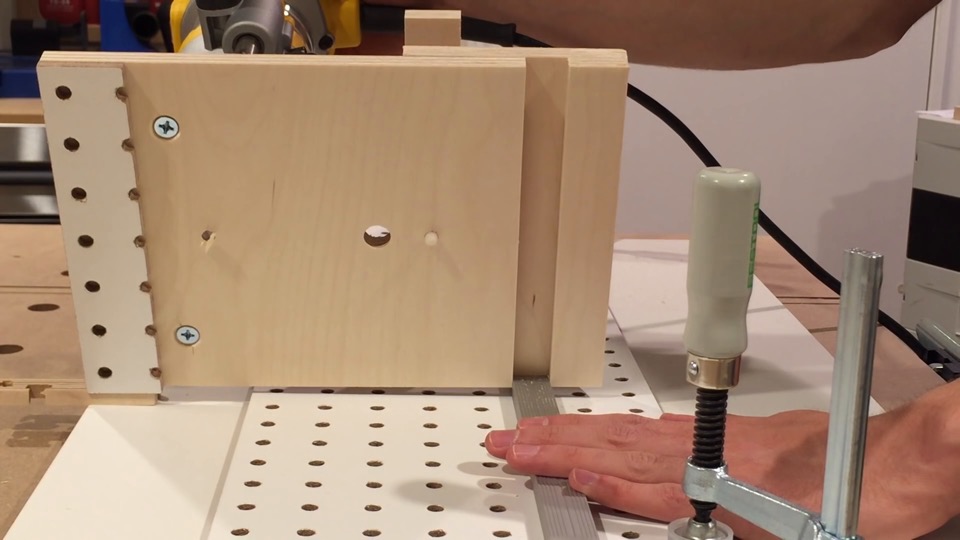
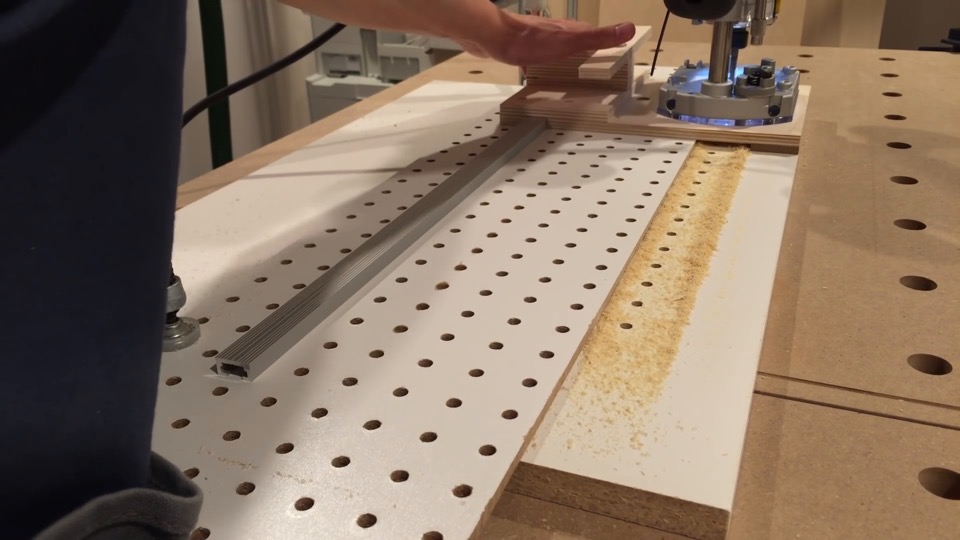
Guided by a T-track, and pegboard there’s no faster way to drill perfect shelf pin holes.
All the parts are cut from 3/8” birch plywood. I measure…
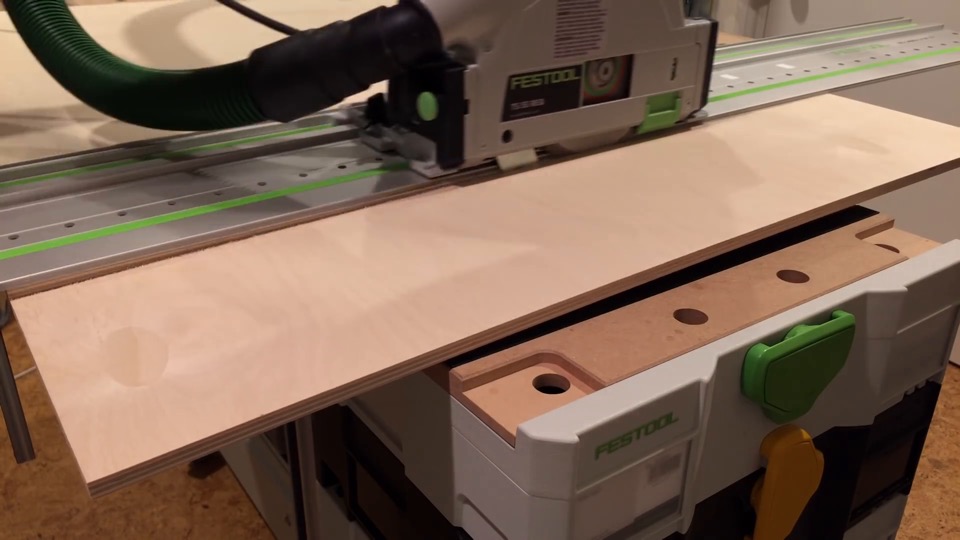
Cut…
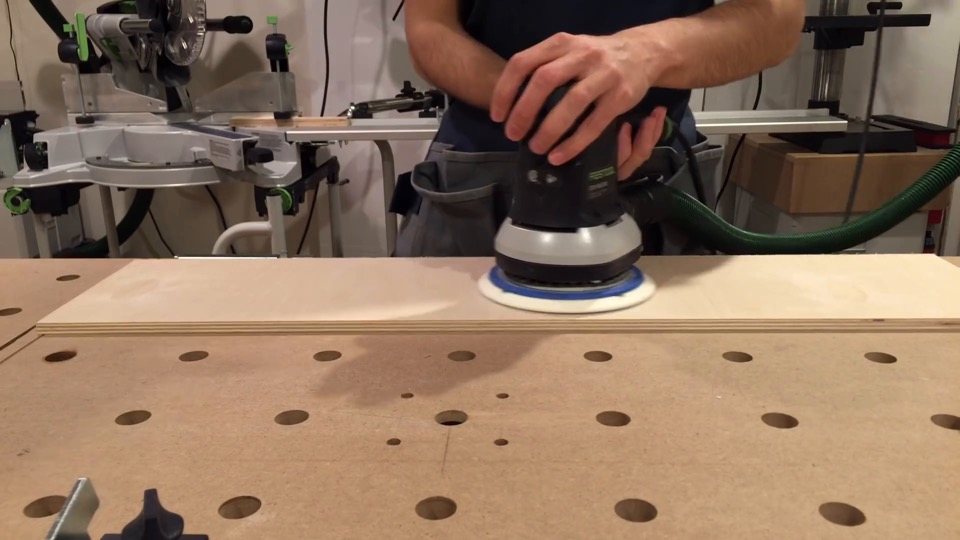
Sand…
Measure some more…
And cut some more…
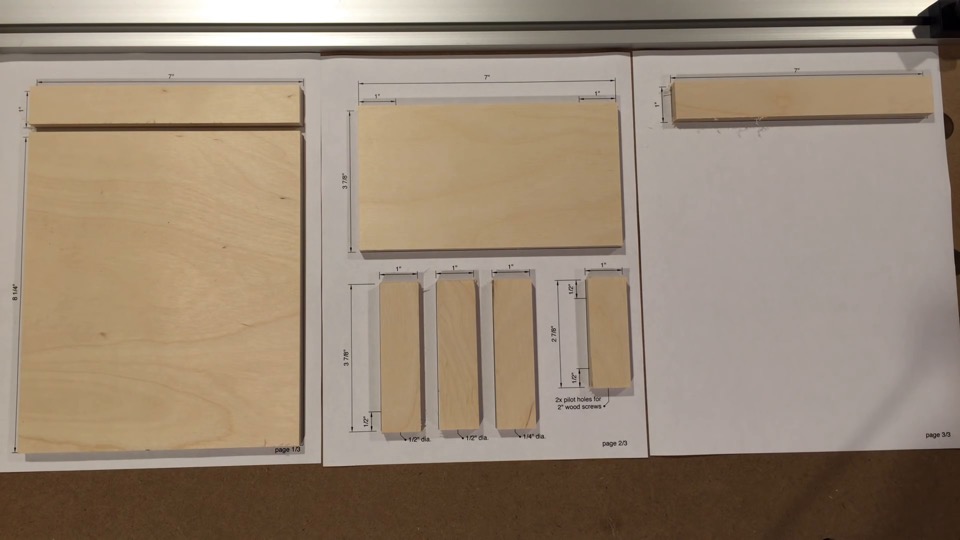
Eventually, everything is cut according to the plans, so now I’ll drill the holes.
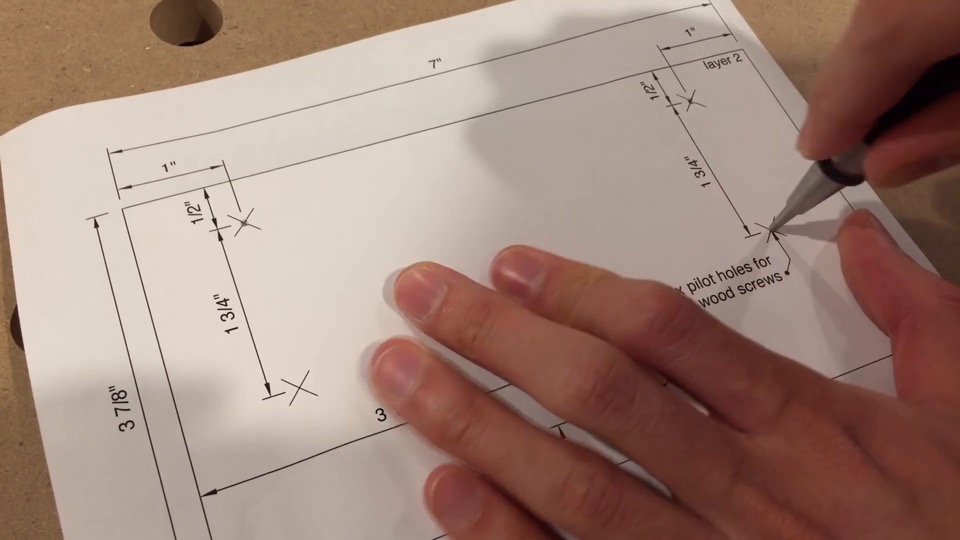
Hole centers are market with a spring loaded punch.
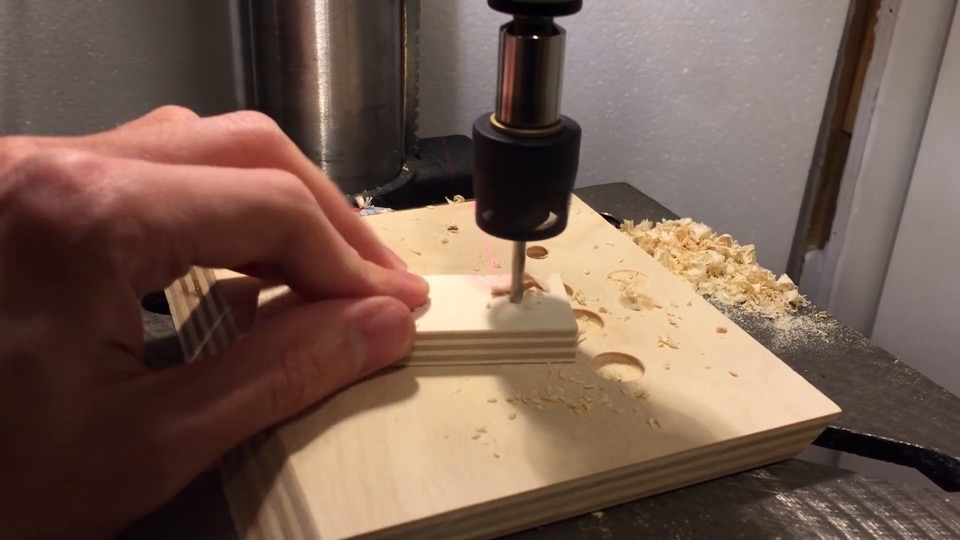
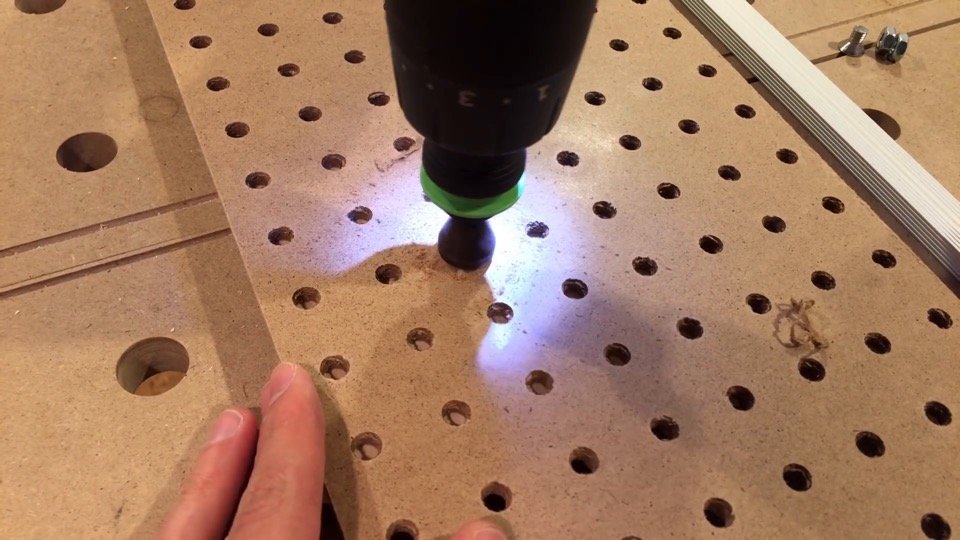
I’m using a depth limiting countersink bit here to drill out the pilot holes, but this can be any regular bit.
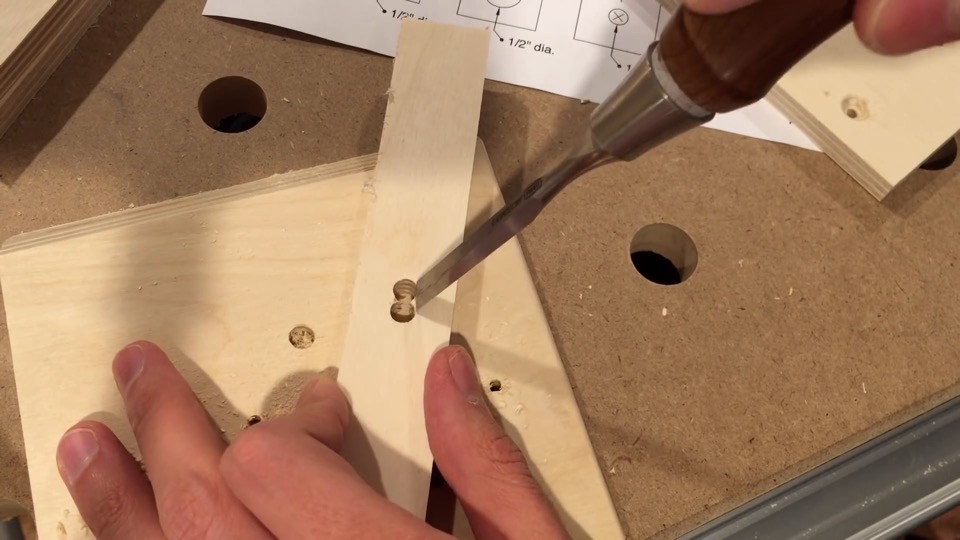
This is the activator bar. It needs a rectangular hole so it can pivot. I drilled two holes side by side, and I’ll chisel out the excess.
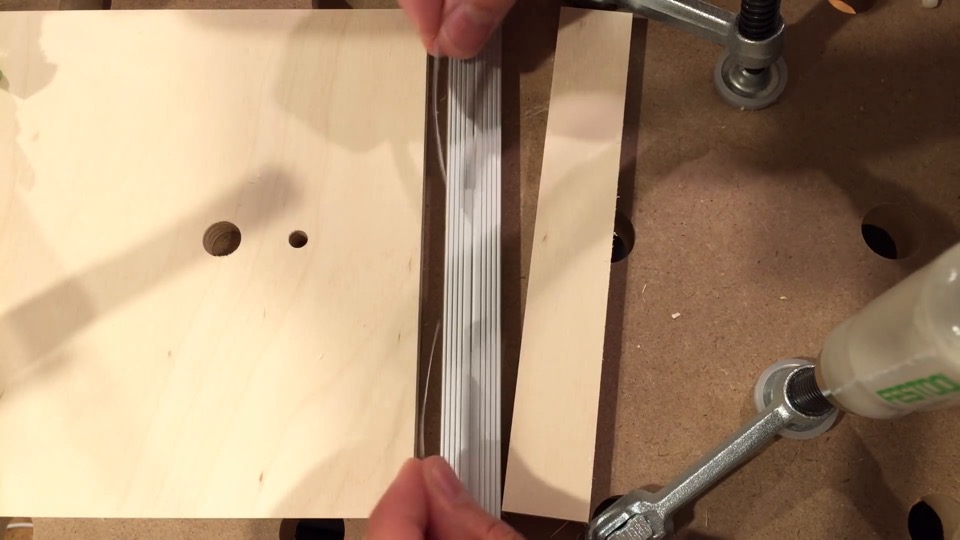
The assembly goes like this: start with both layer 1 pieces, add the T-track in between to make sure that the spacing is right. Also add some paper shims, so that the fit isn’t too tight.
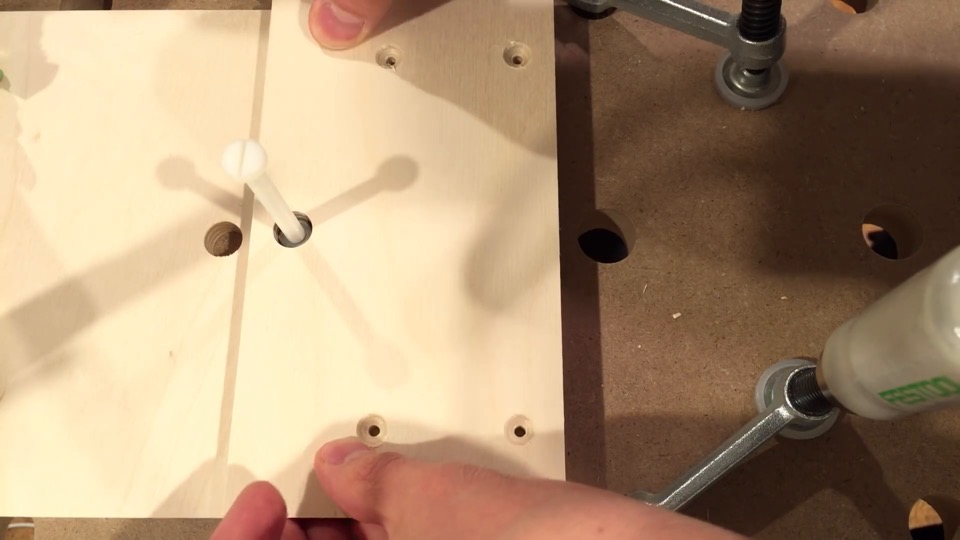
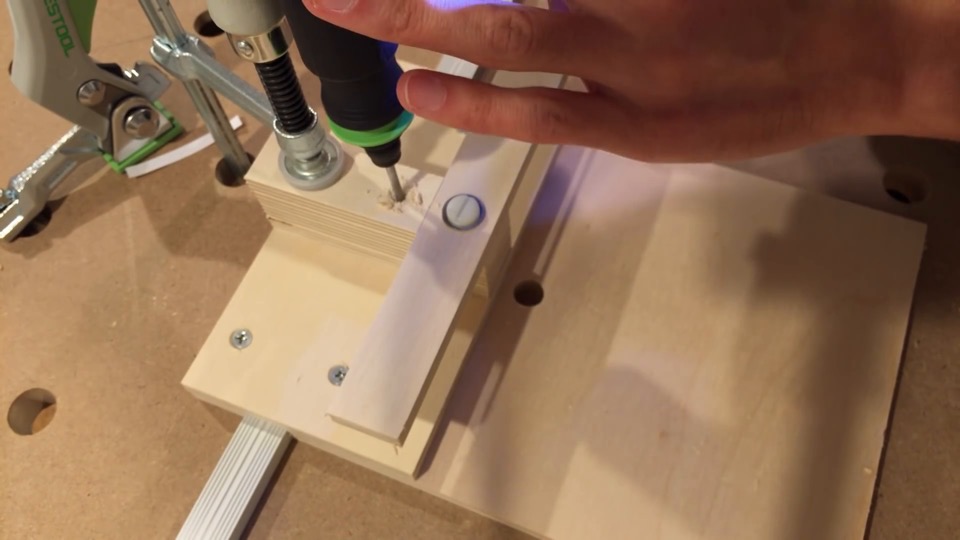
Add the layer 2 piece, then thread the metal nut on the nylon bolt, and insert it through this hole so the two pieces mate up correctly. Clamp down to temporarily hold in place, and then fasten together with screw.
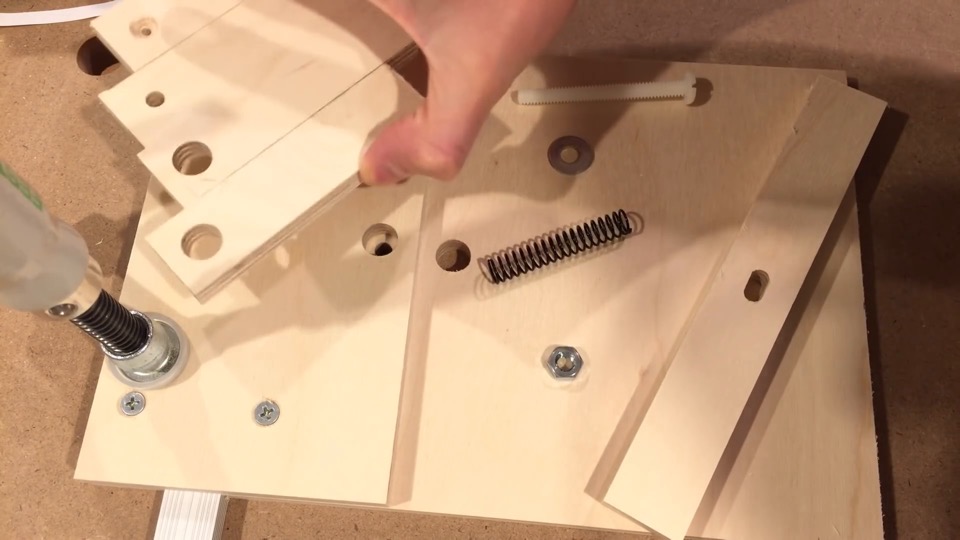
Now the interesting part: got the four remaining levels, activator bar, nylon bolt, metal washer, spring, and metal nut. I used a nylon bolt instead of metal because metal will scratch and damage the wooden pegboard.
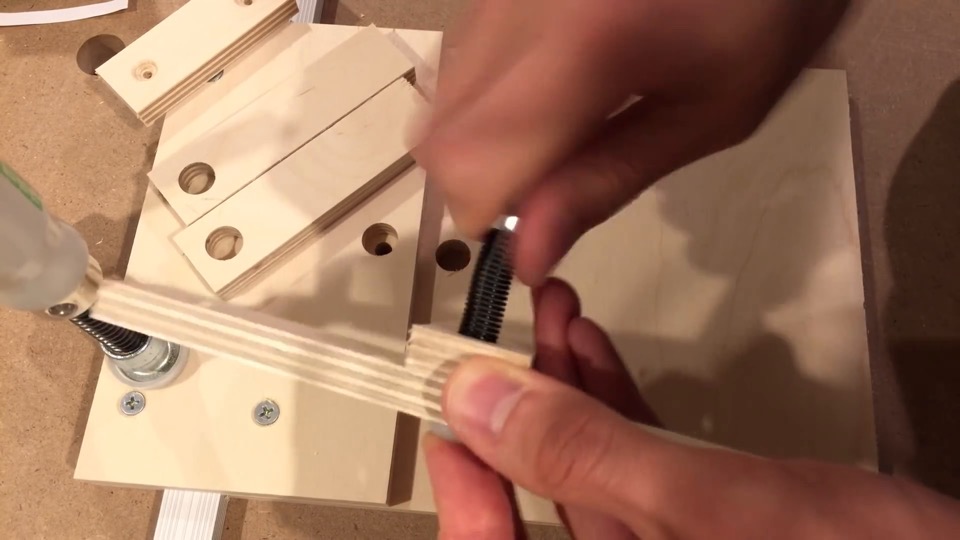
And when everything goes together, the nut should be flush with the base of all layers.
Almost done, now just extending the pilot hole and fastening down.
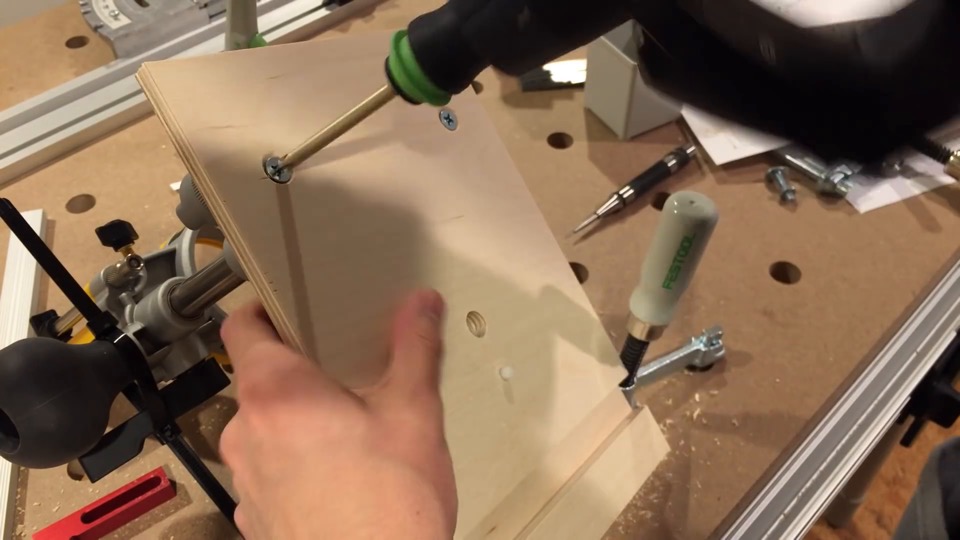
To mount the router, drill holes as needed for your model.
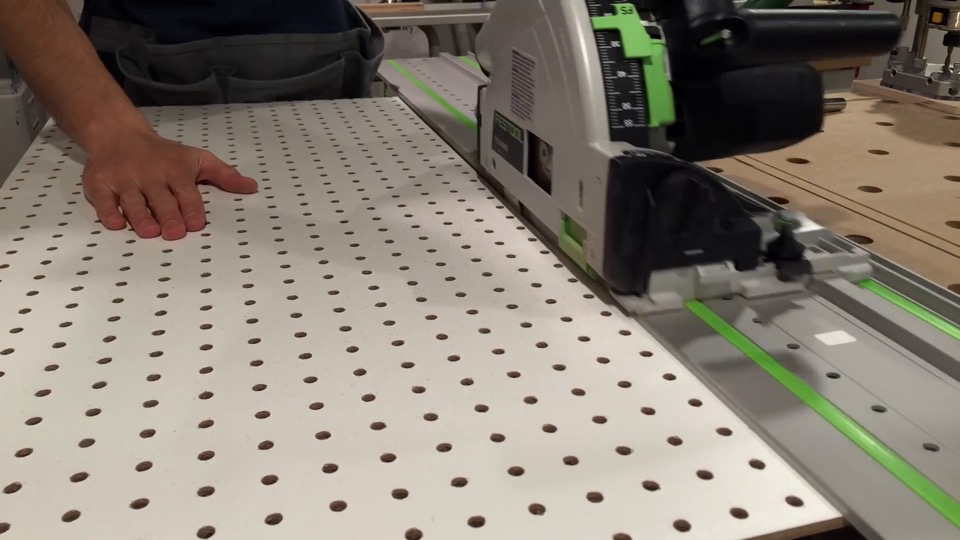
Making the pegboard guide.
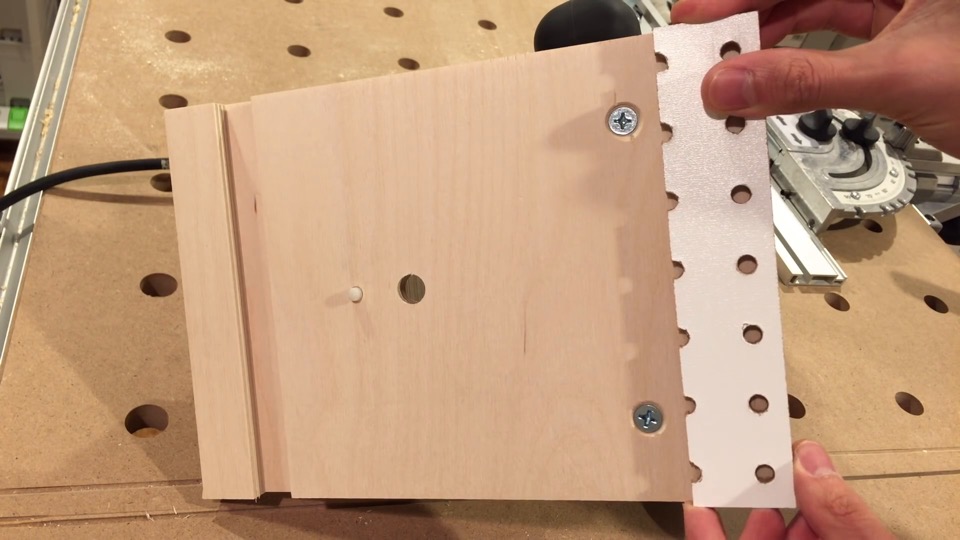
I’ll attach a small piece of the pegboard over here to keep the router from tipping. Screws will work fine, but I’m using some double-sided tape.
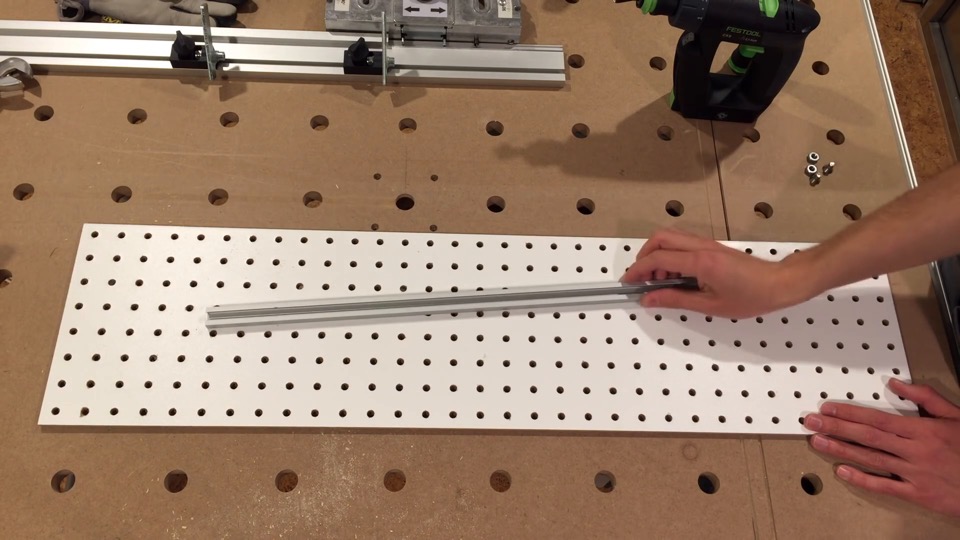
Making the guide rail: you need pegboard, T-track, and some hardware.
Two counter-sinks are drilled from the underside.
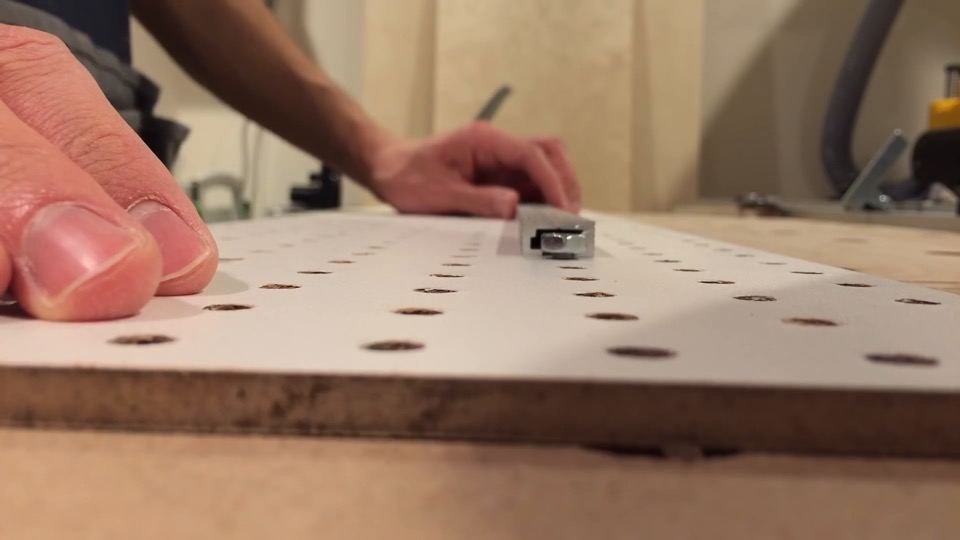
The screw goes into the countersink we just drilled, and the nut over top. Finally, the T-track. You can make this guide as long as you want by connecting tracks together.
All done now. Here’s a complete row of hole all drilled out. So I hope you found this project useful. Go ahead and grab the plans! Thanks for reading, and I’ll see you soon!
DeWALT DW611 Router Kit
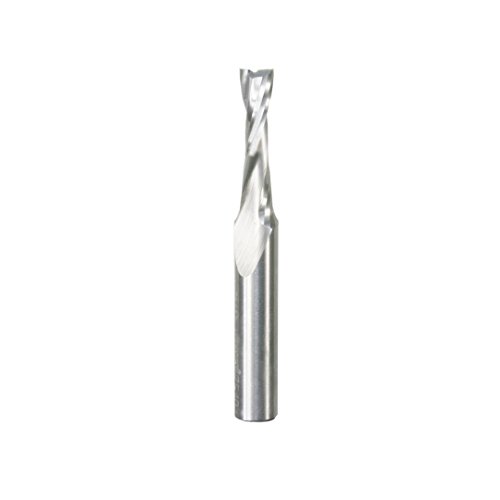
Freud 1/4” Spiral Bit
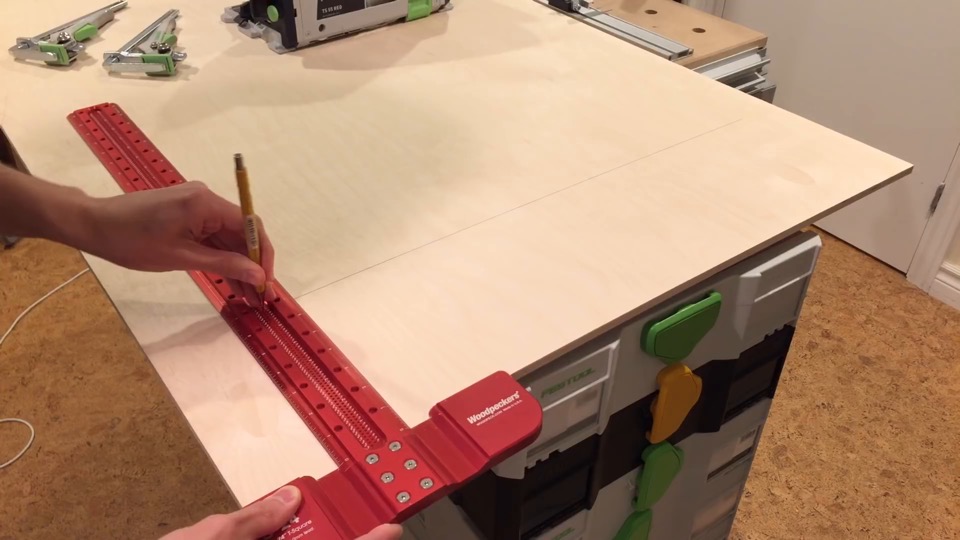
Woodpeckers 24” T-Square
Festool TS 55 Track Saw
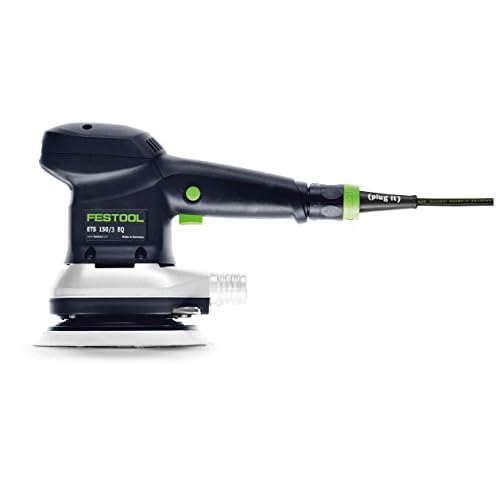
Festool ETS 150/3 Sander
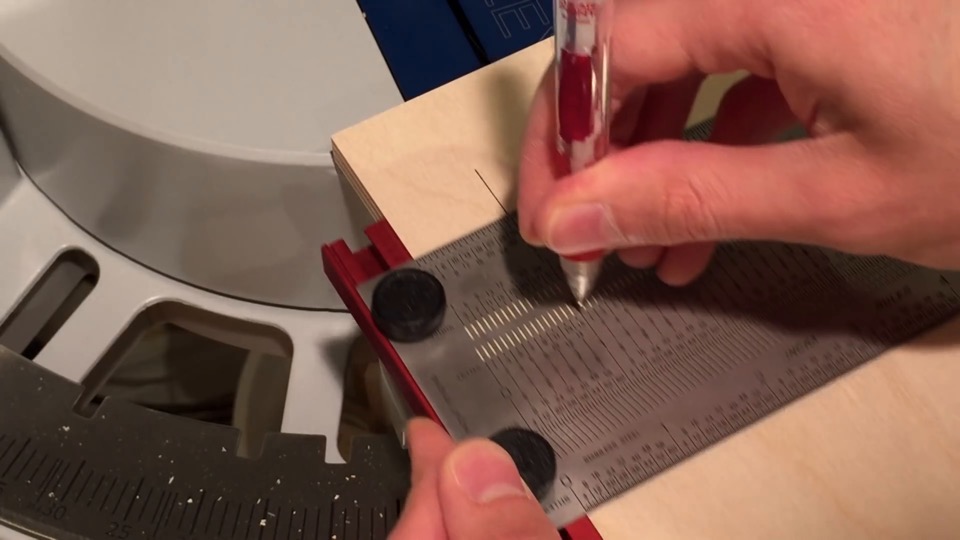
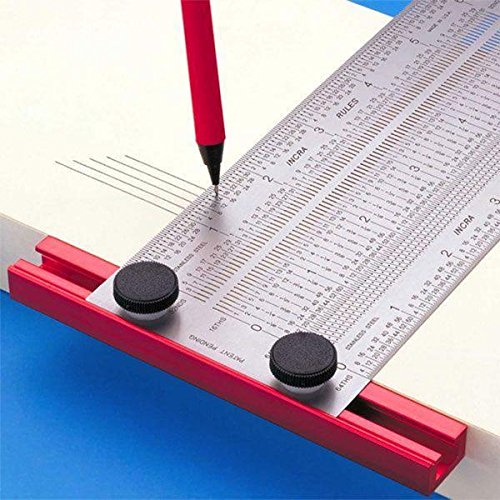
Incra 6” T-Rule
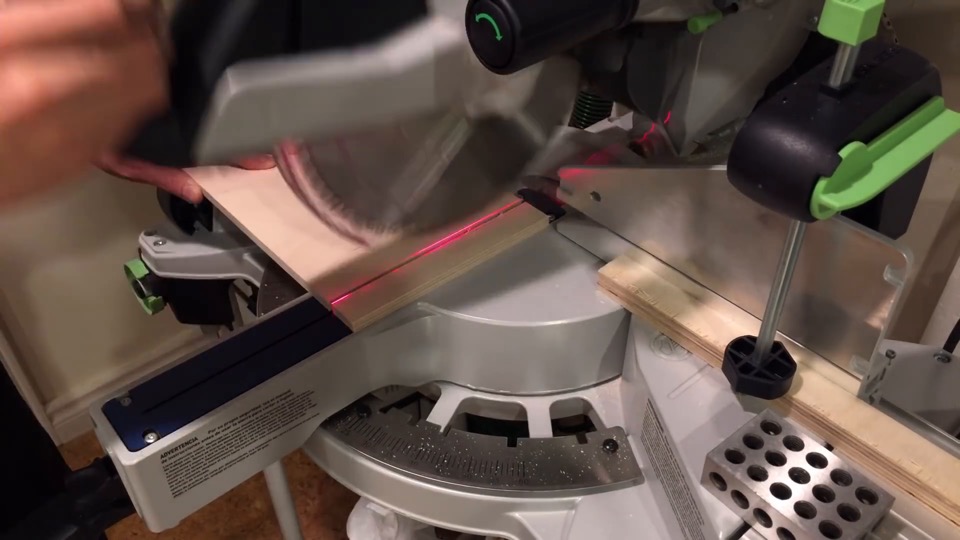
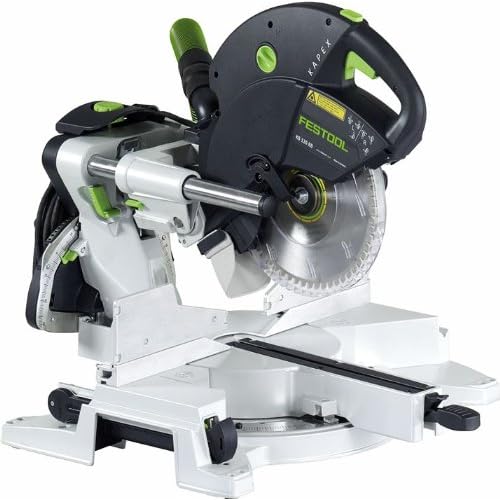
Festool KS 120 Miter Saw
Veritas Setup Blocks
Starrett 18AA Automatic Center Punch
8″ Drill Press
Festool mm Countersink Bit
Veritas PMV11 Butt Chisel
Festool Screw Clamps (2 pack)
Festool Ratcheting Quick Clamp
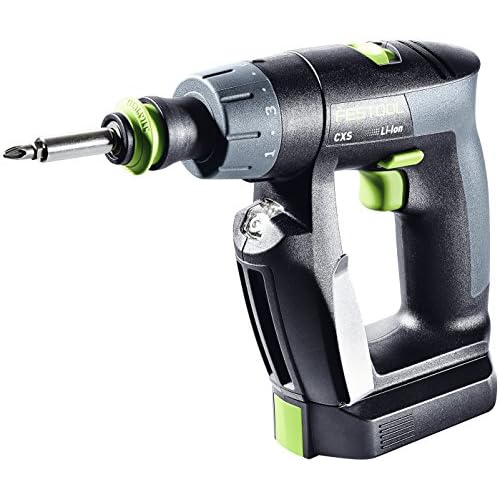
Festool CXS Drill
Festool mm Countersink Bit
Festool MFT/3 Multifunction Table
Festool CT 36 Dust Extractor
Leave a Reply
Want to join the discussion?Feel free to contribute!
Leave a Reply Cancel reply
This site uses Akismet to reduce spam. Learn how your comment data is processed.







I’m a big fan. This is another great design. Looking forward to what you come up with next.
Keep up the good work, looking forward to what you come up with next.
Rusty
very interesting in the things you put on here its even more enjoyable to see a young person like yourself this interested in this kinda work and your attention to detail is above what would normally expected plus you even speak normal that is a lost art in the young people today I am shocked I even can understand what your saying great job keep it up and you already know great things are to follow you in your future im sure of that.
I really enjoy the content of your YouTube woodworking channel.
Looking forwards to each new video project. And thanks for posting the Free Fastest Home Shelf Pin Hole Drilling Jig plans.
Like much of his work and think your Arcenal very good tools … I’m from Brazil and here the tools are not as accessible as in your country.
Continue straight … I would love to one day be able to know your work personally …
good job. I’ve been doing carpentry, mostly residential, for 45 years and have recently started doing cabinets and smaller projects. I’m amazed at all the high end tools you have, actually jealous. You look too young to be able to afford all those tools, so I’d say you owe your folks big time. Keep up the good work and thanks for the plans.
Aloha,
Dean
Having just discovered your channel, I am very impressed with your speech as you describe the assembly, and the theory behind these designs. These are all engineered and well thought out. I am now a fan. Thank you.
Hi,
I have been watching a few of your videos now and find them fascinating. I have made the jig for cutting squares and rectangles and am waiting to find the right metalwork to fit the tracks. I like this shelf hole drilling jig as well, so I will be giving it a try. Will let you know how I get on.
Thank you for teaching an old dog new tricks.
Awesome! Yeah, the hardware for the routing template can be tricky. My original build used #8 size machine screws, but apparently I had some extra wide #8 size nuts, because when I went to buy more from the store they were too small. #10 size nuts work well, but that will require enlarging the pocket hole to fit a #10 size screw. If that sounds complicated, another viewer had luck using #8 size wing nuts in reverse.
This is awesome, congrats!!!! Can you tell me wich router bit should I use if I want to make bigger holes like lets say 5/8? Thanks!!!!
Great work!
Thank you for posting yout inventions.
How is your router attached under your MFT table?
Thanks,
Conny, Sweden
Hi Conny! There’s a video for the MFT router table on my second channel: https://youtu.be/v4yKWp_rOB0
Hello Kriss…!
Your Videos are very good…and clear.
Great simple jig…!
What kind of pegboard do you use…?
Your 3D-warehouse link do not Work…
but I used the updated router jig link…
and found you on 3D Warehouse.
I exploded your shelf pin model…
and put ev’rything on layers…
as components.
Here it would be great, to also have the peg board…
so I made one.
I can send the model to you…
If you want it…
Please check to see…
if all is ok.
Your Measurements are in the pdf…
these are what I have used.
I found 2 standards for peg boards on Wiki:
1″ spacing-1/4″ thick-1/4″ holes
and
1″ spacing-1/8″ thick-3/16″ holes
You use a 1/4″ nylon bolt…
I asume this is the hole size used…
This is the pegboard I made.
I also found a universal T-track(Mintaka) on 3D warehouse…
This is in the model too.
Greetings Kriss…and good thing your camera made it…!
Thanks Jakob, your Sketchup model is live!
You mention in the video that a Sketchup model would be available and Jakob talks about the D warehouse link. I cannot see anything about Sketchup and certainly no 3D warehouse like. Where are they ?? The main reason I need the ketchup is so that I can change the dimensions to metric.
Yikes! You’re right, the link seems to have gotten lost. Here’s where you can download the model: SketchUp Warehouse
Great stuff. Thanks
Good work, man. Congrats.
Great jig!
Any ideas on a mft table top jig?
Yes, but it’s going to take some time to make the video. Stay tuned 🙂
Hi,
This is a great video that fills a need for me. I have a couple of questions.
Tell me the brand of your depth limiting countersink? I didn’t see it in the links.
I use a larger Porter Cable router. What adjustments might I need to make on the base?
Here’s the countersink bit: http://amzn.to/1QdqoSq
For a larger router, just enlarge the big layer 1 part as needed for it to fit.
I just found your channel and I must say it is amoung one of the best detailed woodworking channel out there. For a young guy I give you a lot of credit. Your knowledge in woodworking especially your technical and detailed experience surpasses the older woodworkers I’ve seen on youtube. Keep up the great work. PS your tools are great, Festool, talk about the cadillac of tools.
Young man, I cannot follow you. You are too much for me. I’m a beginner, but you make me feel even more inept. Especially with those tools. What a lucky guy you are.