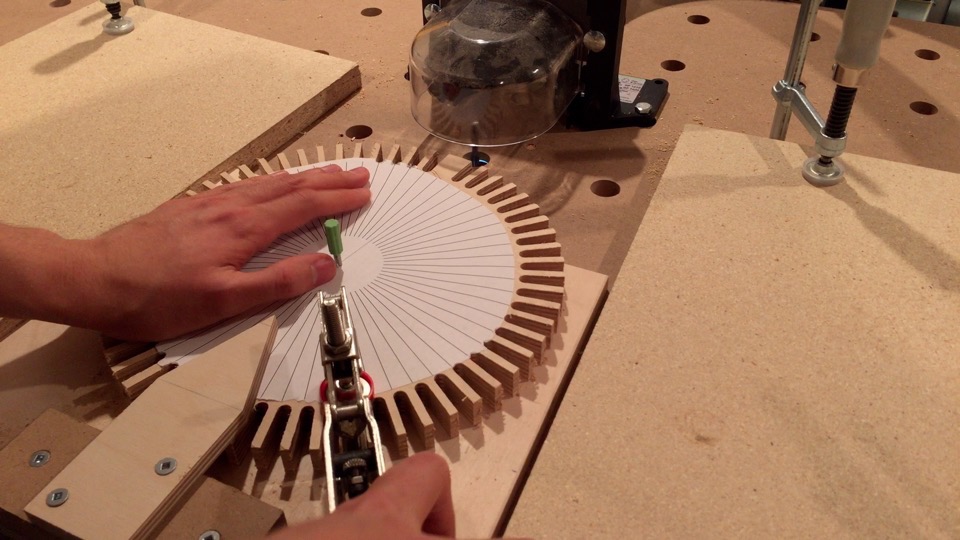
A SIMPLE jig that transforms your router table into an EFFECTIVE gear making machine!

I’ve been working on a project that needs some custom gears.
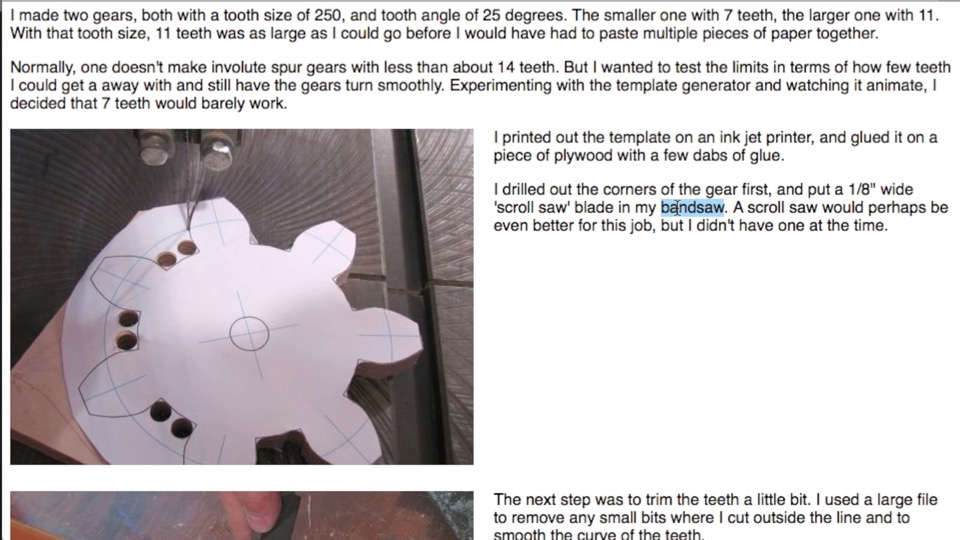
It began with the usual google search. Unfortunately I don’t have a band saw, or a scroll saw, and I don’t trust myself to do any kind of precision work with the jigsaw.
Eventually I got the idea of using a router table.
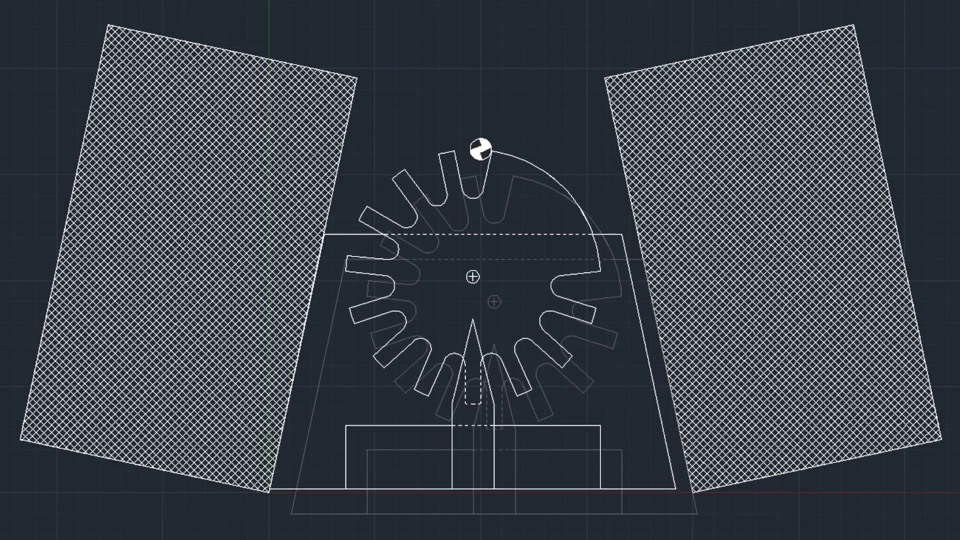
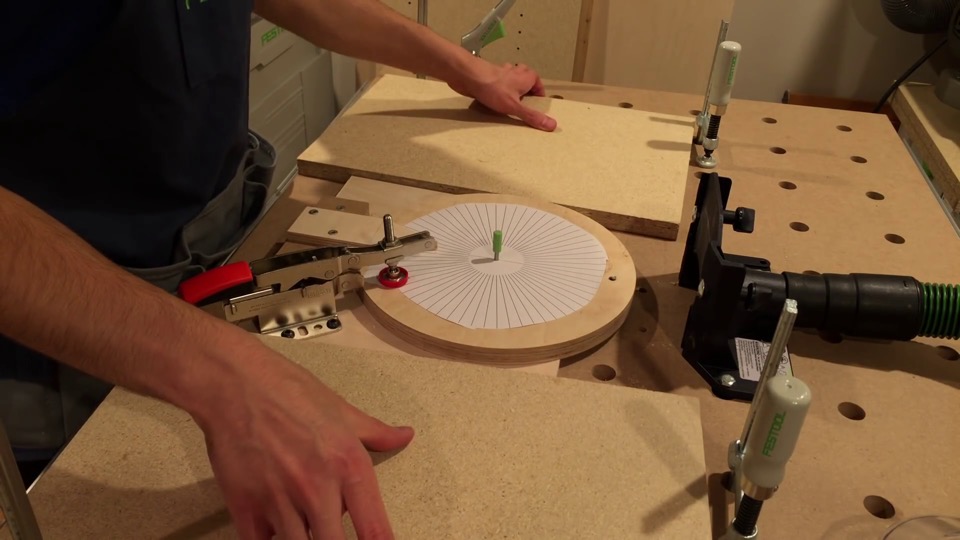
It looks something like this: basically a gear blank is secured to what I call a trapezoid guide, and with the clever placement of a couple of fences it makes a very useful gear cutting setup.

I’m very happy with the end results, so keep watching to see how I make this jig.
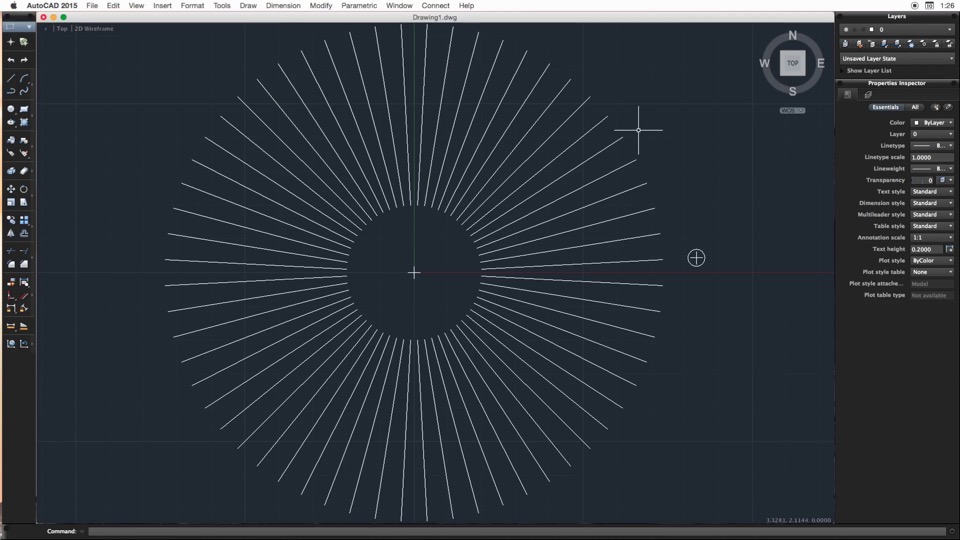
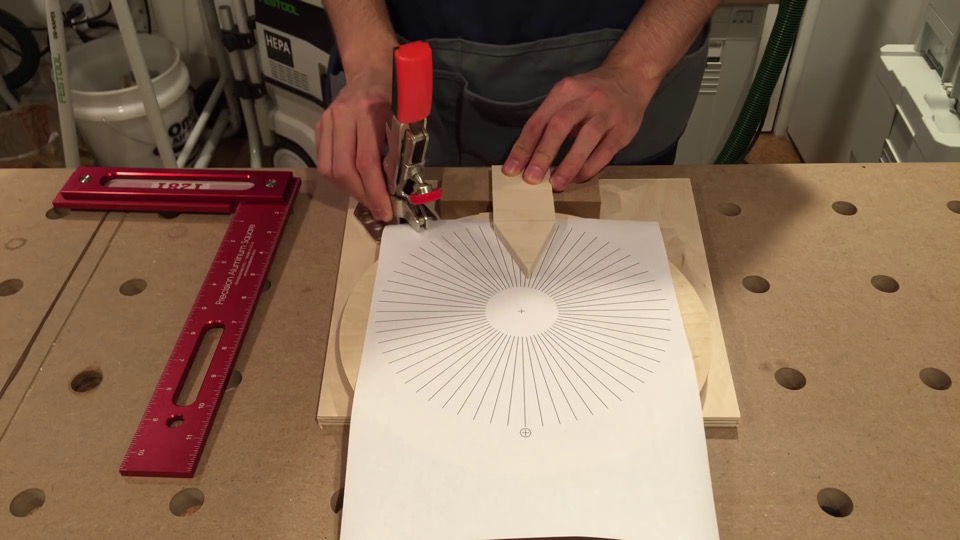
Before getting in the shop, I use AutoCAD to create a template that evenly divides the circle according to the number of gear teeth.
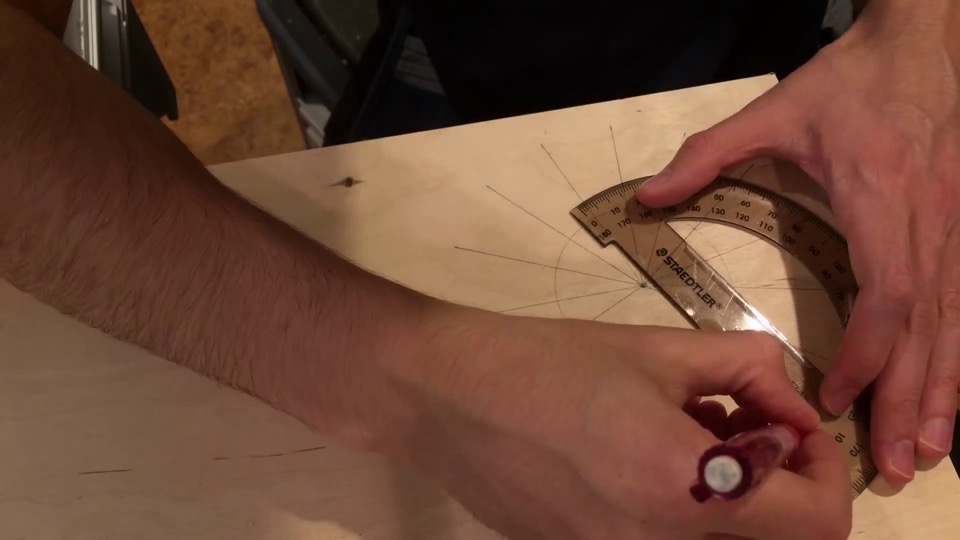
If you don’t have AutoCAD available, this step can be done with a good old protractor. That’s how I lay out the small gear because there isn’t any space to secure a template.

Depending on the tooth count, the trapezoid guide has to be shaped accordingly. To determine the angles, take 360 degrees, divided by the number of teeth – I’m making a 60 tooth gear, and divide by 2 because we cut on both sides of the trapezoid.
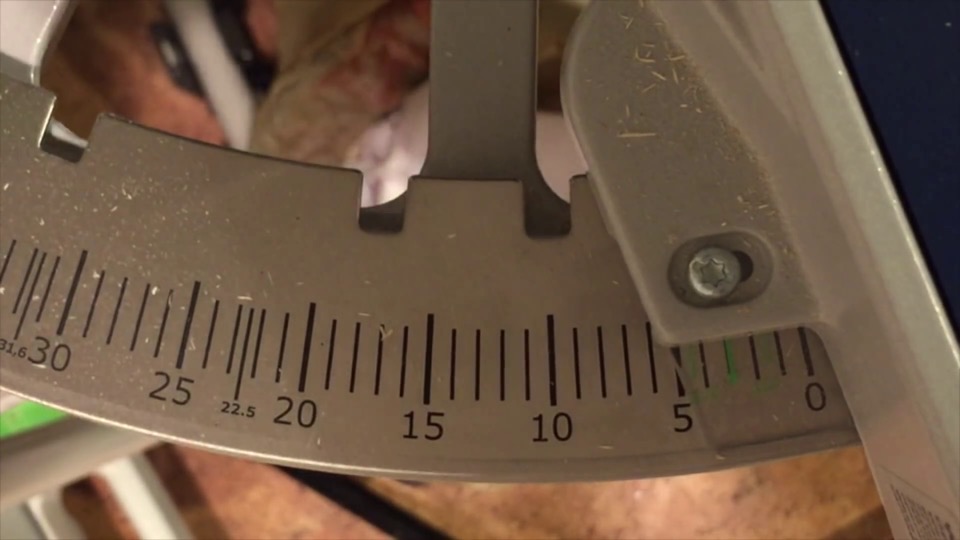
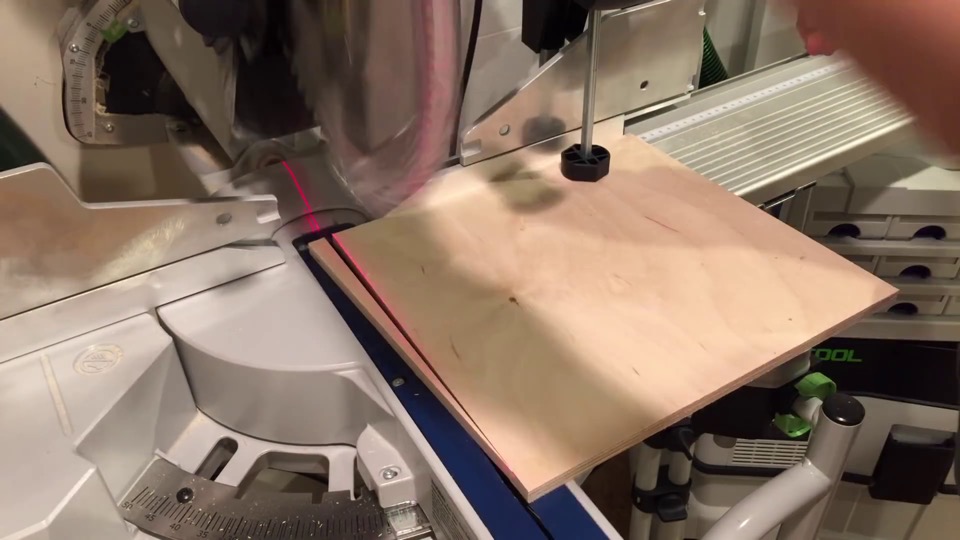
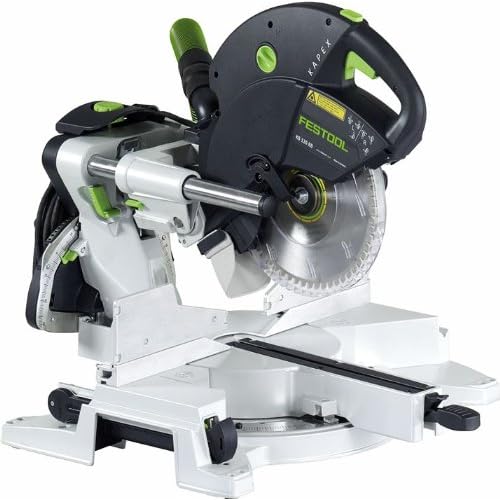
So 3 degrees is the angle the miter saw needs to be set at.
A piece of 3/8” plywood is cut to the same angle on both sides. This trapezoid now shares the same geometry as a single tooth of a 60 tooth gear.
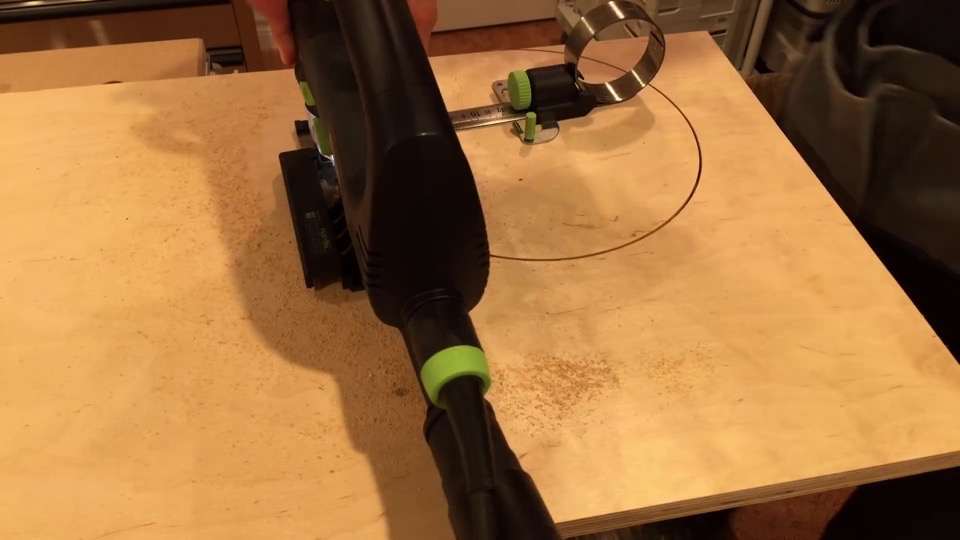
I cut out a rough circle with a jigsaw just a hair over the final outside diameter of the gear.
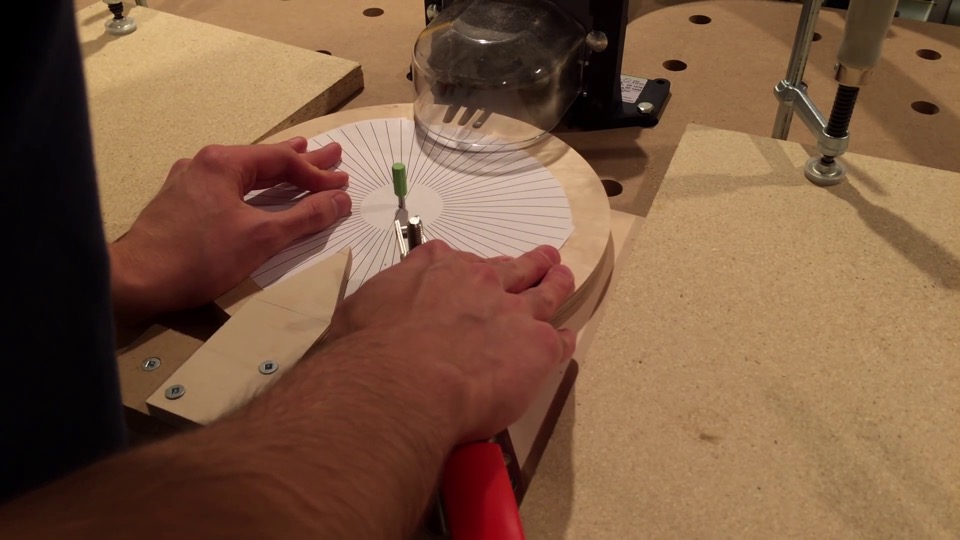
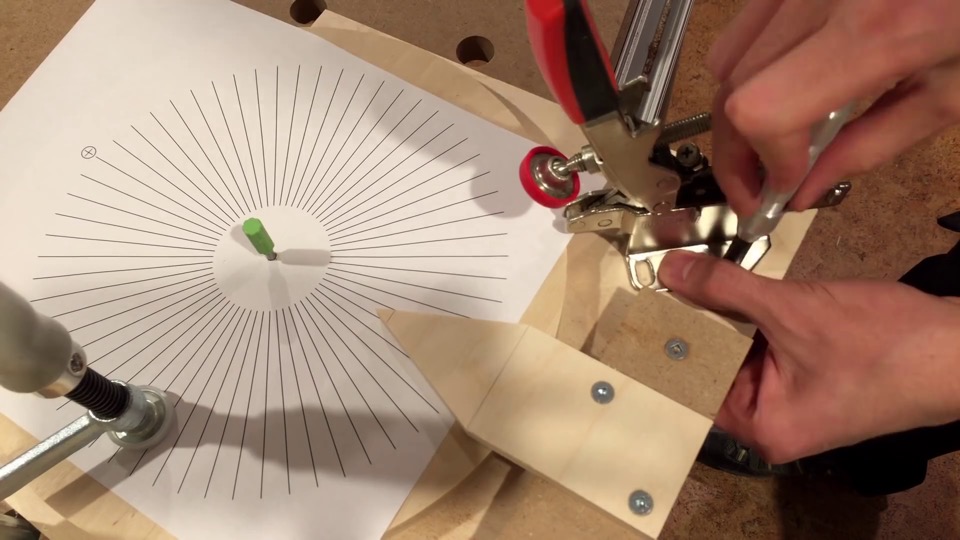
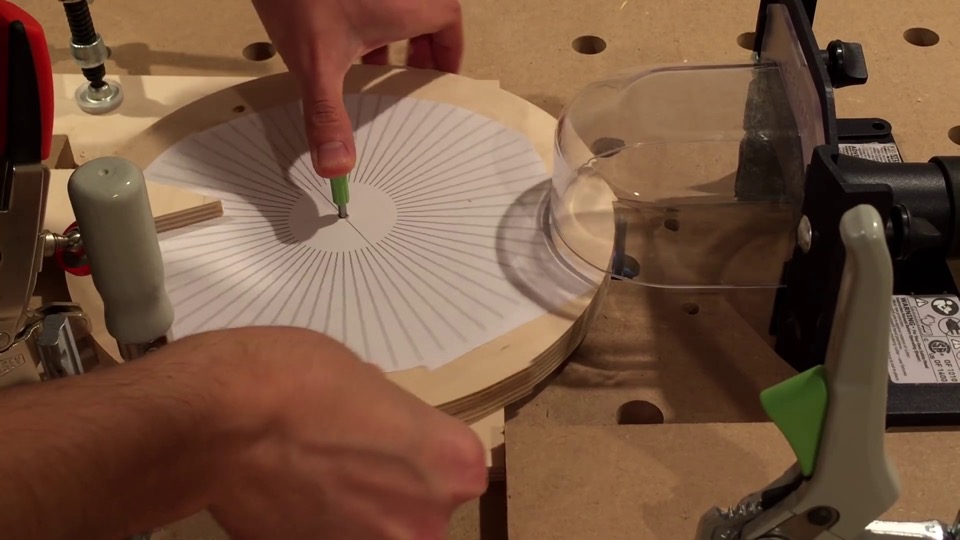
So there’s the trapezoid guide, what will soon become a gear, the template, this pointer, and a clamp.
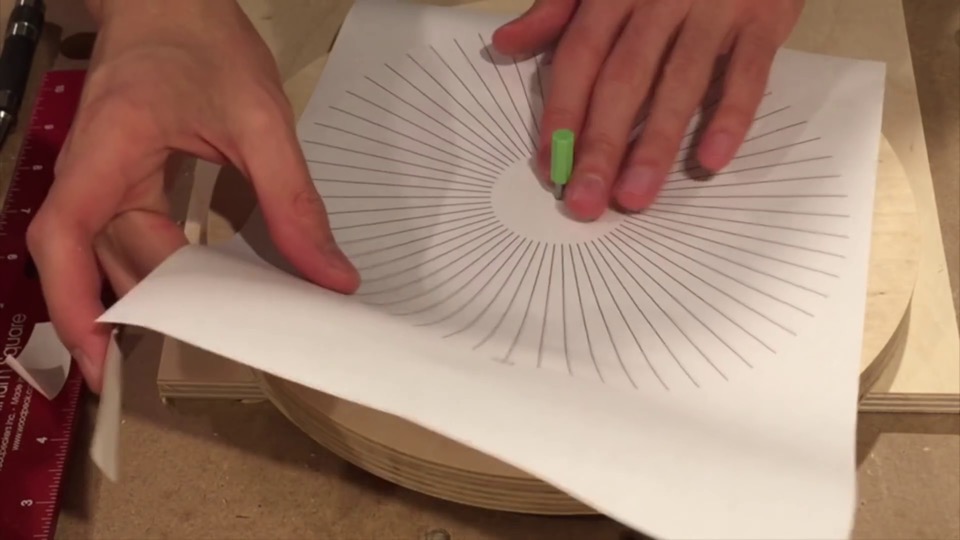
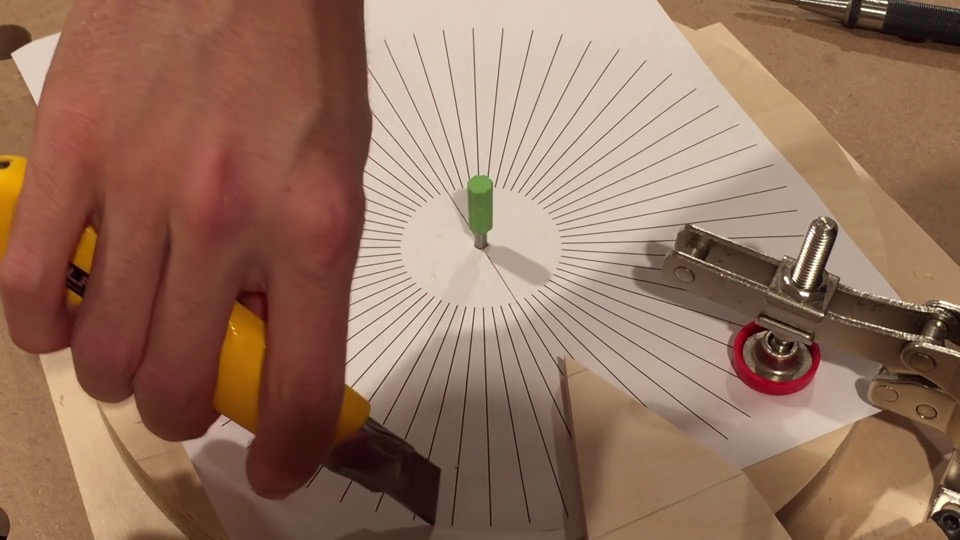
Now the template can be secured with double-sided tape.
I secure the clamp with machine screws, they’re stronger than regular wood screws. I’ll thread the wood with a tap. A self centering punch makes it easy to locate the holes.
This hole is used to guide placement of the fences. If it’s not clear now, it will be in a minute.
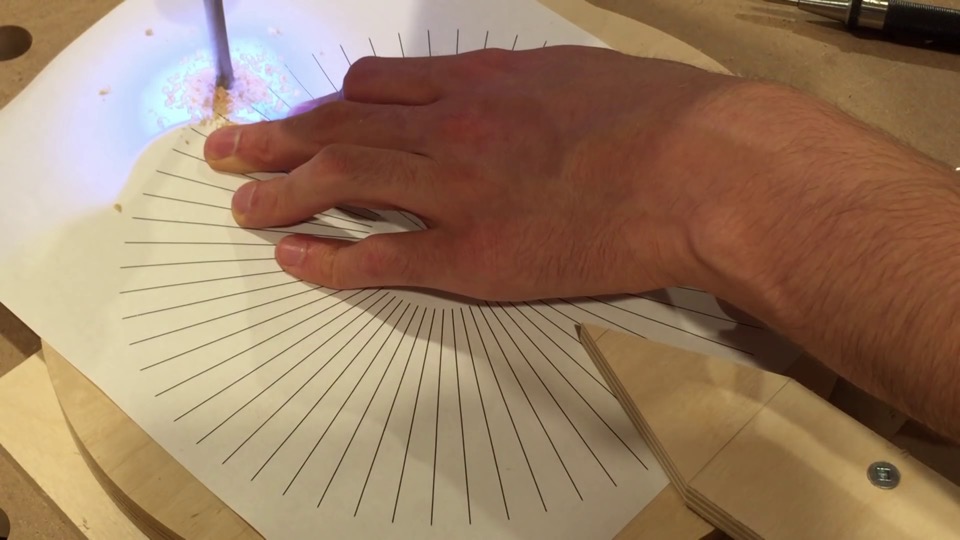
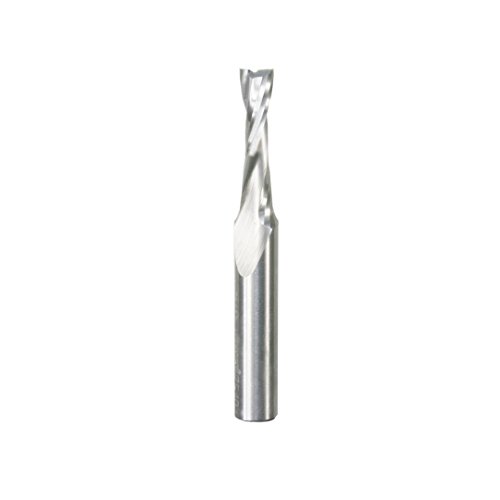
For now, it needs to drilled out to match the diameter of the router bit. In my case, that’s 1/4”.
I’ll also cut out the excess from this paper template.
Before starting to cut the gear teeth, it’s a good idea to give the gear a quick spin here at the router table to clear out any imperfections left behind from the jigsaw.
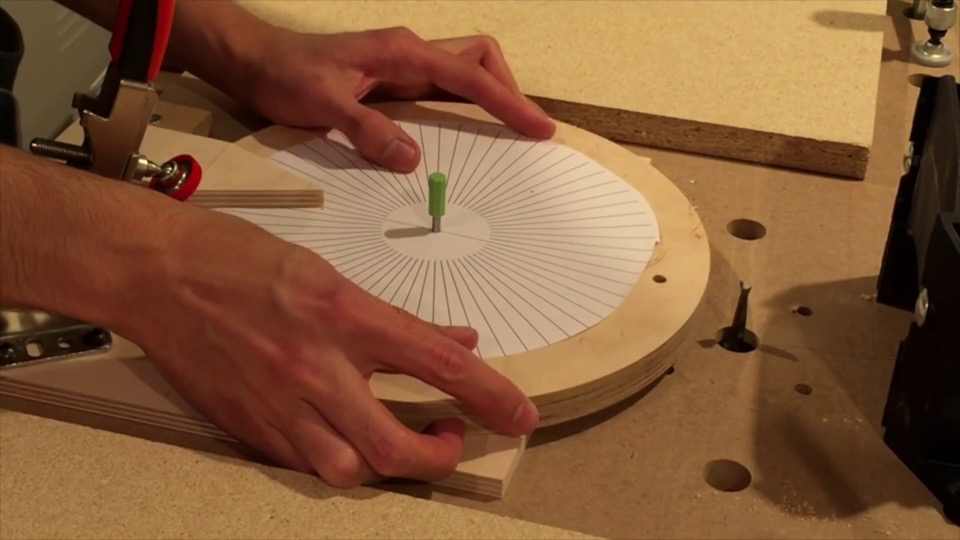
To set up for cutting gear teeth, align the pointer exactly opposite the quarter inch hole.
Clamp in place, slip this right over the bit, and just but up some fences to the trapezoid and secure them in place.
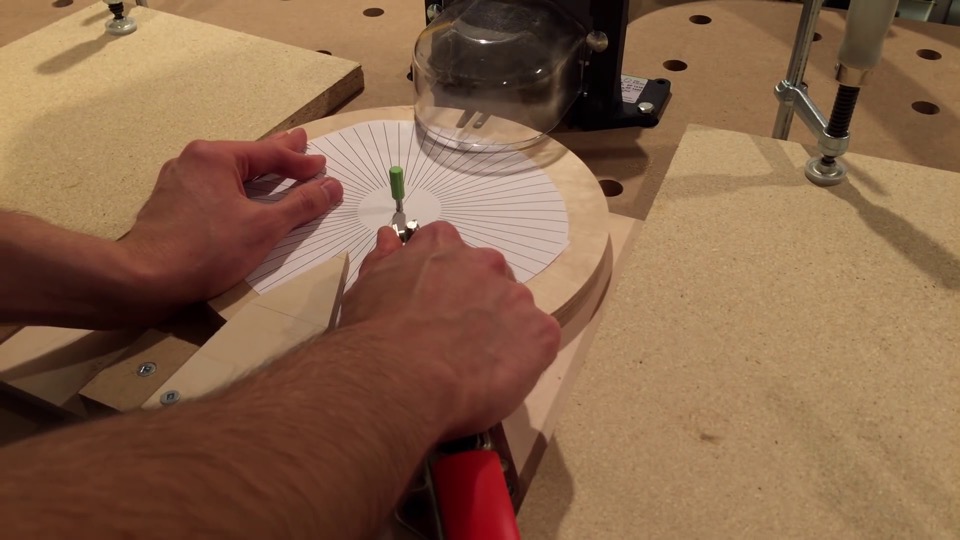
When cutting, follow the right side fence on the push stroke, and follow the left side fence on the pull stroke. Repeat for each mark.
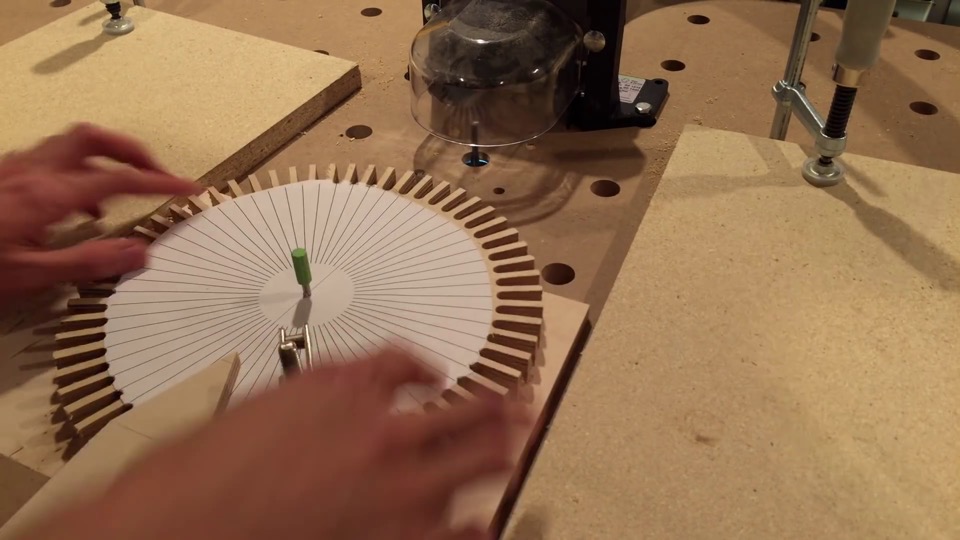
After a few minutes, I have a perfectly shaped gear. And that’s it!
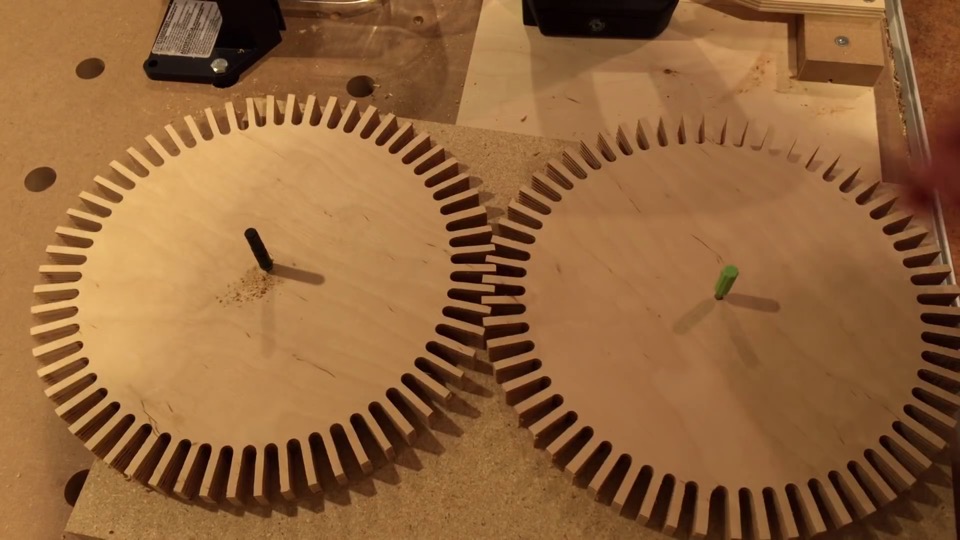
As always thanks so much for reading. Don’t forget to subscribe if you want to see what I make with these gears next month – you won’t be disappointed. Hope to see you soon!
DeWALT DW611 Router Kit
Festool KS 120 Miter Saw
Festool PSB 420 Jigsaw
Festool Jigsaw Circle Cutter Set
Bessey Toggle Clamp
Woodpeckers 1281 Square
Woodpeckers Mini Square
Starrett 819 Automatic Self Centering Punch
Tap/Drill Sets for Wood
Starrett 18AA Automatic Center Punch
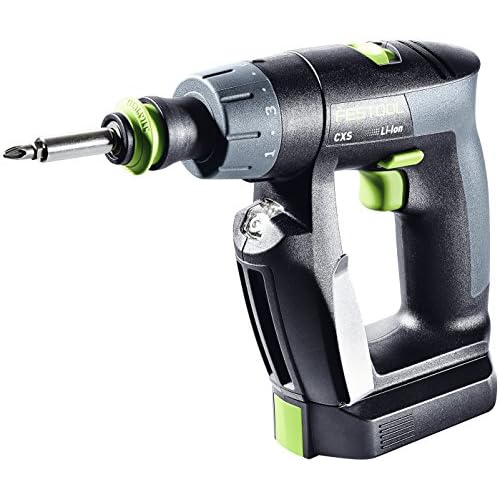
Festool CXS Drill
OLFA Exacto Knife
Festool MFT/3 Multifunction Table
Festool Ratcheting Quick Clamp
Festool Screw Clamps (2 pack)
Freud 1/4” Spiral Bit
Festool CT 36 Dust Extractor
 http://toolify.ca/wp-content/uploads/0020-toolify.jpg
540
960
Kriss
/wp-content/uploads/logo/toolify_enfold_header_x96.png
Kriss2015-10-01 08:00:012016-12-16 09:17:13How to Make Wooden Hex Nuts
 http://toolify.ca/wp-content/uploads/0007-toolify.jpg
540
960
Kriss
/wp-content/uploads/logo/toolify_enfold_header_x96.png
Kriss2014-11-13 08:00:502016-12-16 09:17:14Best Router Table Dust Collection
http://toolify.ca/wp-content/uploads/0007-toolify.jpg
540
960
Kriss
/wp-content/uploads/logo/toolify_enfold_header_x96.png
Kriss2014-11-13 08:00:502016-12-16 09:17:14Best Router Table Dust CollectionLeave a Reply
Want to join the discussion?Feel free to contribute!
Leave a Reply Cancel reply
This site uses Akismet to reduce spam. Learn how your comment data is processed.












Your ideas/jigs are great.
Glad you like them!
I found this old article on the same subject:
Popular Science – November 1961 page 144-148
Make Wooden Gears? Sure, Here’s how by Edwin W. Love,
Google search should find it.
But Your way with a router is way smarter.
After the first route from the pilot hole, I would add a depth stop to make the teeth shorter..
Your approach and ideas in woodworking are fresh and exciting Kriss. It’s like watching a young DaVinci unfold.
If you don’t have AutoCAD, you can use power point pie chart to create gear template. Use your circle diameter as the size of the pie chart square to get exact circle. Right click on the outer square border to set the size. After this I printed and it exactly matched my circle.
Follow the instruction to set the angle-> http://www.presentation-process.com/powerpoint-circle-diagram.html#.VkFmROQm7IU
Very good, easy idea and I learned about several tools in single video. Thanks for sharing the knowledge. Long time back I tried to create wood gear and scared with all the big tools and gave up. Now searched again and I got some confident. With your simple smart tools and your idea, I am trying again and this time I won’t give up.
A pie chart! That’s a great idea.
Good luck making your gears!
Hi,
I like your videos very much so it is a pitty that you publish it very rare.
Are you going to release plans for your thread jigs?
Thank you!! Believe me, I would love to publish content more often – I keep a list of projects and it’s overflowing with dozens of ideas. I can’t wait to show them all to you! But I am working at my limit to make the stuff – balancing school, a part-time job, this channel, and all other facets of life, it hasn’t been easy. Each video I release takes well over 100 hours through design, building, filming, and editing. As you’ve noticed, I sometimes take shortcuts by not releasing plans for every jig, it’s not that I don’t want to, I just don’t have the time. I hope that one day I can justify dedicating more of my time to this. Until then, I will continue doing the best I can. I really appreciate support from people like you. I’ll have to politely ask for your patience as I work things out.
Cheers!
Kriss
Hi Kriss,
Fully understand how much time you have to spend to make and edit the movies. But from my point of view your videos and ideas are great and I would like to replicate them. Sometimes it is difficult to get all details from the movie so for me it is easier to use plans, even buy them rather spending hours with trials and errors. I like Mathias Wandel way – he show his ideas and also for very reasonable price sell the plans so people can replicate his machines. I hope that some time you will also provide the plans for your jigs (for free or to buy).
Take care and best regards from Poland!
And sorry for my poor english ;).
I’ve been considering making plans for sale recently. In fact, I have a couple projects coming up for which there will be plans available to purchase. Whether I go back and revisit previous designs will depend on the response those get.
All I can say is stay tuned for now. If you have specific questions about a jig you want to build, email me and I can help. And don’t worry, your english is great!
Cheers,
Kriss
how did you decide on the size of the gears that you need to make the wooden nut?
I have a question? It seems to me that there is one component missing. I would think that the circumference of the gear should come in to the calculation. The circumference certainly differs from a 6″ circle as apposed to a 3″. Therefor the formula would you gave would not work in both cases. ie with a 3″ 360/12′ = 30 / 2 =15 angles not correct
I have the same question. I have to make three gears with gradually decreasing diameter that all need to run together. The angles of the teeth seem so much different. I cannot see them meshing together. Is this likely to be a problem or do they work in practice.
Are you a woodworking enthusiast striving to set up an efficient workshop within a budget? You’ll be amazed at how it’s possible to create a fully functional workshop in even a small space of 8’X8′ for under $1,000. If you’re curious about how to achieve this, I’ve found an excellent resource that provides detailed guidance on tool selection, space optimization, and cost-effective solutions for woodworkers. To discover more, click here. It’s an absolute game-changer for aspiring woodworkers!