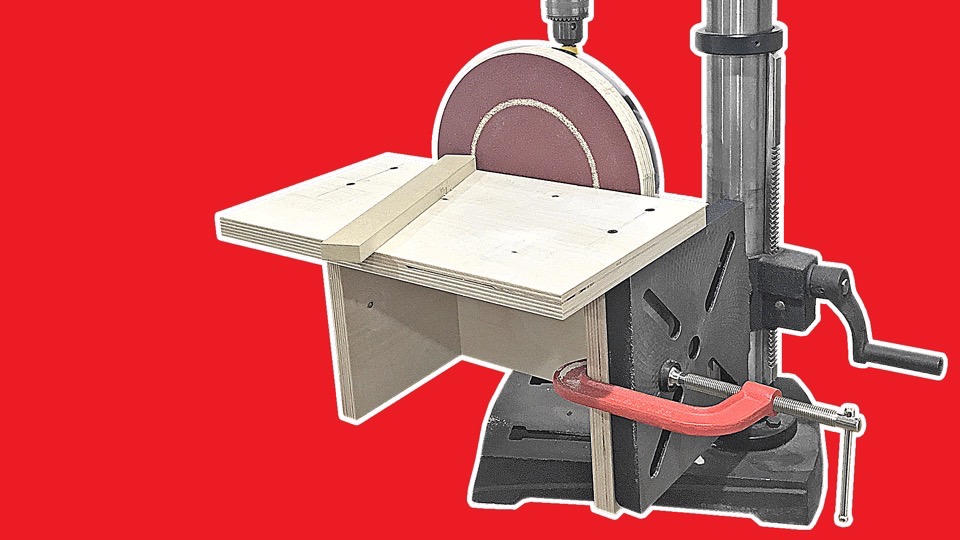
This SIMPLE attachment transforms a drill press into an excellent disc sander. A great solution for small shops where space is at a premium!
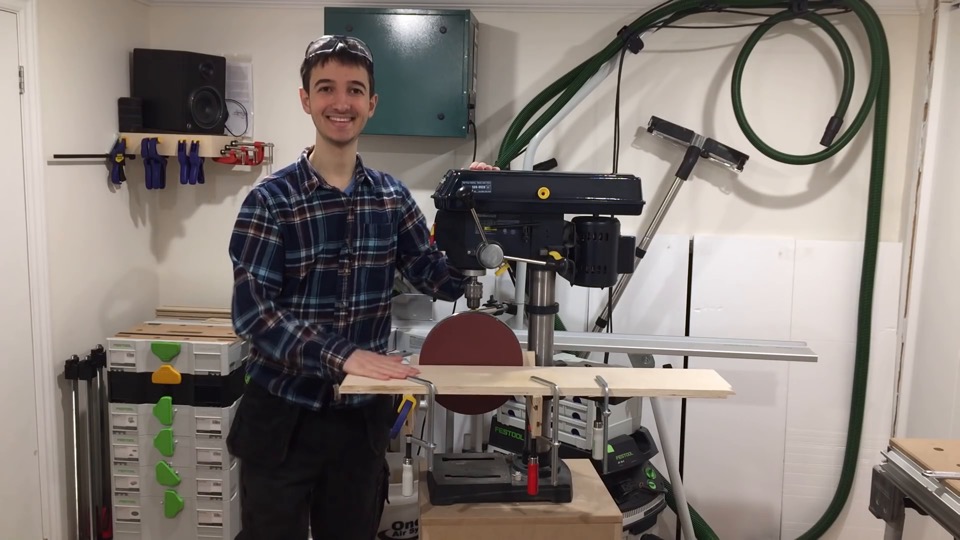
This is my first prototype of the drill press disc sander.
It uses a right angle drill chuck to adapt the drill press’s axis of rotation, and a lazy susan bearing to support the sanding disc. Now as you can see it’s a very crude prototype – just a few pieces of wood held together with clamps, but it’s a successful proof of concept… so let’s take this to the design tool and see if we can make it any better. I’m drawing this up in my new favorite 3D CAD program, Fusion 360.
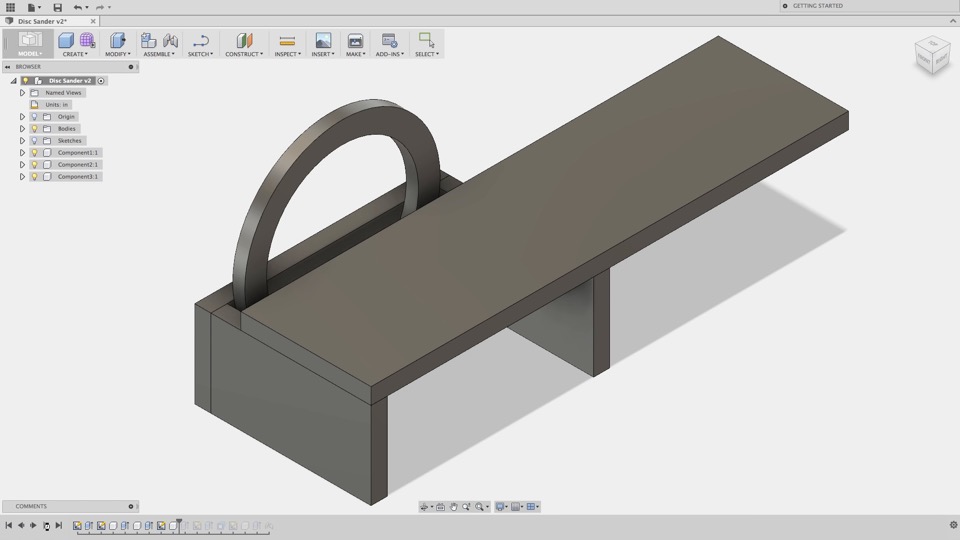
Looking at the drawing it’s not long to realize that the extended standing platform makes the unit bulky to store. It would be nice to get rid of it, but the extension is currently used to secure the sander to the drill press table.
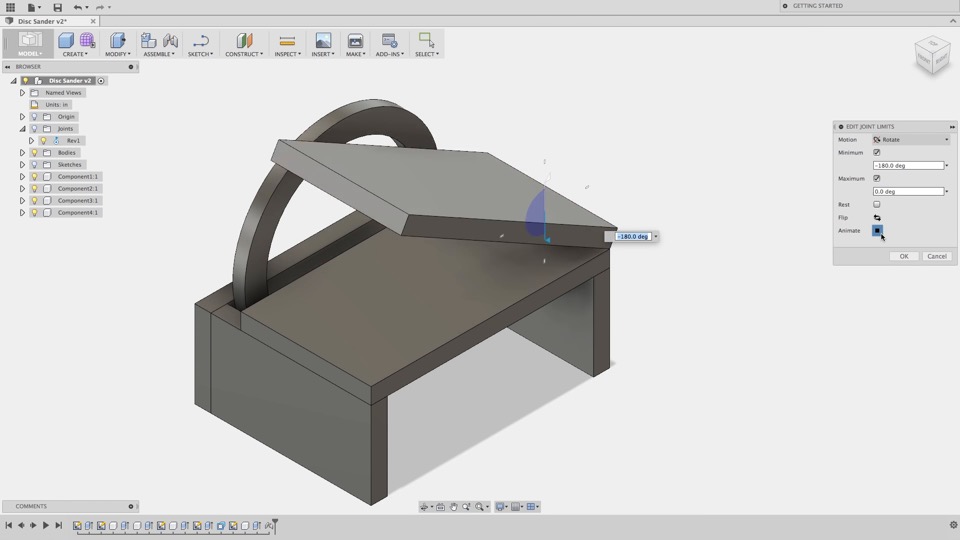
I explored an idea of making the platform fold up, sort of like this. It looked really nice in theory, but it would introduce an entirely new set of design challenges.
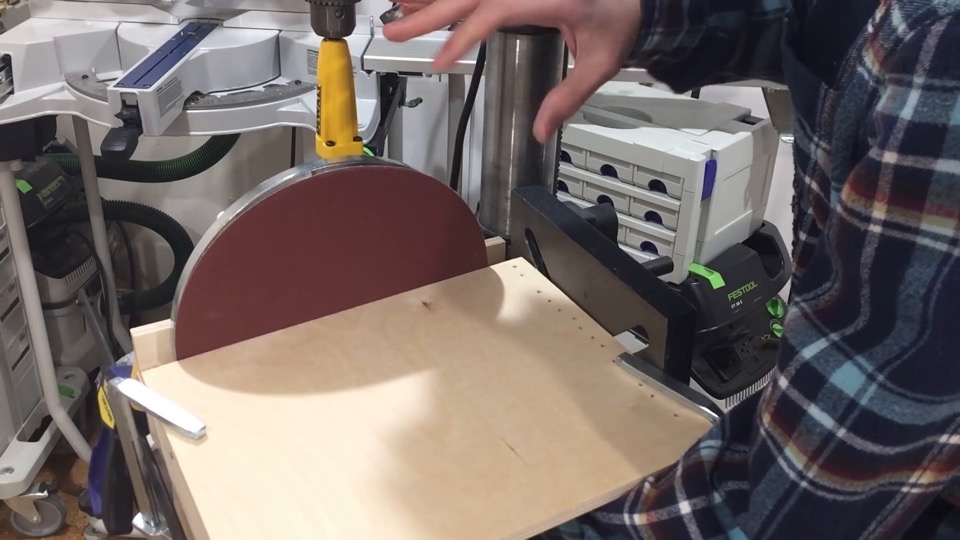
Eventually it occurred to me that drill press tables can tilt. So I can move the drill press table over here, and clamp the disc sander from the side.
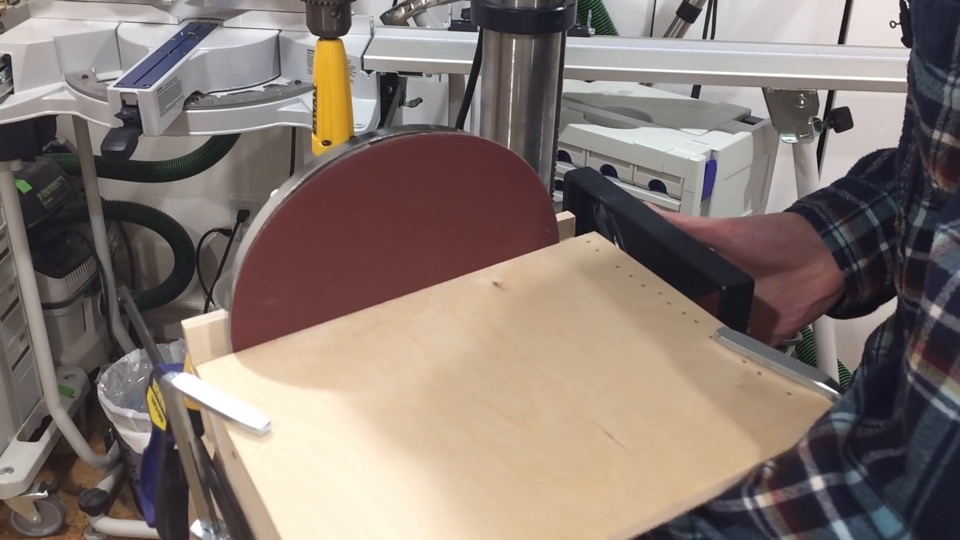
At first it didn’t look like the 9″ sanding disc I have would fit in the available space – but thanks to asymmetry of the drill press table, I can turn it around, and now it should fit.
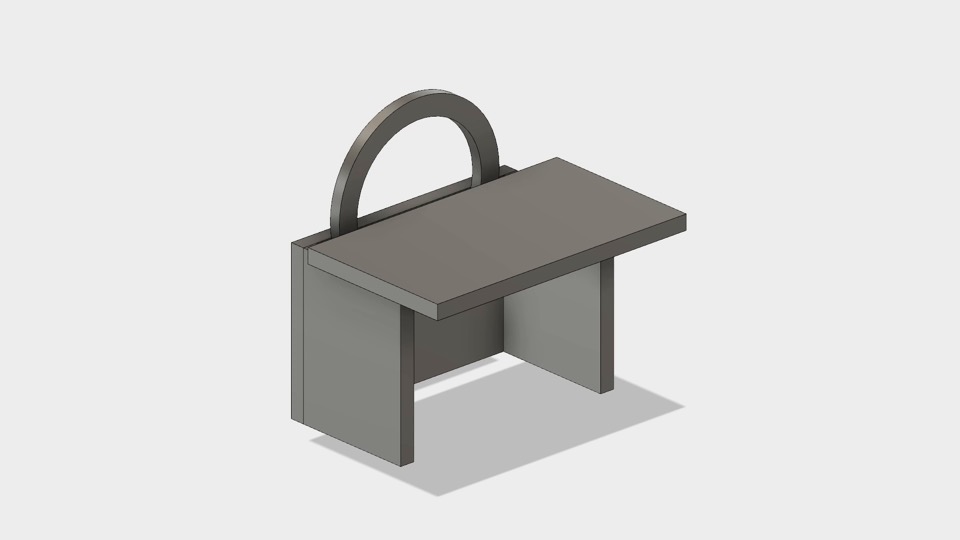
Here is the new design.
The philosophy was to keep this project as simple as possible, so everything is cut from one material and all parts share a common side length in order to make construction faster. The material is 3/4″ birch plywood.
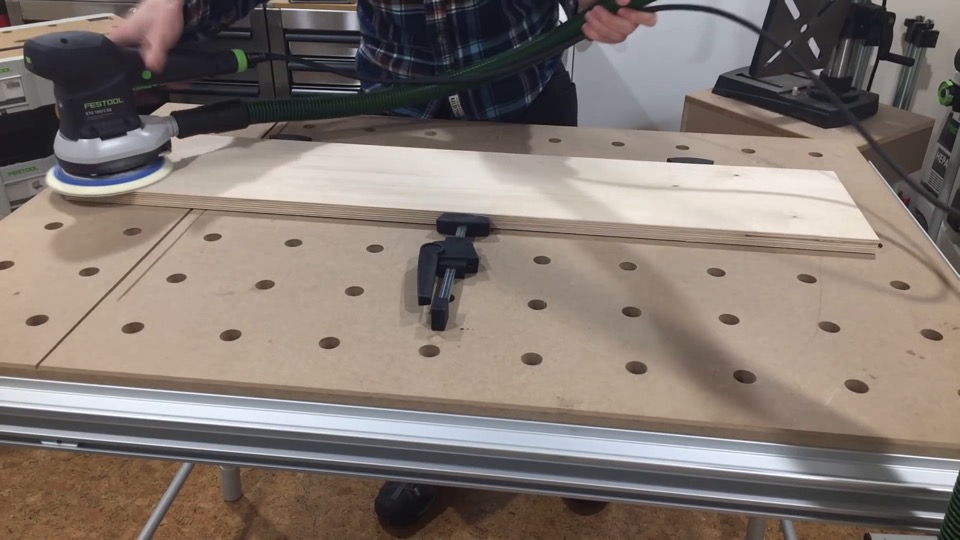
Sanding the sander parts – I’m sure there’s a great pun waiting to be found here, but I couldn’t dig deep enough in the sand to find it.
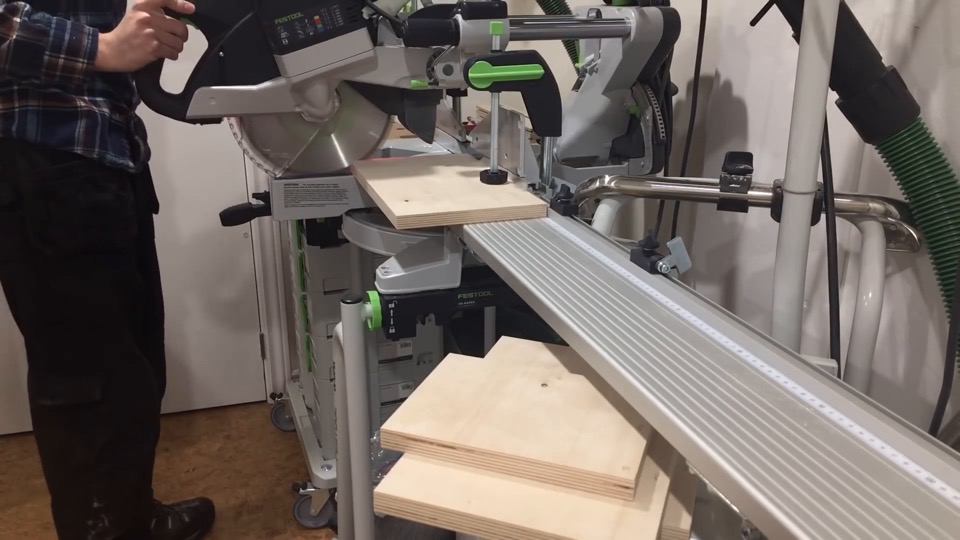
The parts are cut to width at the mitre saw.
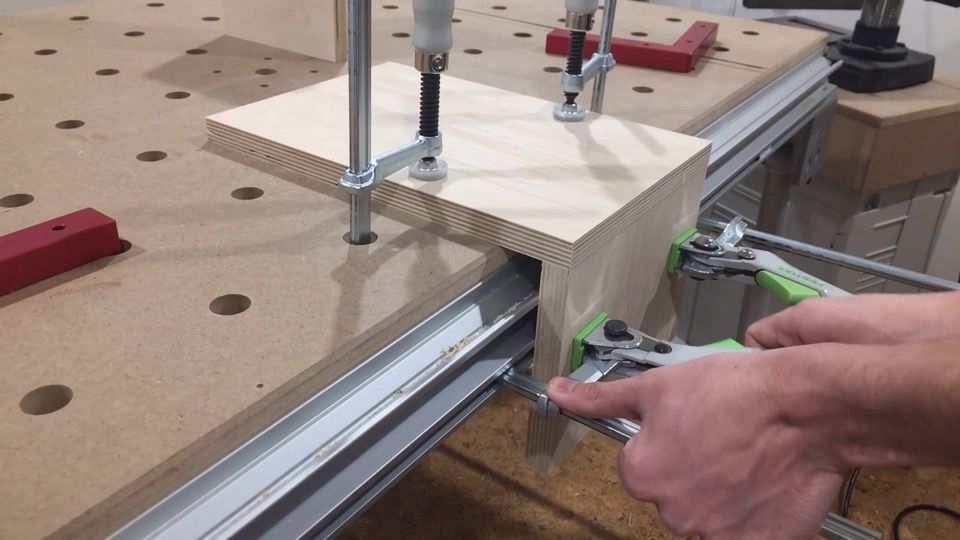
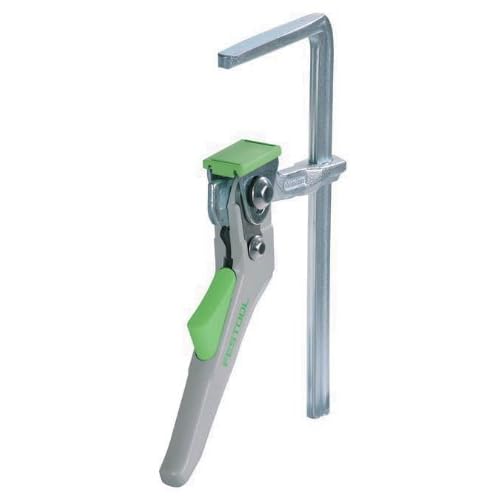
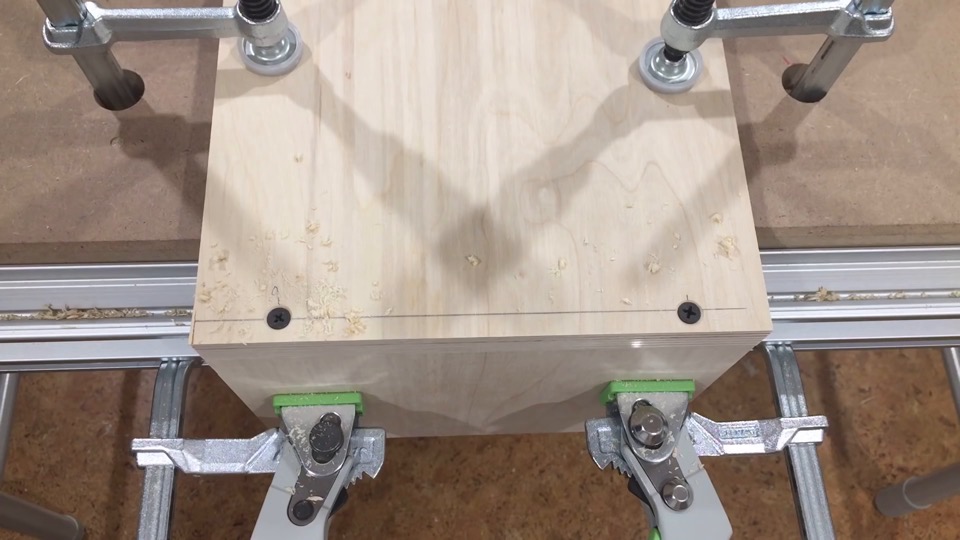
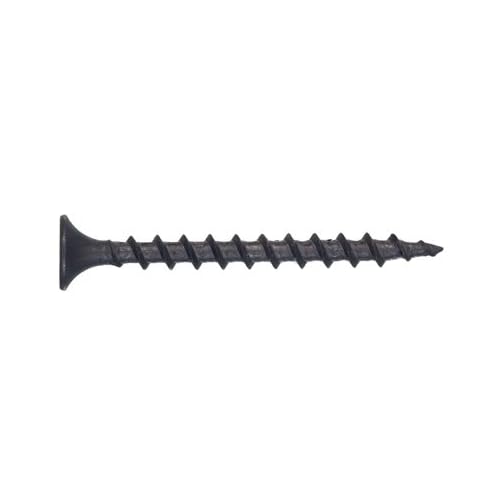
To fasten this project together I’m using drywall screws – two per joint. If you’re wondering, the edge of a workbench makes a fantastic 90° clamp.
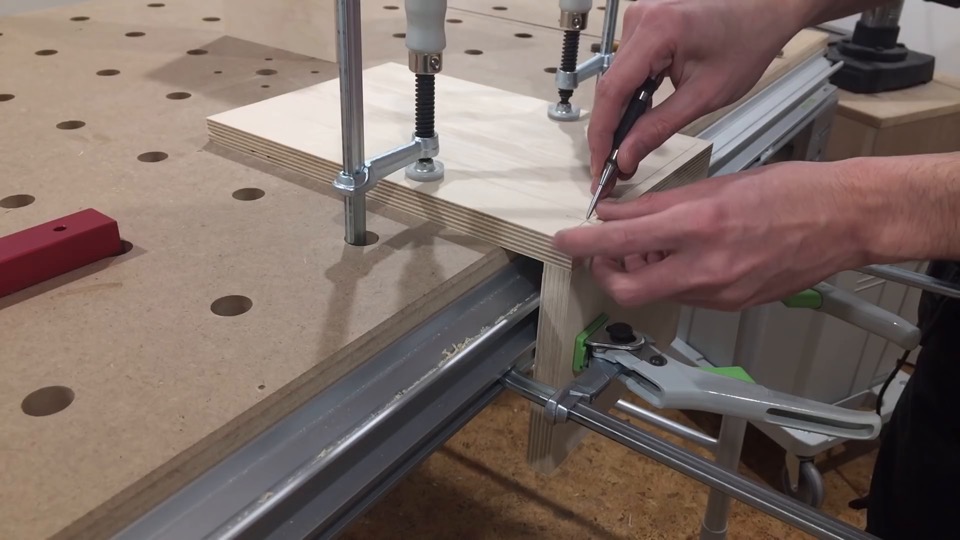
Now marking hole locations… punching centers…
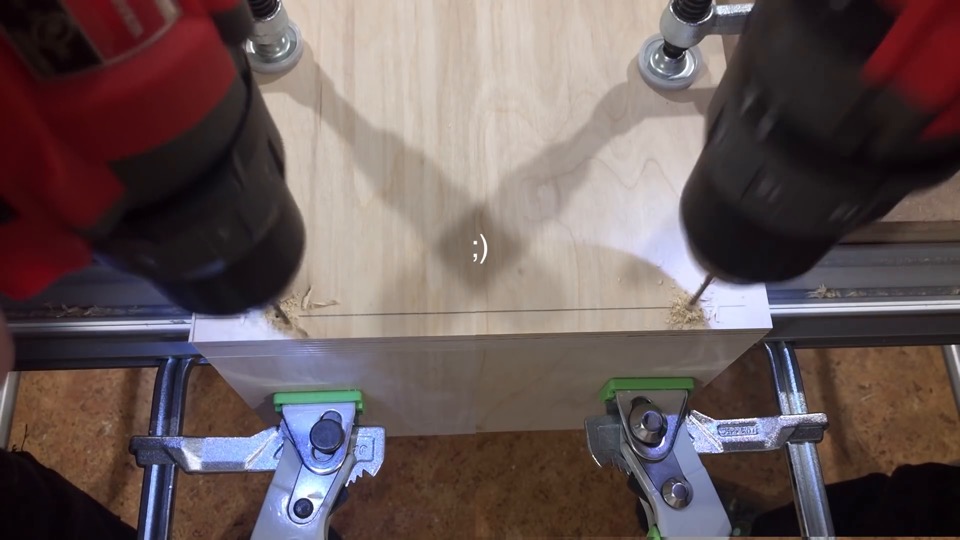
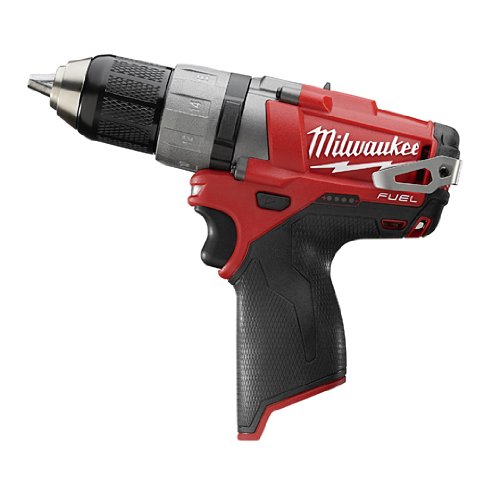
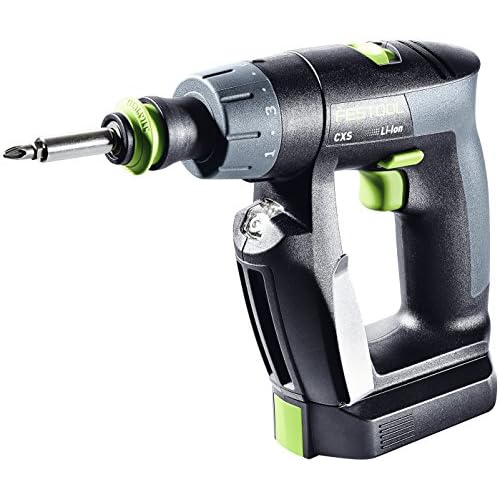
pre-drilling… (by the way since learning to drill with both hands, I’ve been so much more efficient) drilling counter-sinks…
and driving the screws. Next joint. That was easy!
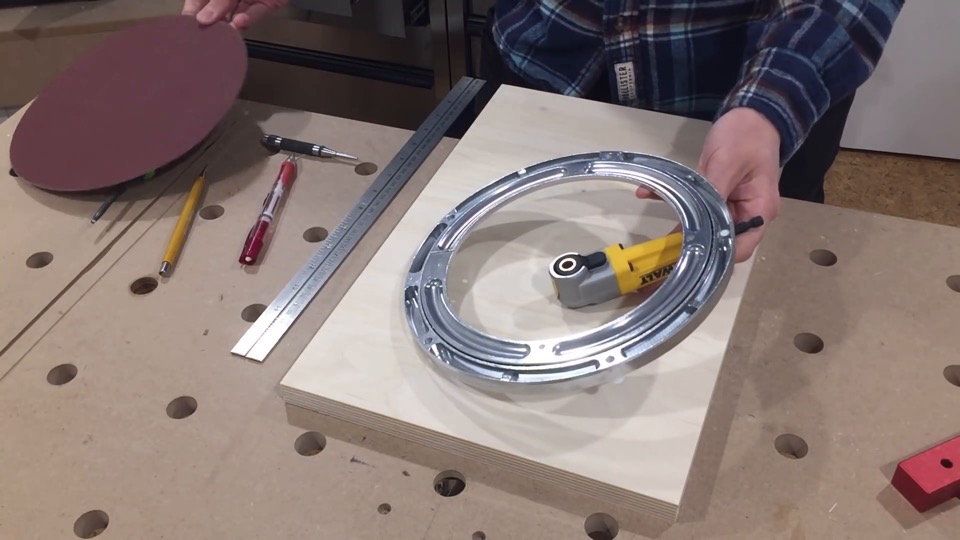
The next part that has to be made is the sanding pad. Remember that the pad is driven by a right angle drill adapter, and stabilized with a lazy susan bearing.
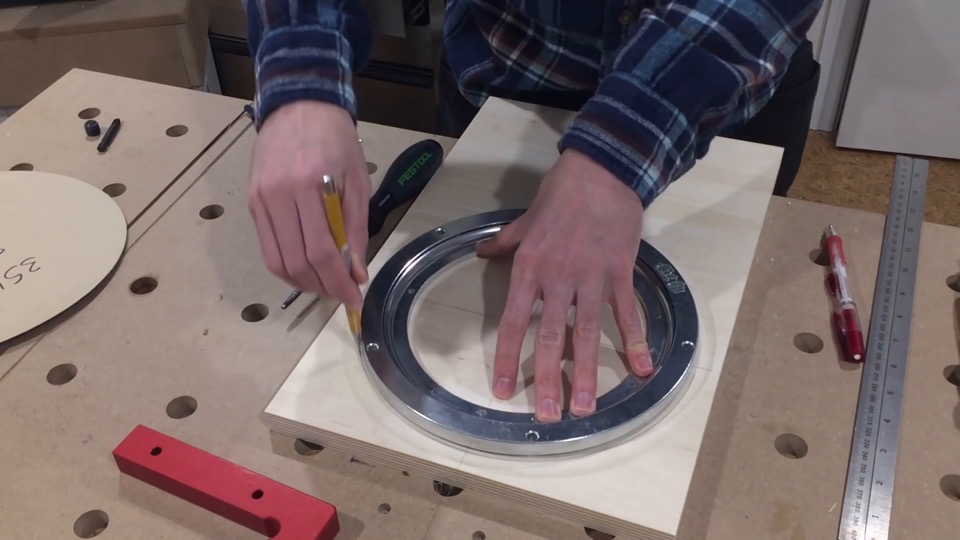
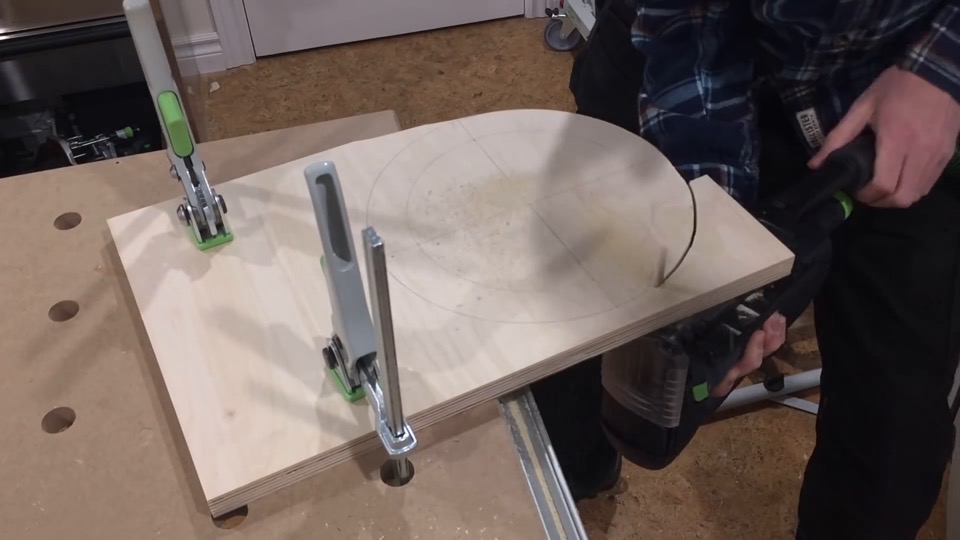
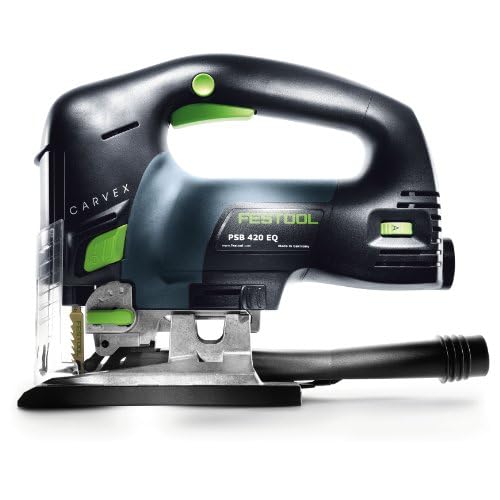
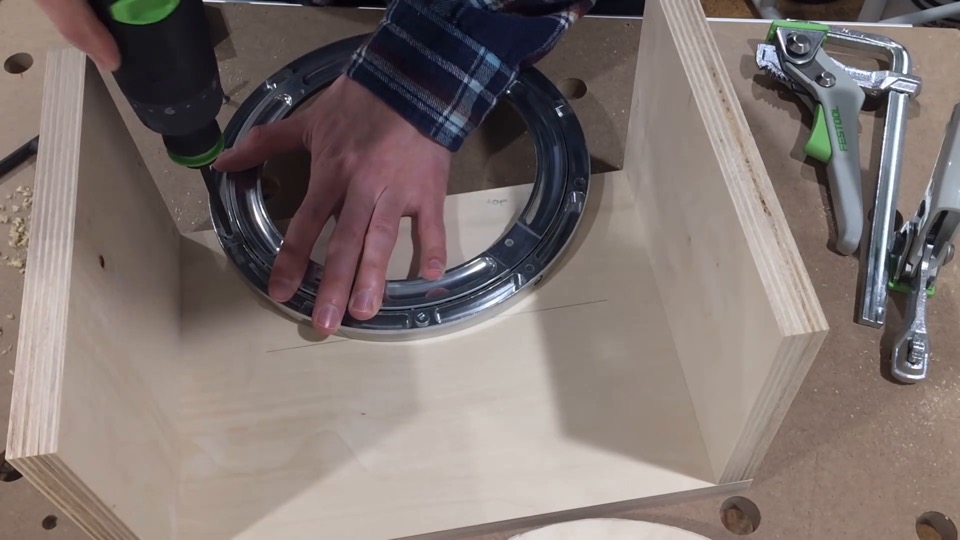
As far as I’m concerned this cutout doesn’t need to be perfect, so I trace an outline of the bearing on the 3/4″ plywood and will cut it with a jigsaw.
I’ve seen people do this thing a lot with the jigsaw upside down, so I decided to try it too… and sure enough it works really well.
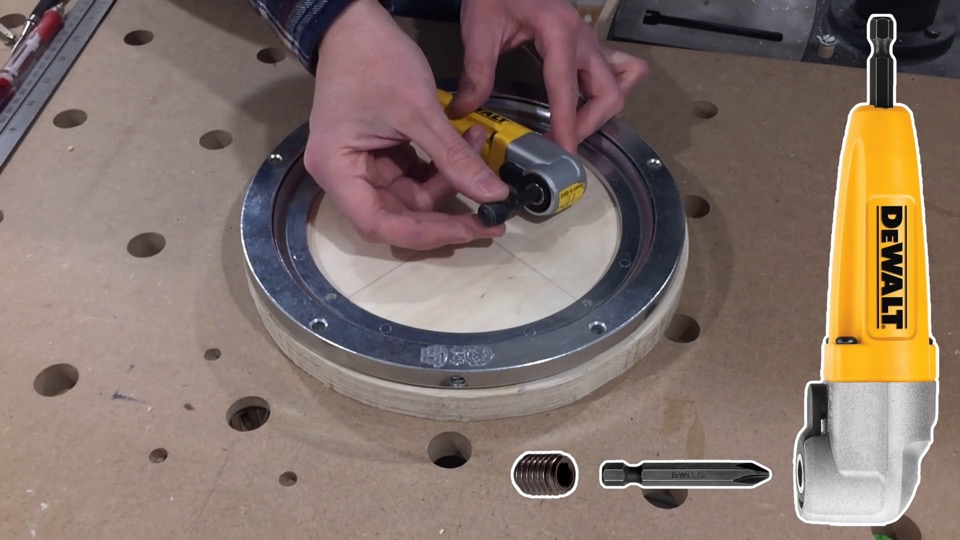
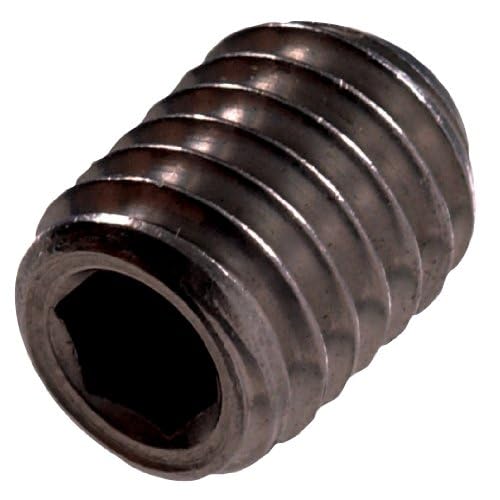
Now the million dollar question: how will this right angle adapter that only accepts a 1/4″ hex shank connect to the sanding pad? Well, it’s only logical to begin with a 1/4″ hex bit – yes, I insert it into the adapter backwards. The hole is deep enough that it still grabs a good hold. On the other side a 1/2″ set screw will accept the 1/4″ hex shank perfectly. The set screw will be driven into the plywood sanding pad, and that’s how it’s going to spin.
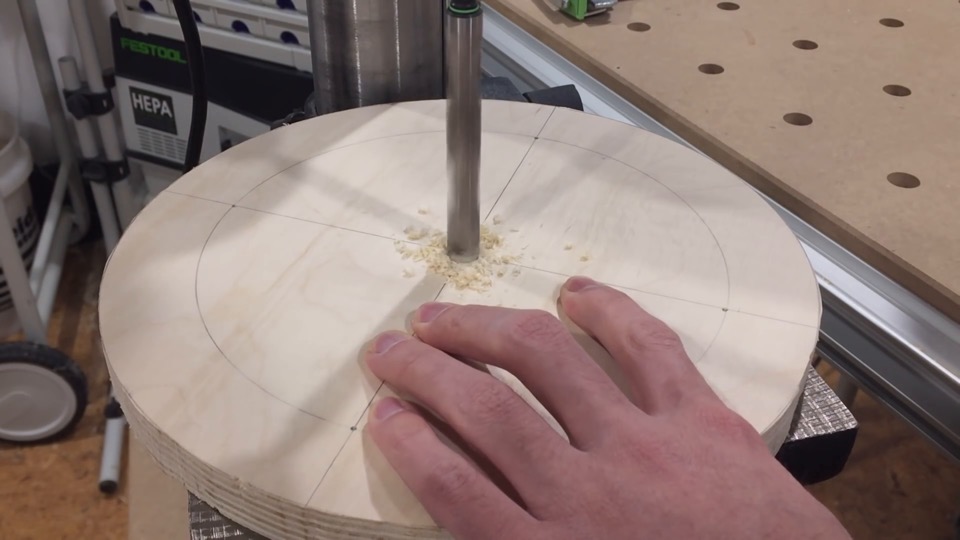
If you’re making a drill press disc sander, I figure you’d probably have a drill press. So I use it to make sure the set screw goes into the pad perfectly square. A 7/16″ diameter hole is drilled 1/2″ deep.
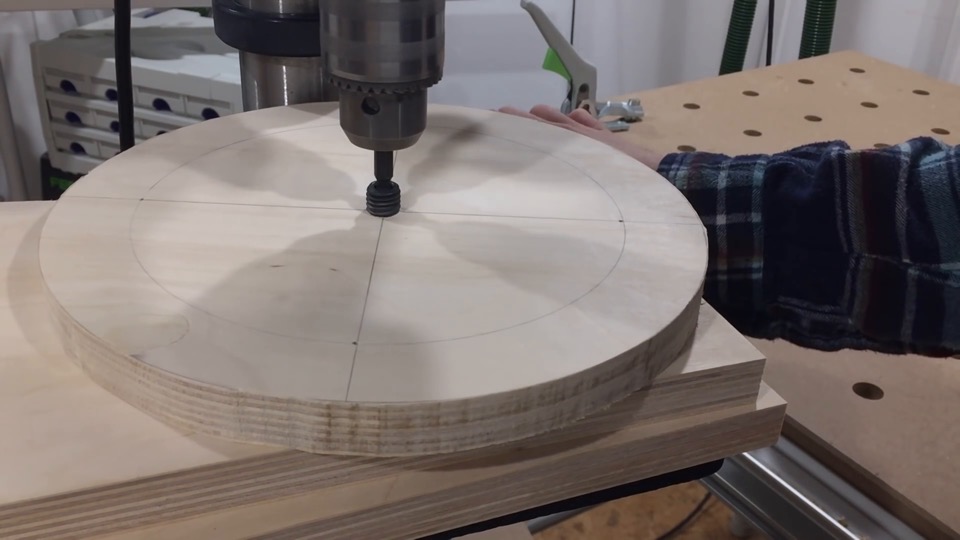
To insert the set screw, I’ll chuck up the 1/4″ hex bit, and manually run the drill while applying pressure with the drill press table. It’s very important that the sanding pad spins true, and this is the way to guarantee that the set screw does not go in on an angle.
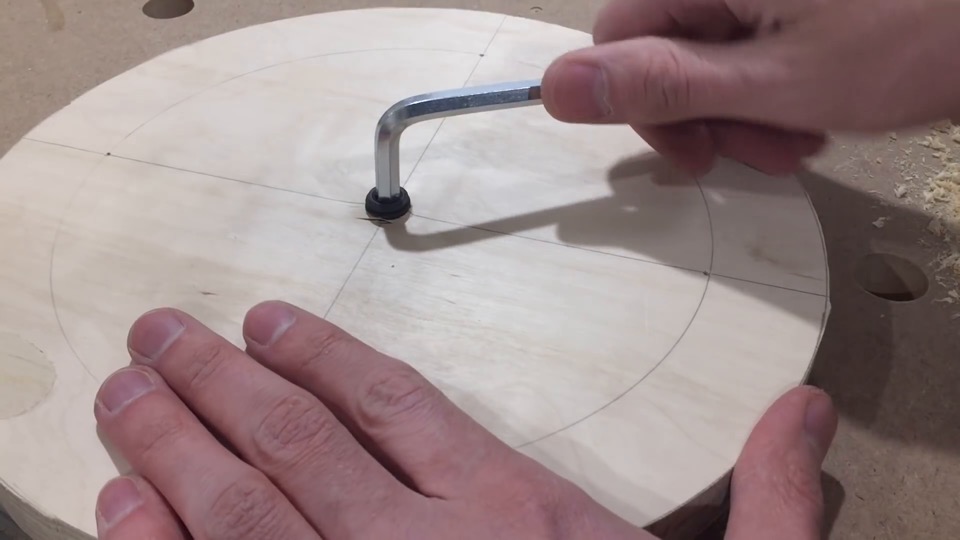
At this point the screw got too tight, and the pad started slipping… so I took it off the drill press, and drove it home with a hex key.
With the sanding pad ready, the lazy susan bearing can be attached. First to the base – test run – and then to the pad.
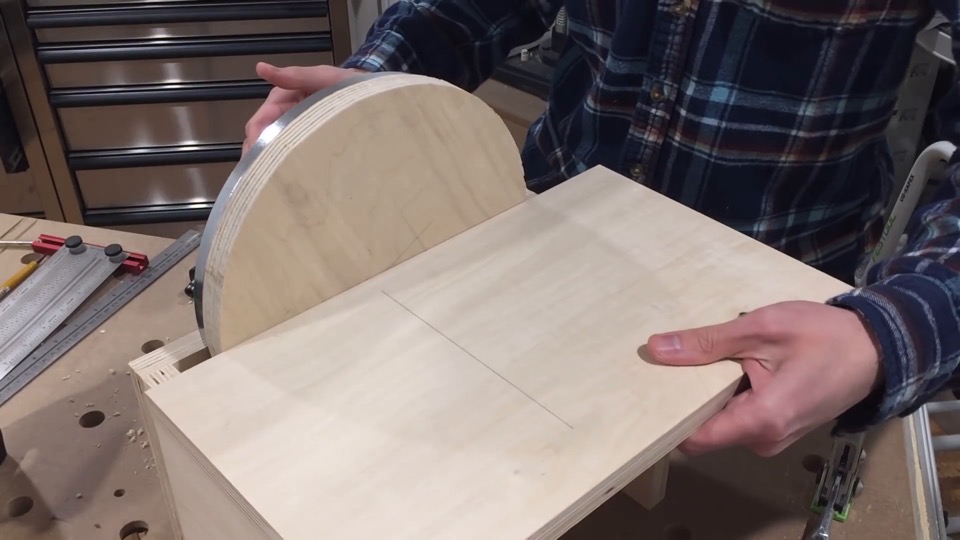
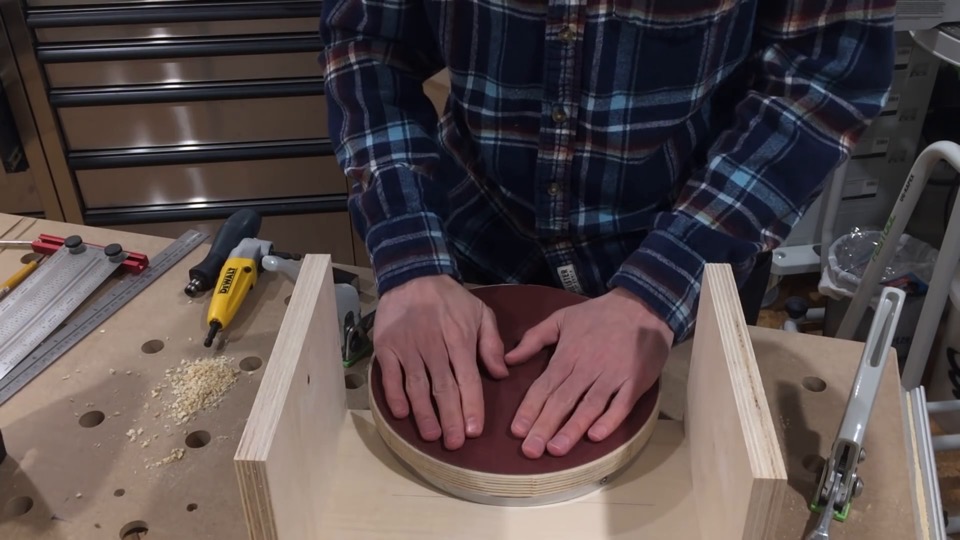
Soon the unit will look like this, but let’s not forget to actually put the sandpaper on.
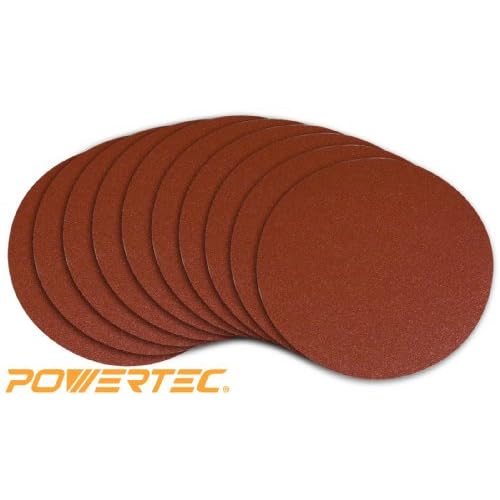
This is a 9″ adhesive backed pad of 80 grit paper.
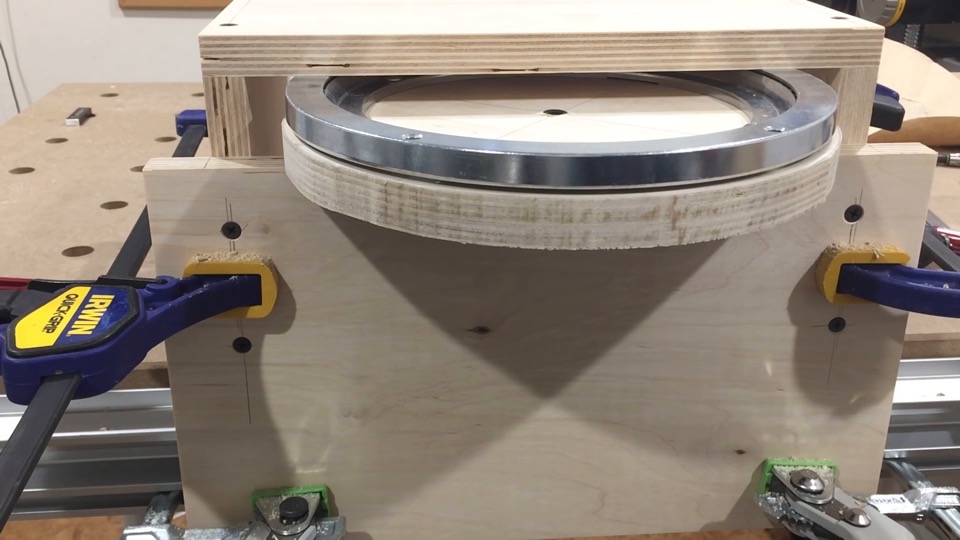
And as promised the sanding platform is screwed on.
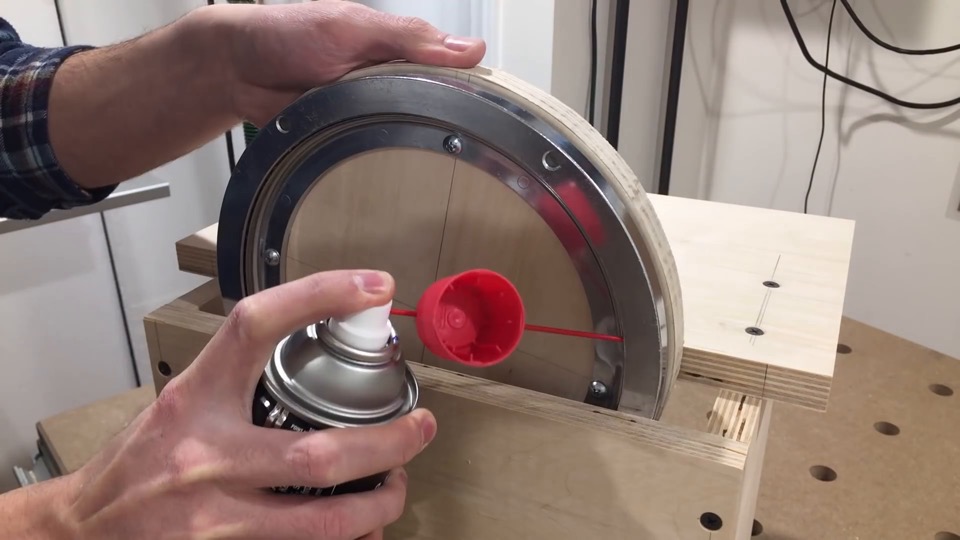
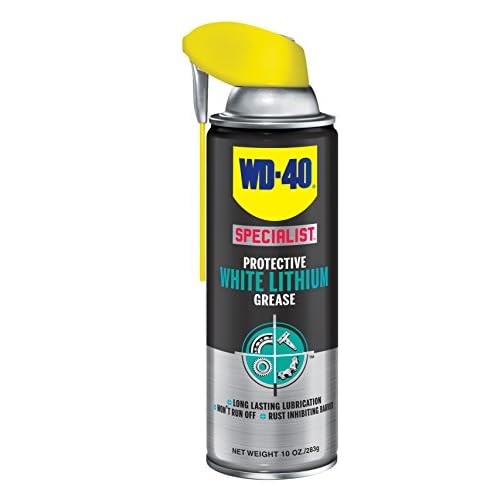
Before this machine goes into service I’ll get a bit of silicone spray into the bearing to minimize friction. UPDATE: it turns out silicone spray should not be used for metal-on-metal contact, try lithium grease instead.
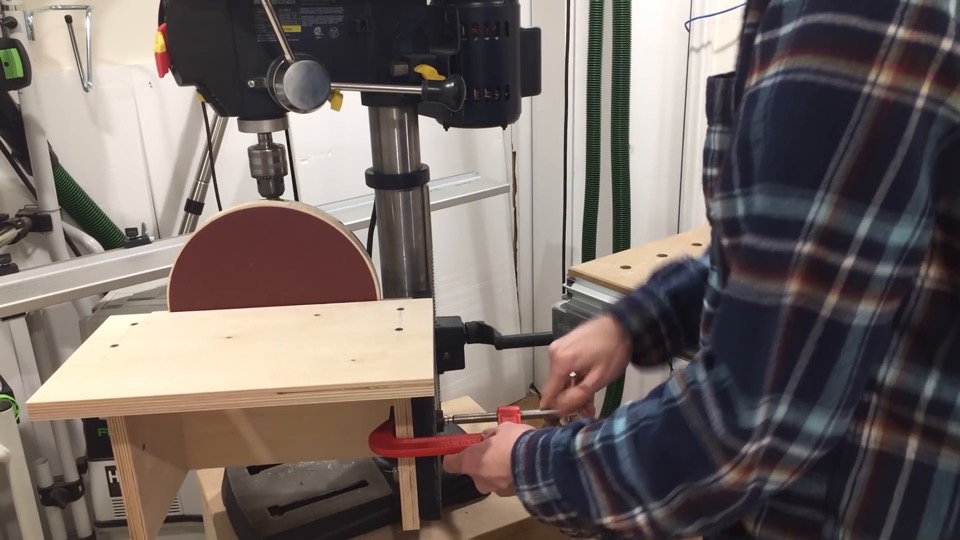
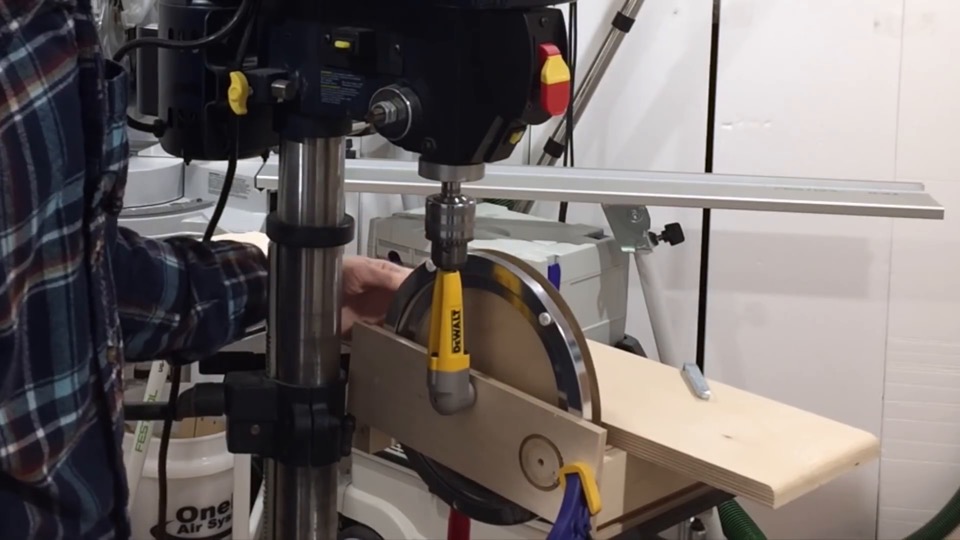
The sanding platform is designed to overhang the edges in order to help align the unit on a drill press. A single clamp should be good enough to hold it in place.
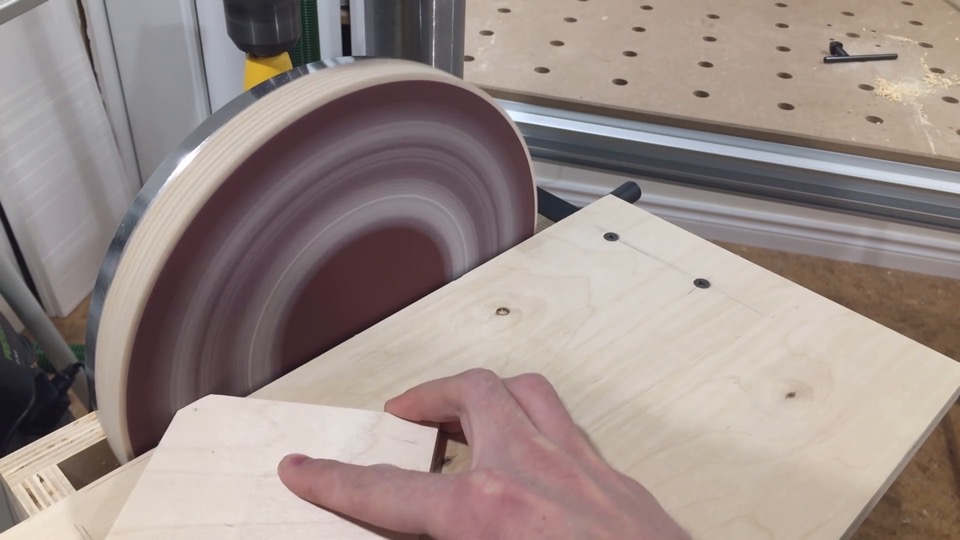
It’s working really well, but if you don’t like a lot of fine dust in the air This tool could really use some dust collection. We’ll save that project for another time.





Leave a Reply
Want to join the discussion?Feel free to contribute!