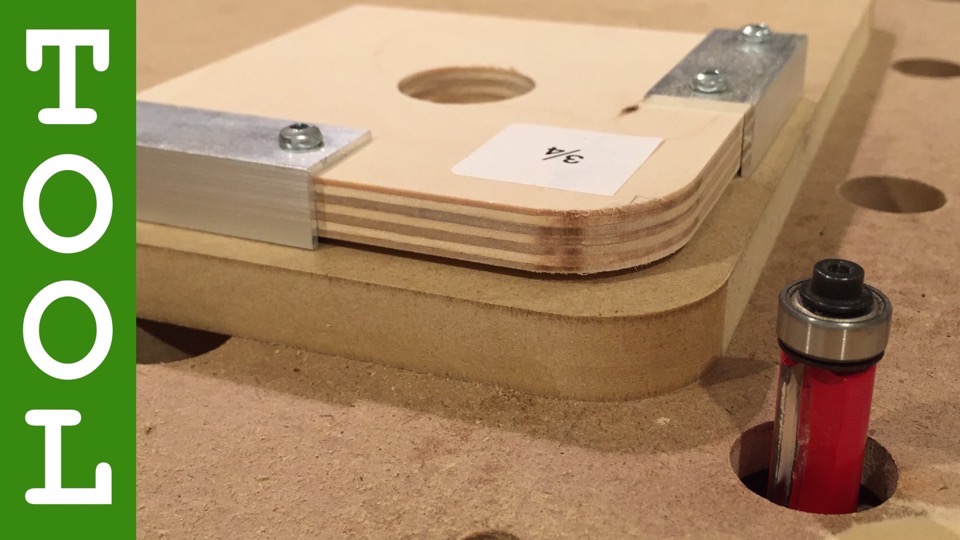
This jig creates PERFECT corner radius routing templates with EFFORTLESS precision! Way more accurate than free-handing on a bandsaw.
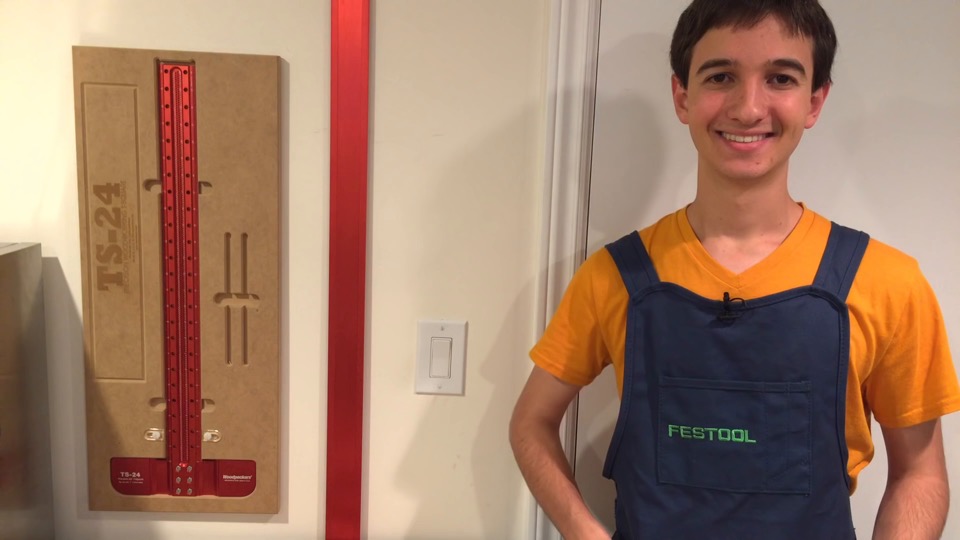
Woodpeckers makes a very nice corner radius jig – but, ultimately they’re just aluminum router templates, so it should be possible to build a homemade version using just plywood.
The problem is how to follow a perfect radius
So, I designed this router jig to take out the guesswork.
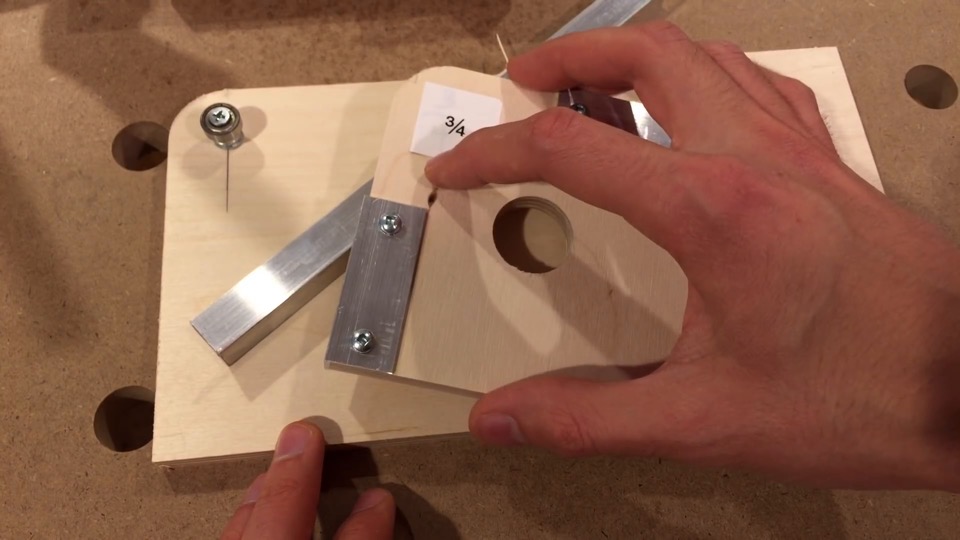
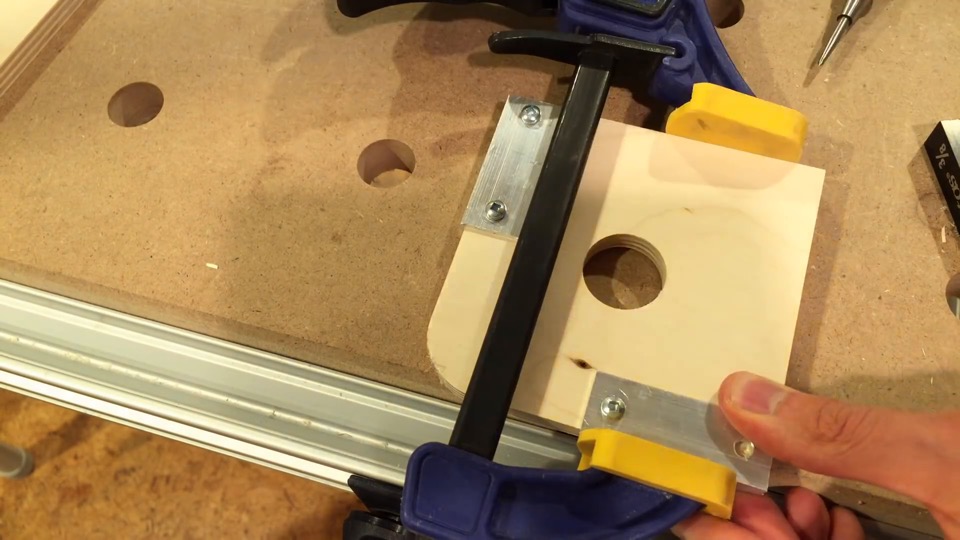
Cutting to size, and mounting two pieces of aluminum angle, this plywood corner radius template is ready.
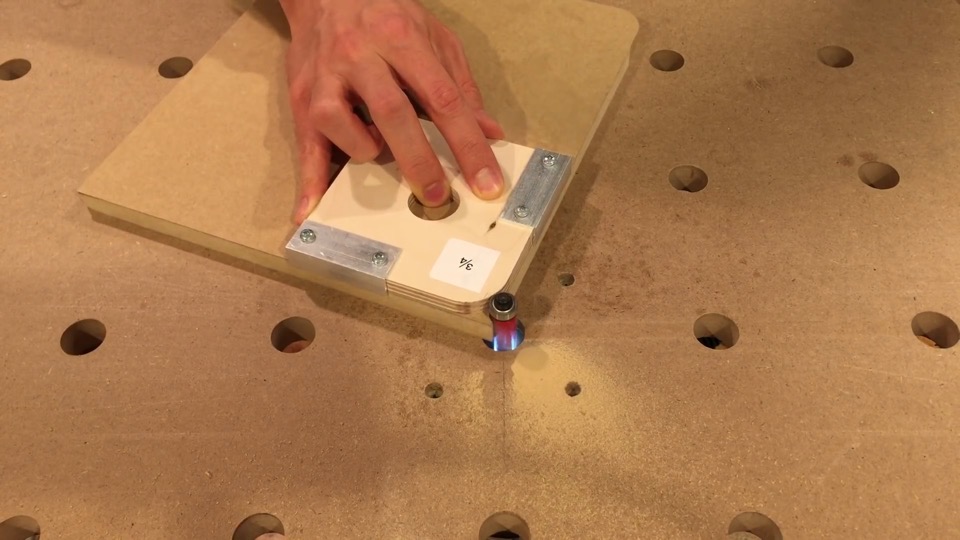
Here’s the end product in action forming a 3/4-inch radius on the corner of some MDF.
The set up uses the bearing from a flush trim router bit to precisely guide the workpiece and form a perfect radius.
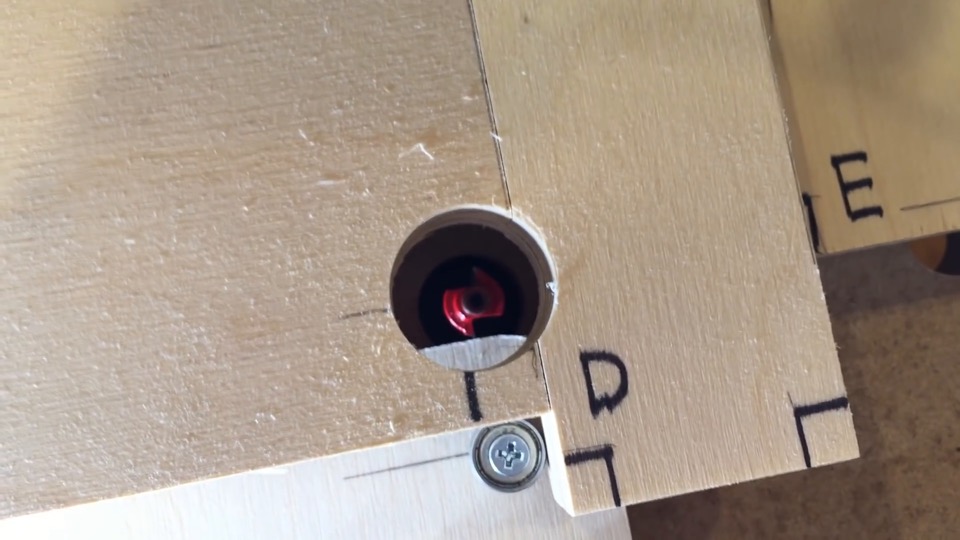
I drilled out a hole on top of the router bit to show you the mechanics of everything.
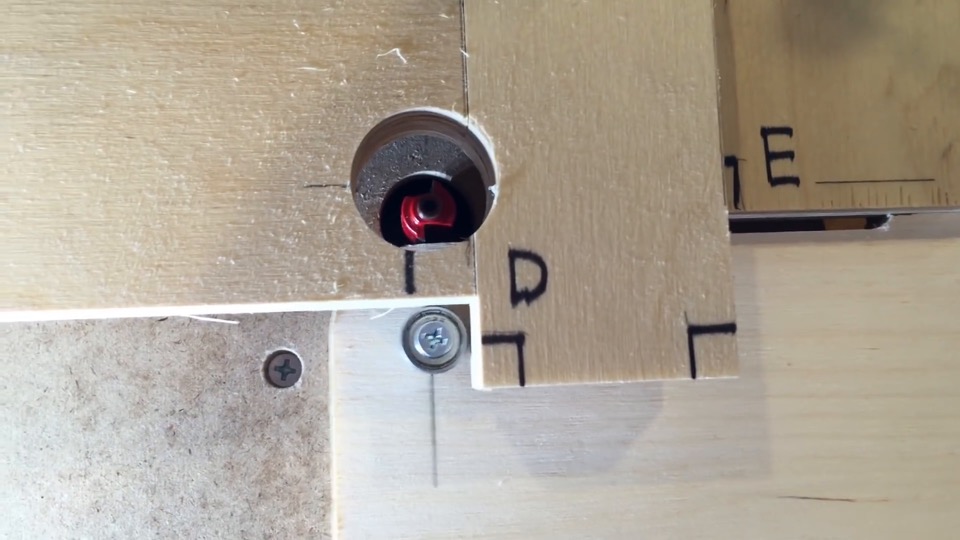
Once the radius cut is complete, the setup functions like a jointer to straighten the adjacent edge.
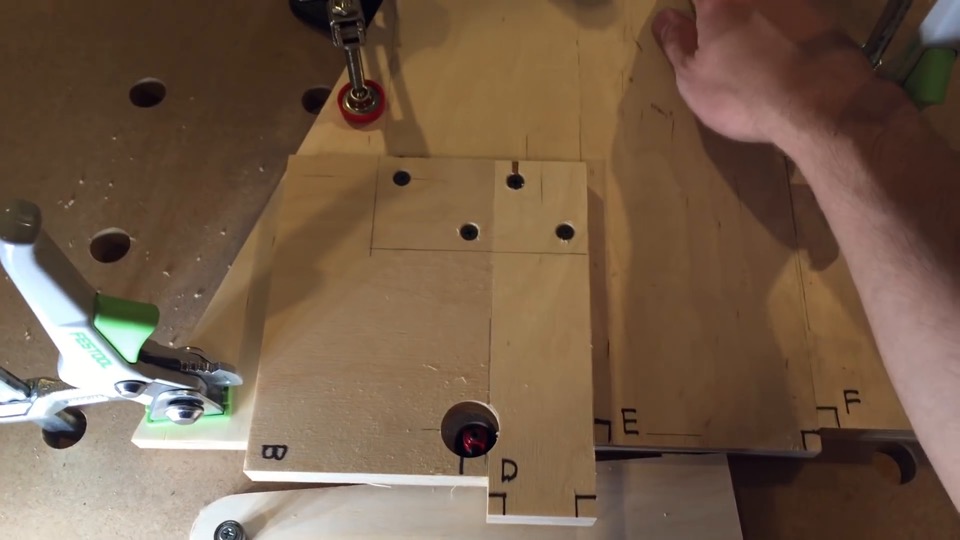
Between adjusting the guide arm and the end stop, the setup can be configured to cut any radius. The elegance is in how simple everything sets up, while guaranteeing precision by design. To demonstrate I’ll take everything away, and show the set up from scratch.
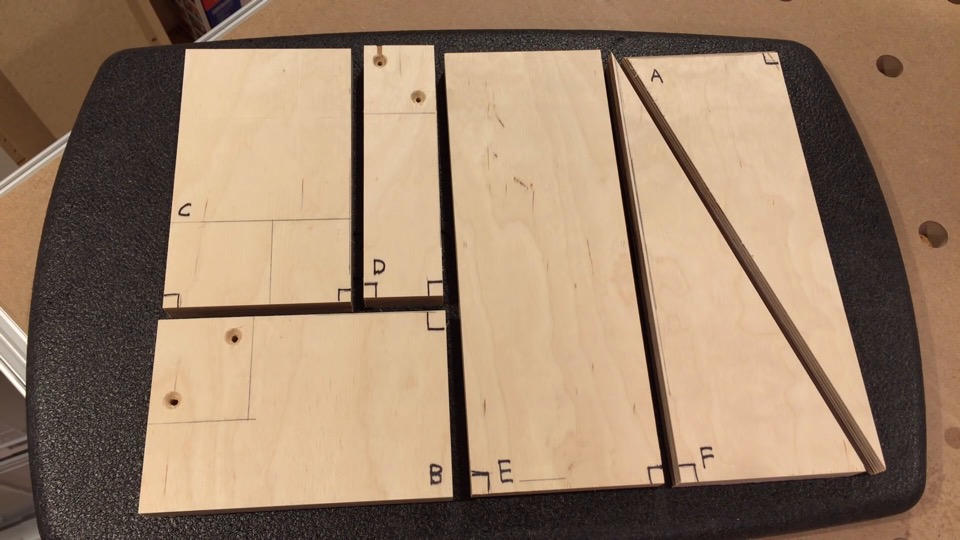
I already have the parts cut out. See the description for a link to the plans, and a cut plan with dimensions.
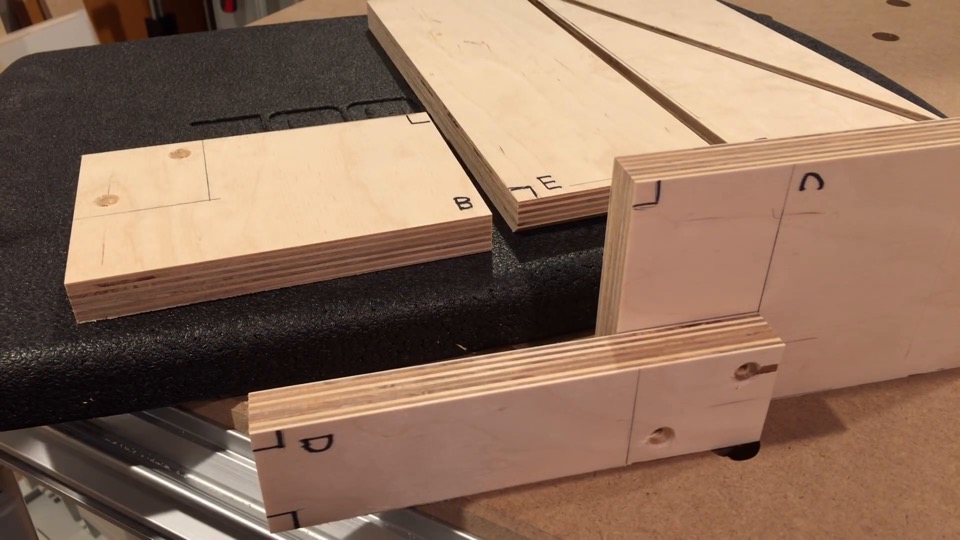
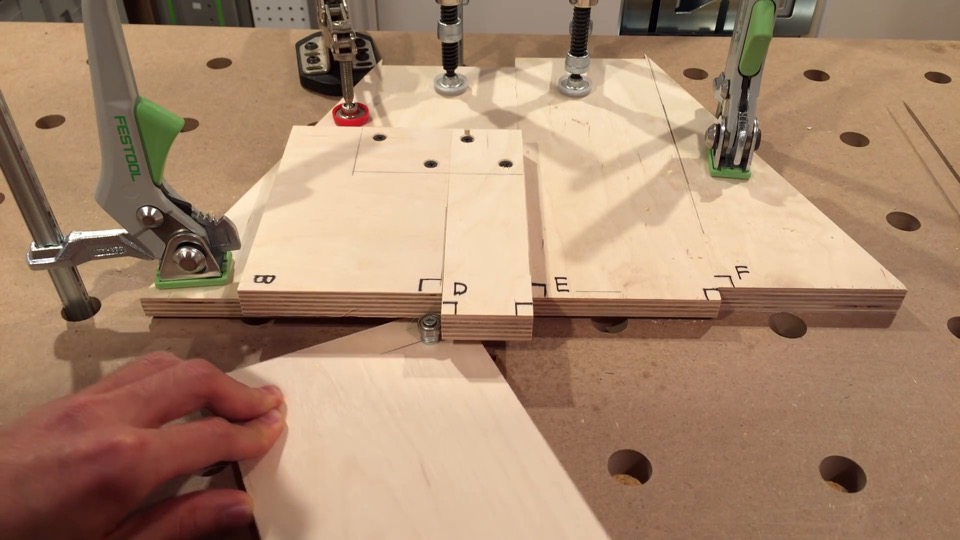
To make the guide arm, line up the edges of parts C and D. The overlap should be about 2-inches. Secure them together.
Then secure part B.
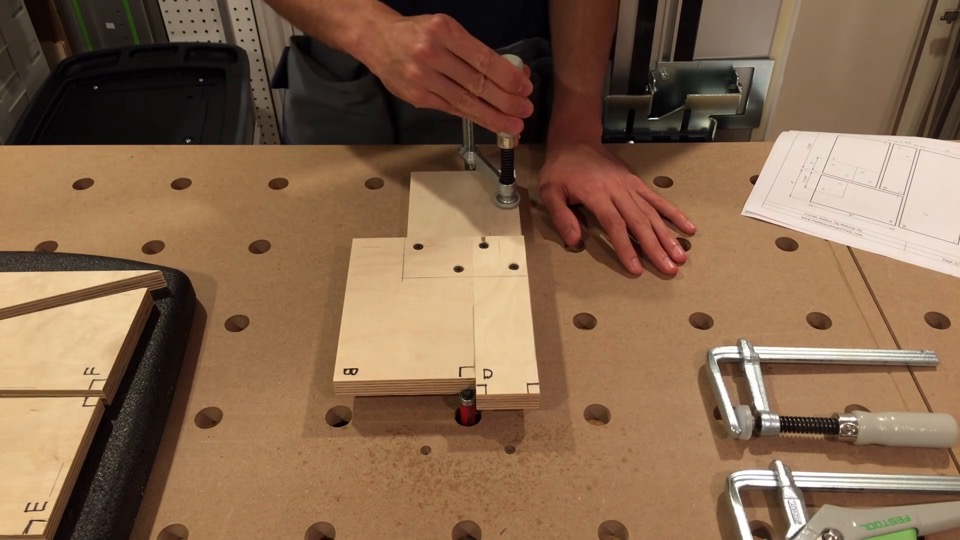
With this assembly complete, load up a 1/2-inch flush trim bit in your router, and push this corner up to the bearing. Clamp this in place. I use a custom made MFT router table. As a side effect, it has lots of clamping holes that are ideal for situations like this. If you don’t have a suitable alternative, you can screw all these materials down to a sacrificial surface, and use it as an additional tabletop for your router table. That way, there’s only one large piece to secure.
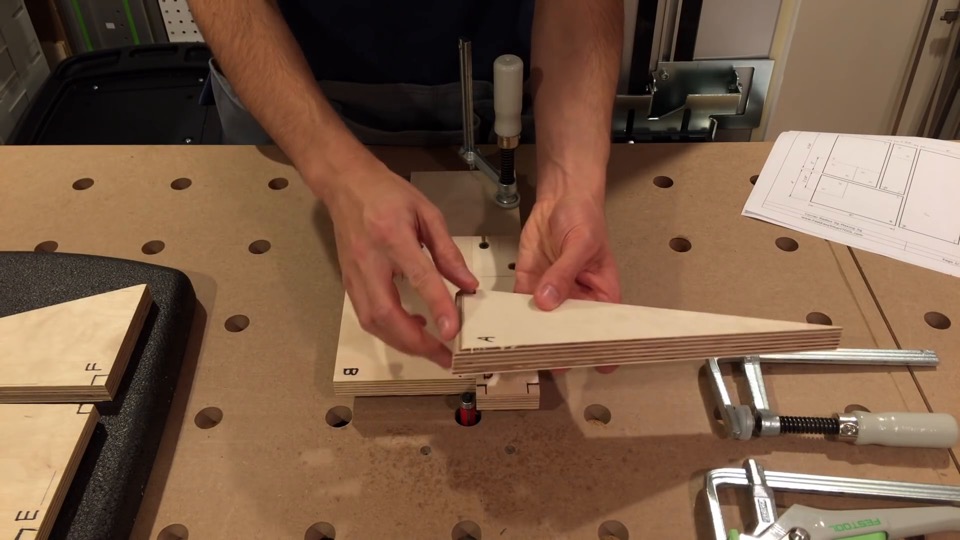
Next I’m taking part A, remember to cut this chamfer here for chip clearance.
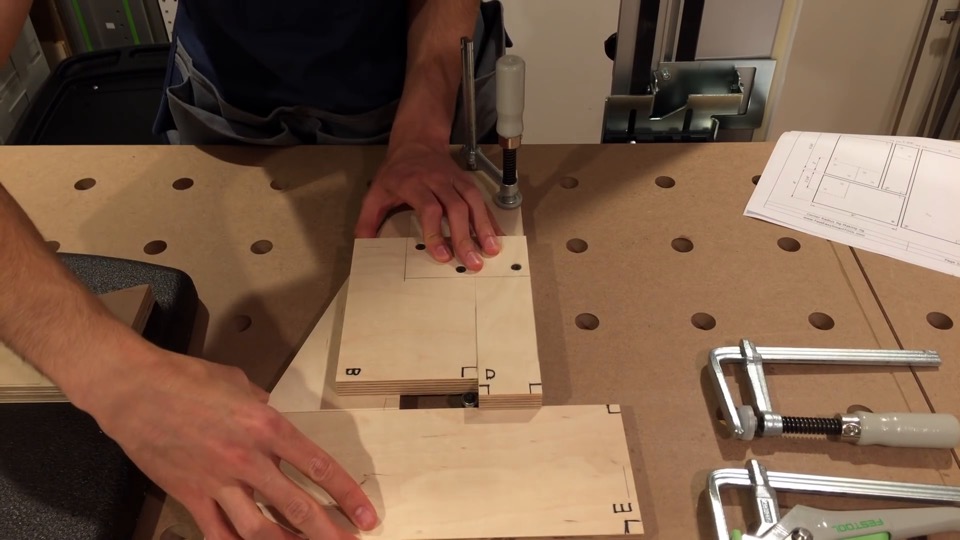
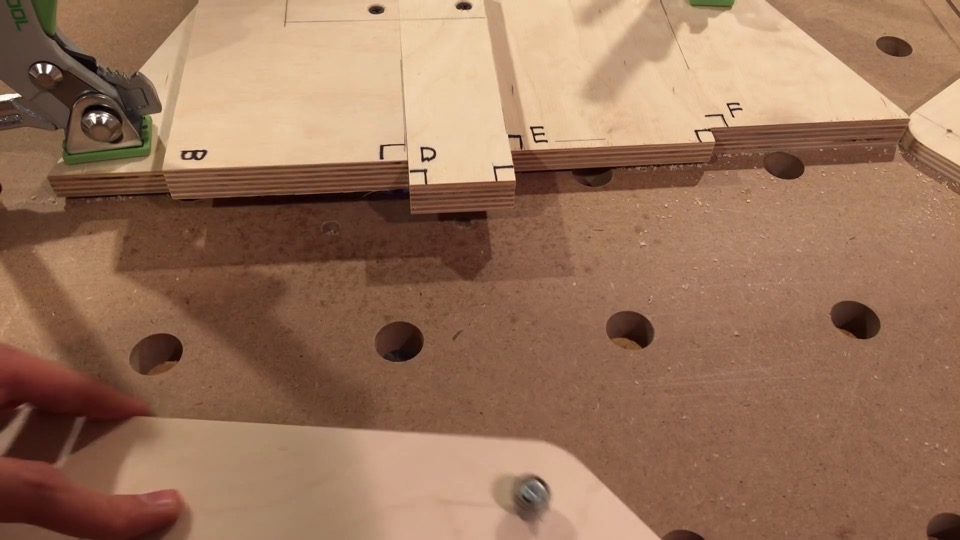
Butt this up against the left side of the guide arm, and use a straight edge to line it up perfectly flush with the bearing.
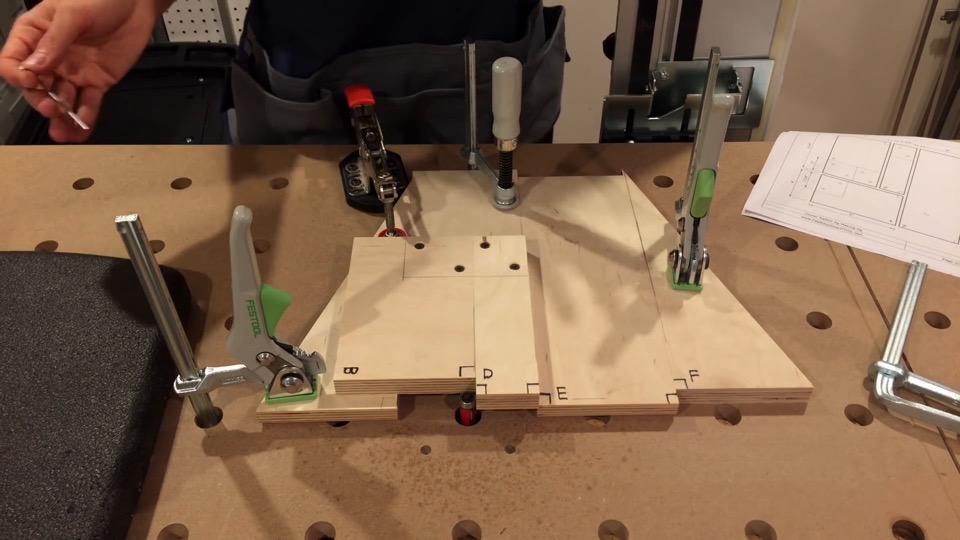
No special alignment is needed for the right side, just sandwich part E with part F, and clamp that down. That’s the setup!
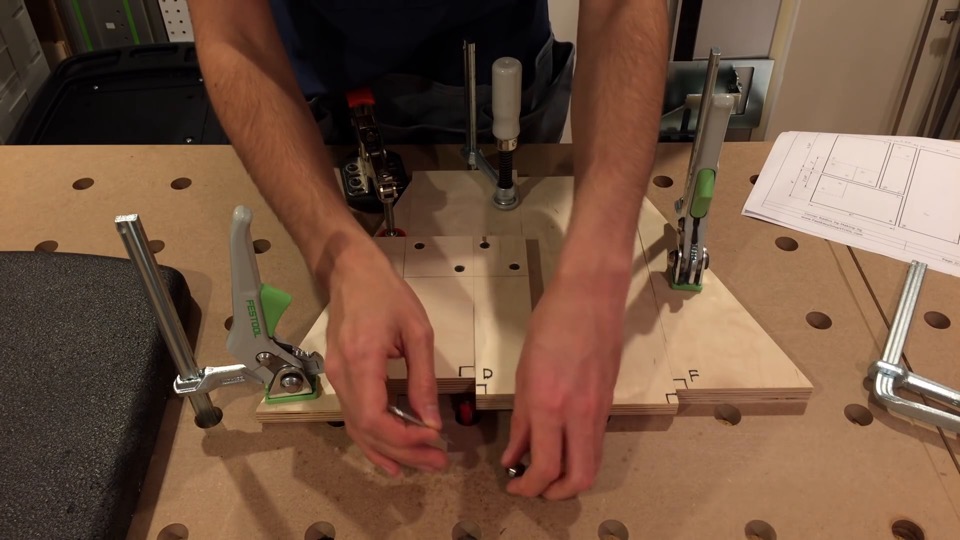
Now remove the bearing from the flush trim bit, it’s not needed there anymore.
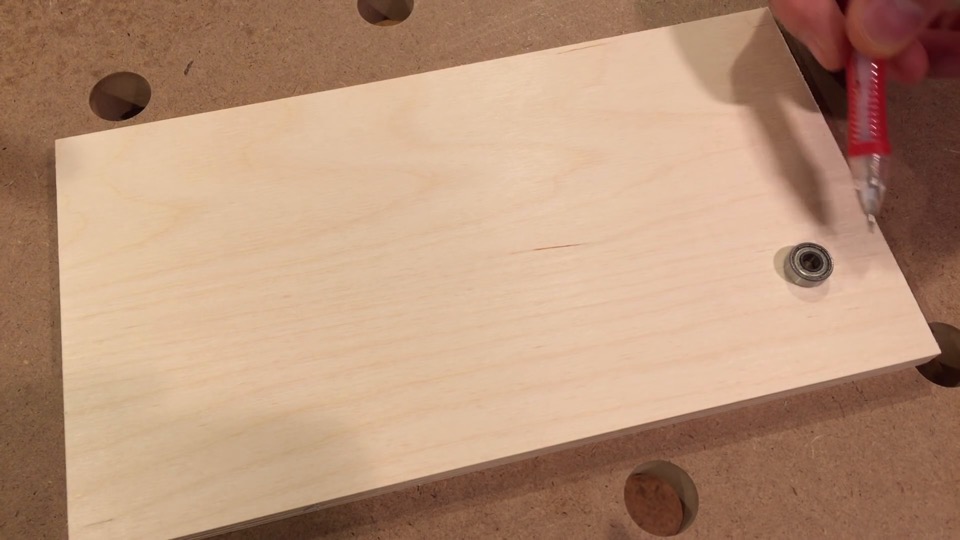
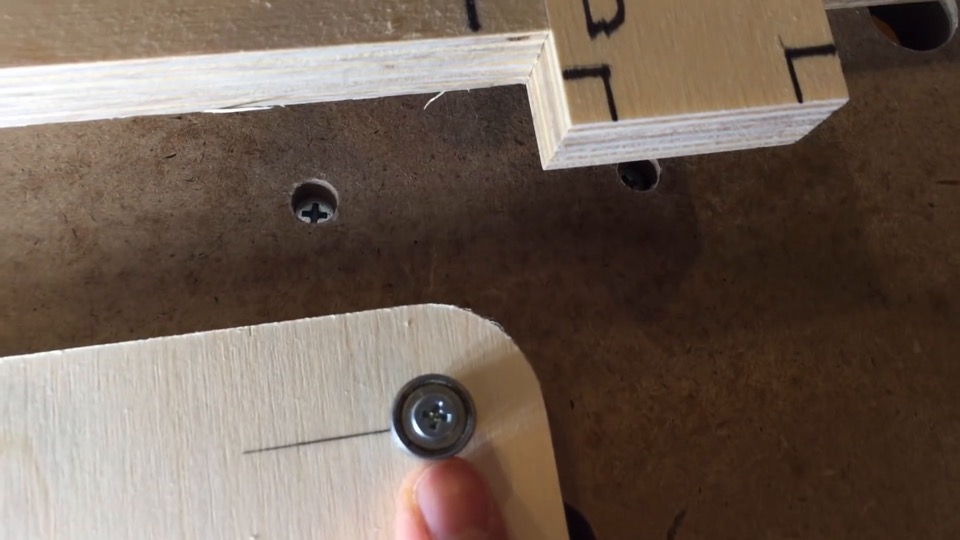
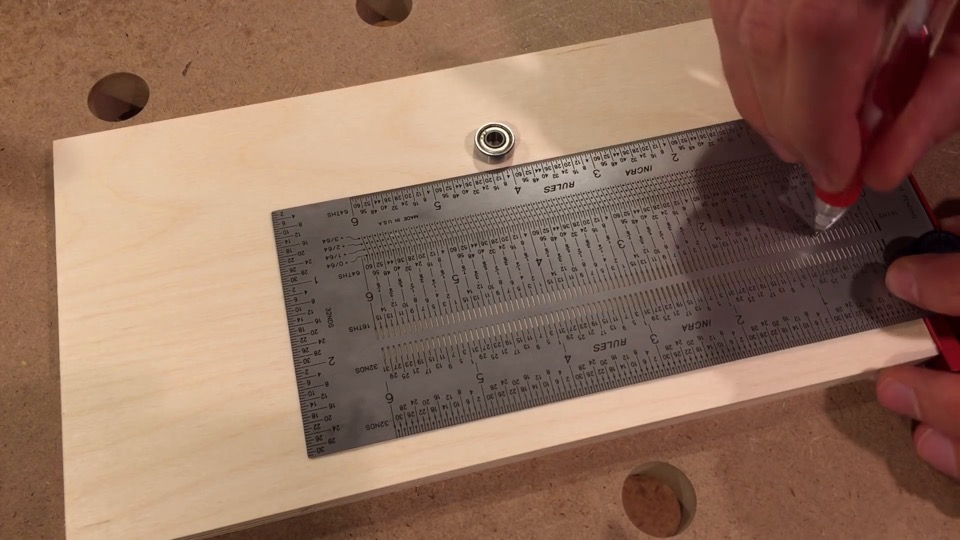
The bearing needs to be attached to your template stock with the distance from one edge to the center of the bearing being your desired template radius.
I’m going for a 3/4-inch radius.
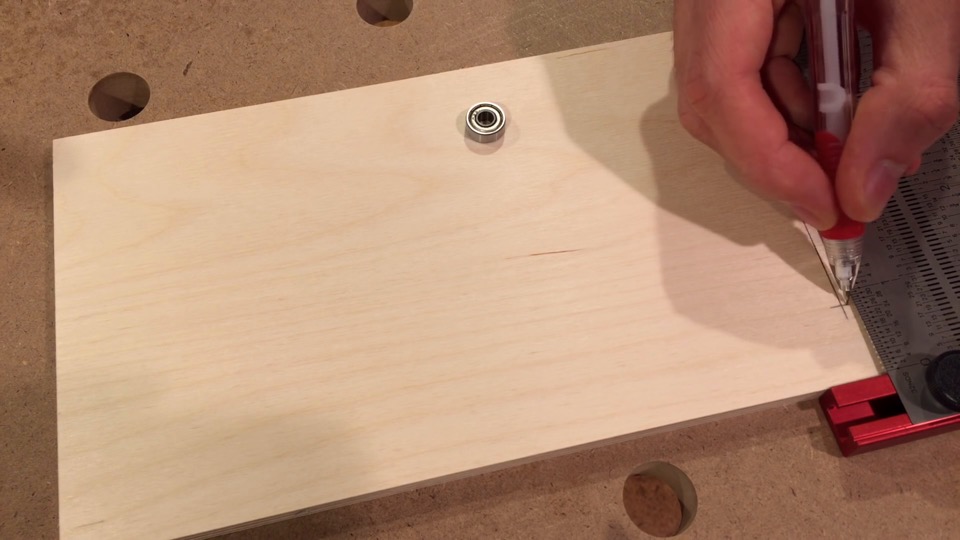
The distance to the adjacent edge should be about an 1/8-inch more than the radius.
Don’t worry that it’s not symmetric, the jointing action will take care of dimensioning this side as needed.
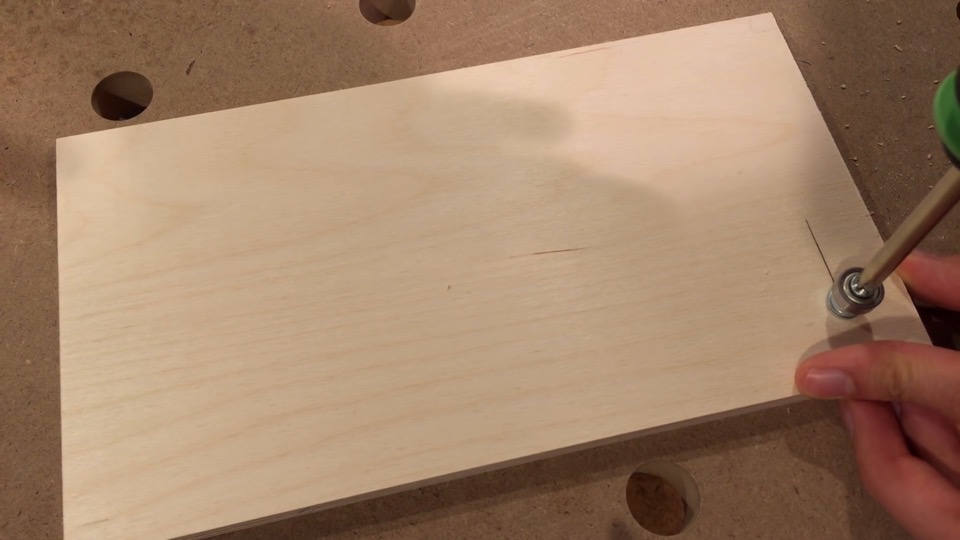
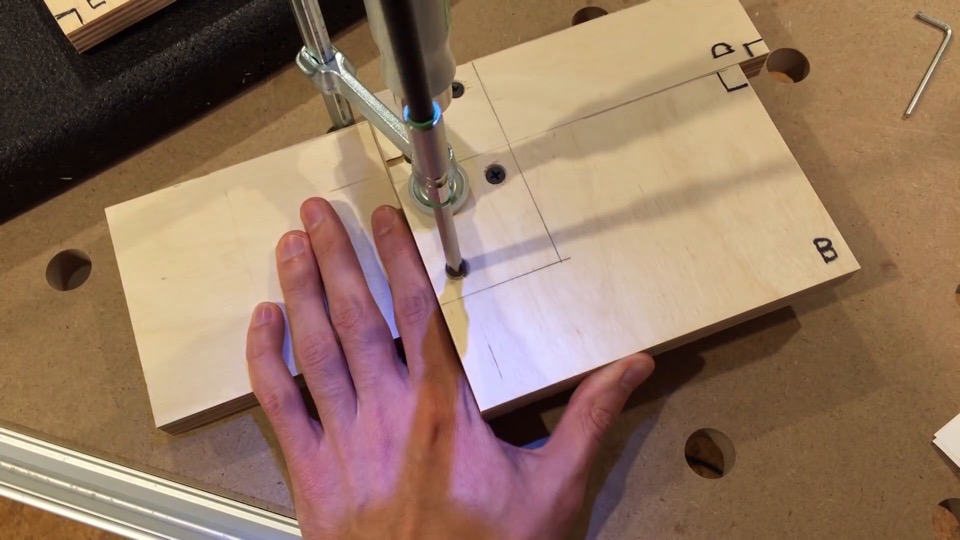
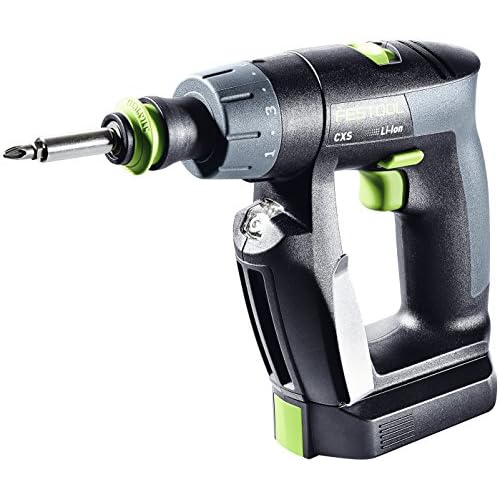
Elevate the bearing with washers as necessary to reach the guide arm, and secure it with a flathead wood screw to guarantee it’s perfectly centered.
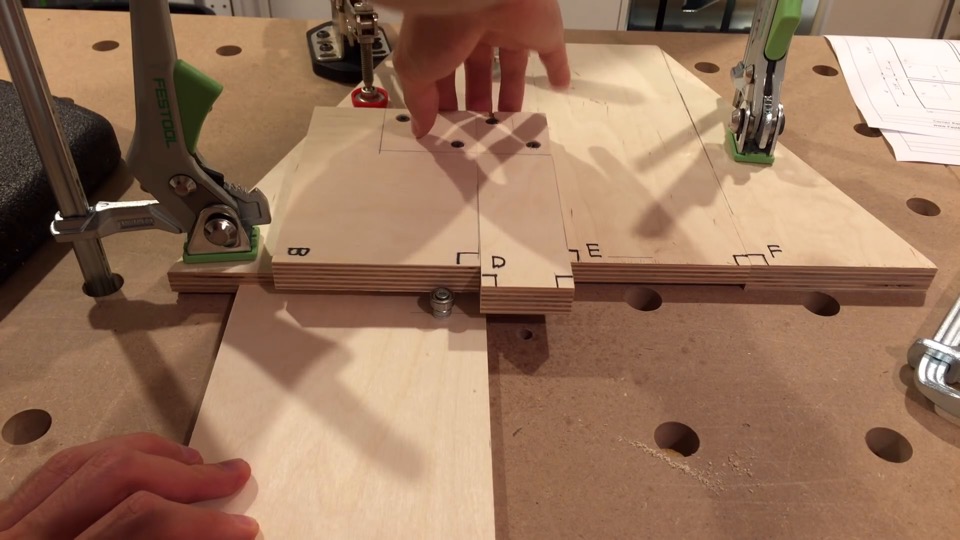
With the router bit lowered below the table, position the guide arm to brush up against the bearing (parts B, C, D).
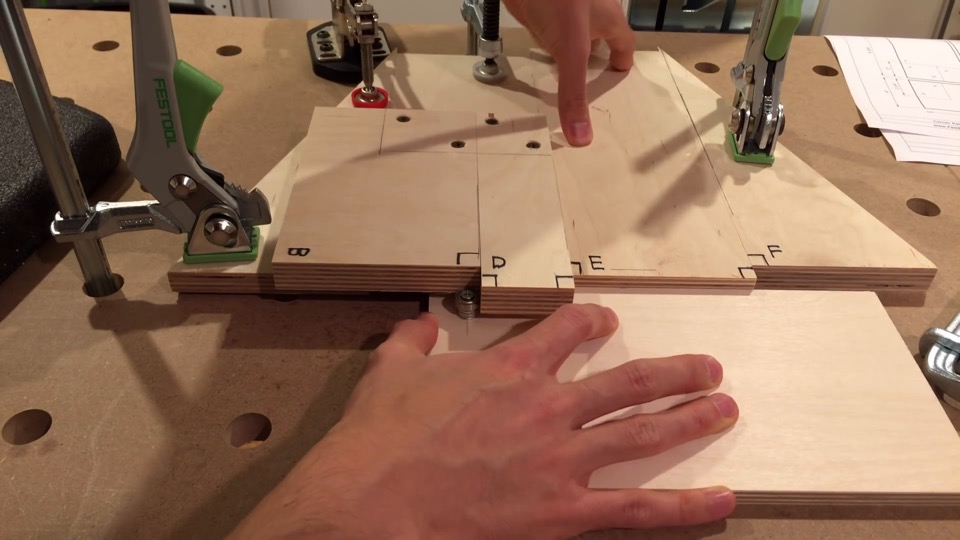
Rotate the workpiece to final position, and set the end stop (part E). Ensure it makes contact over the entire edge.
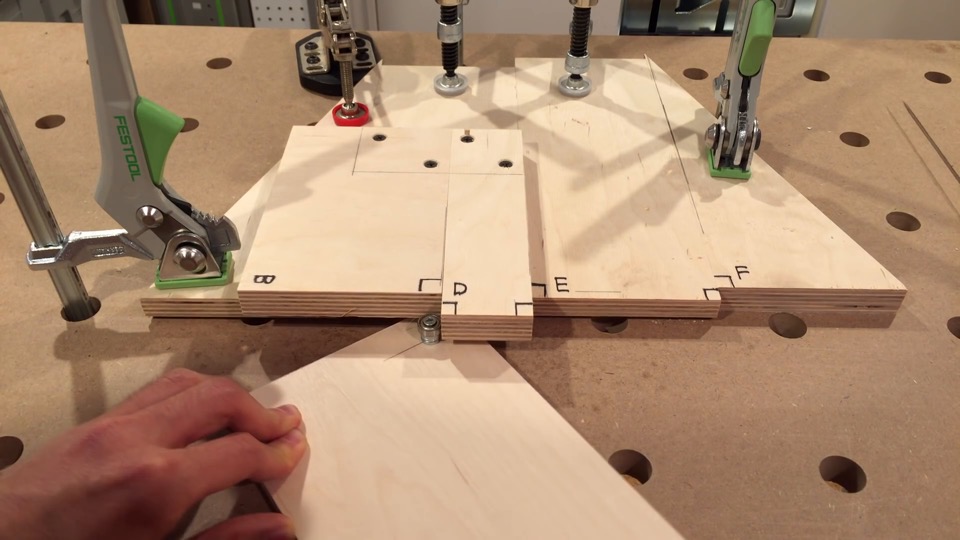
Bring the router up to required height, and proceeded to cut the template!
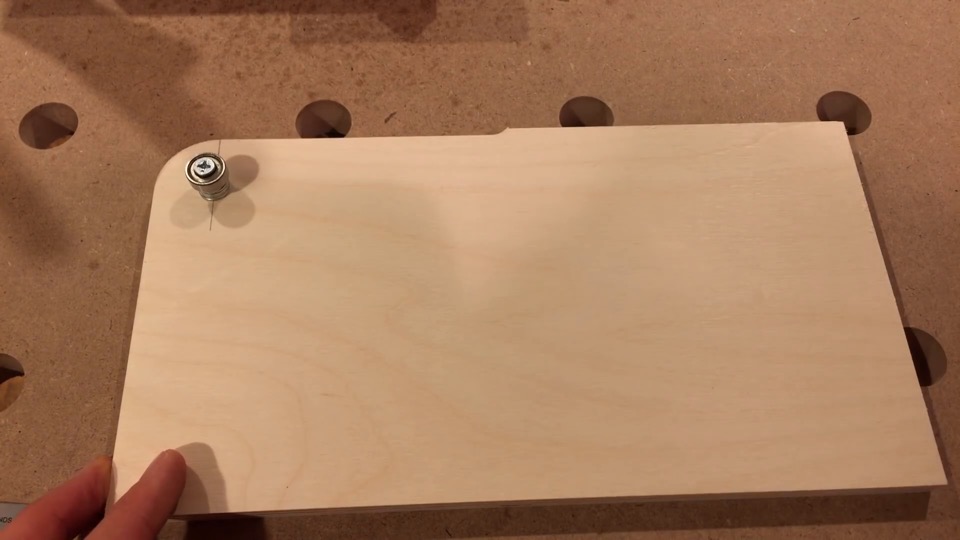
Using 3/8-inch plywood, I make two templates out of each 5-inch by 9-inch piece of material. I found that this size works very well for the dimensions of this guide.
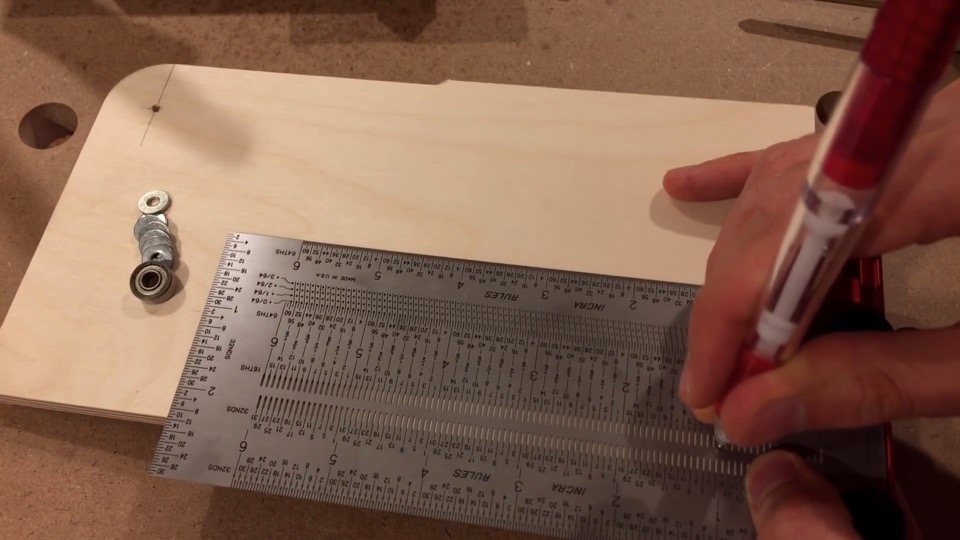
On the other side, I’m going for a 1-inch radius.
Once the routing is done, the two templates on this work piece can be separated, cut to size,
drilled,
and finalized with hardware.
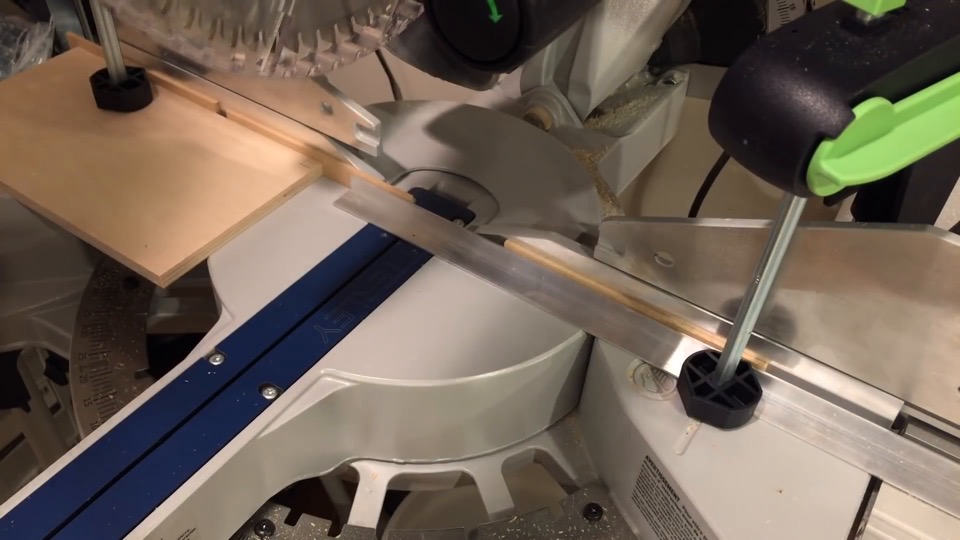
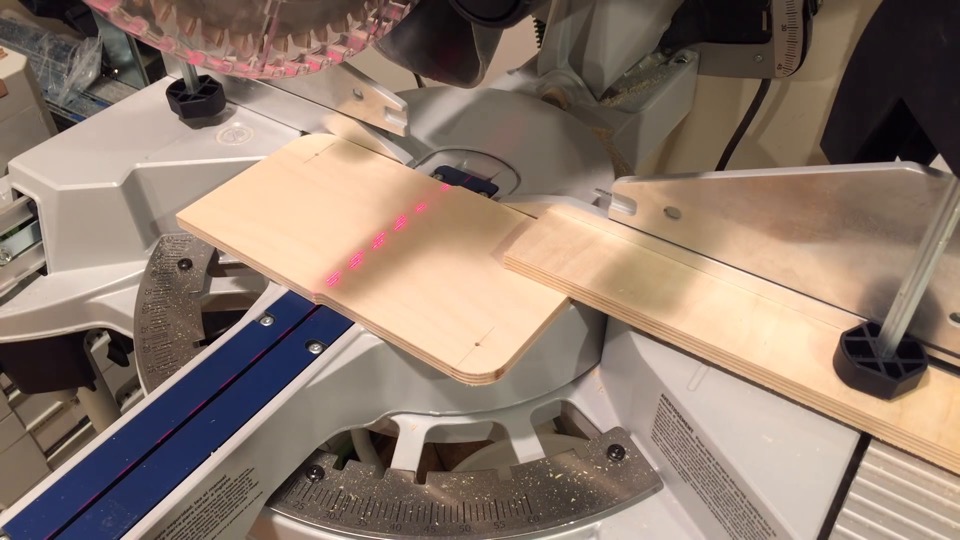
For completeness, the aluminum angle was also cut at the mitre saw,
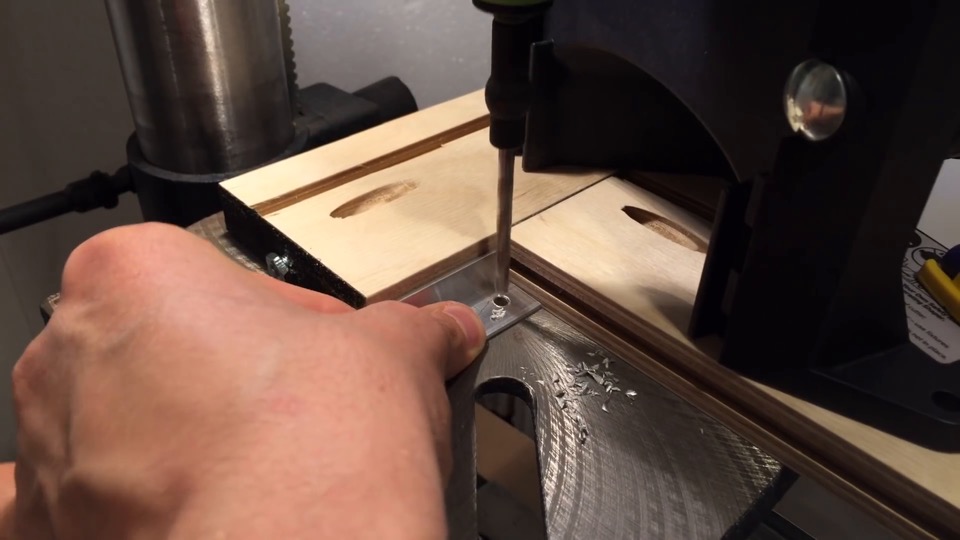
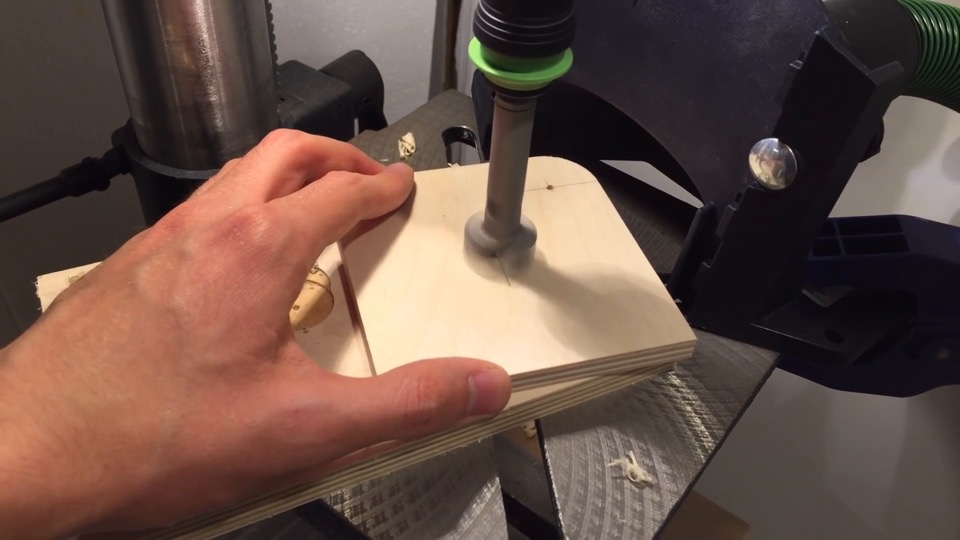
and mounting holes were drilled at the drill press.
Best of all, not only can templates be cut to any radius – they can be made for any corner angle. Absolutely any angle.
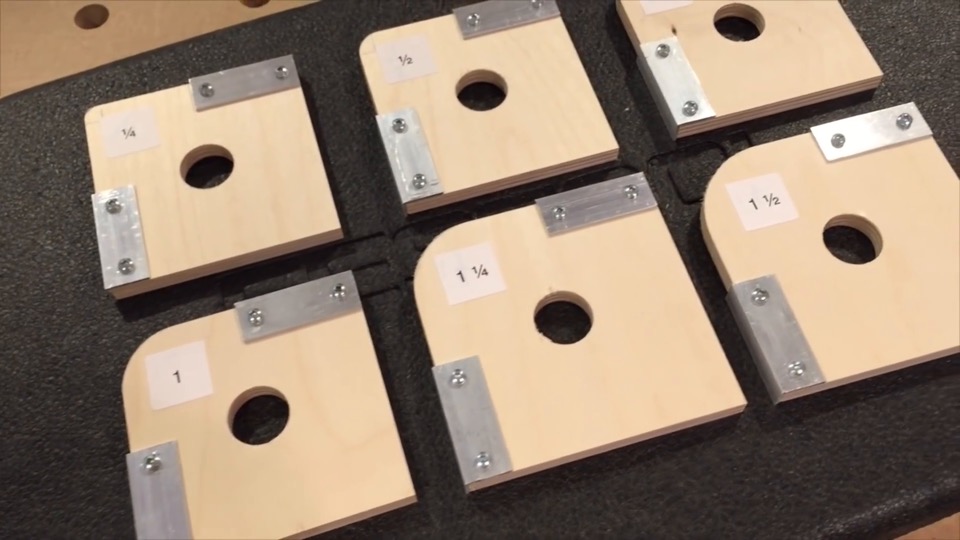
Endless radius-ing possibilities!
DeWALT DW611 Router Kit
Festool Screw Clamps (2 pack)
Festool Ratcheting Quick Clamp
Bessey Toggle Clamp
Festool CXS Drill
Festool MFT/3 Multifunction Table
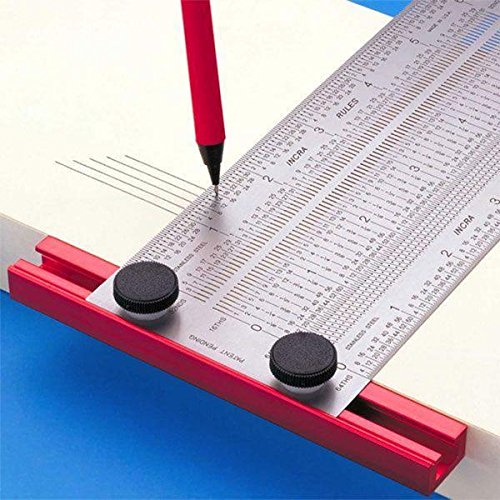
Incra 6” T-Rule
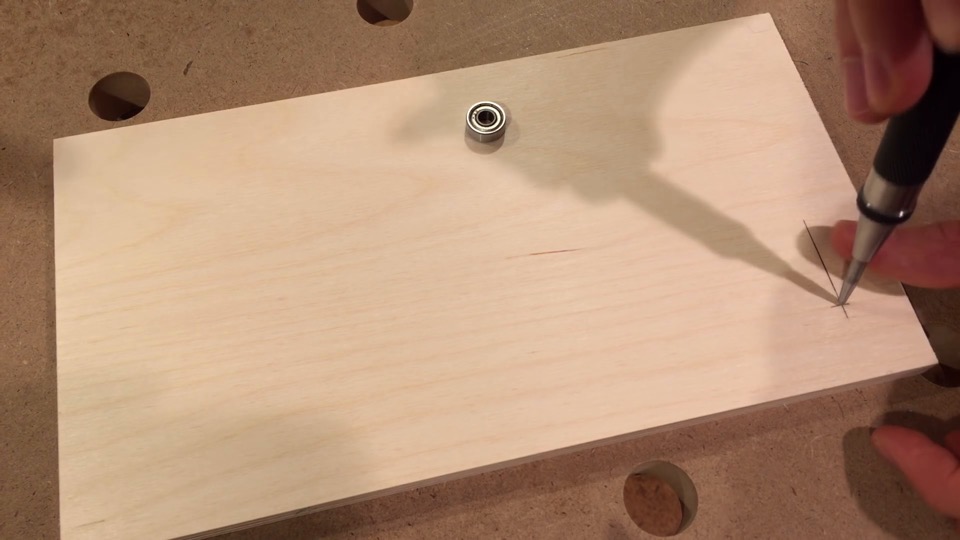
Starrett 18AA Automatic Center Punch
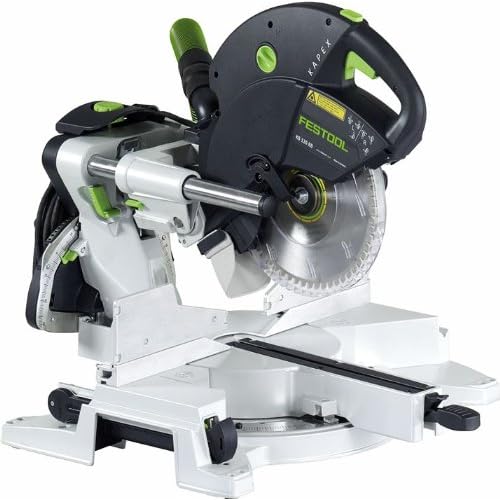
Festool KS 120 Miter Saw
Festool Forstner Bits
Irwin Quick Grip 6″ Clamp
8″ Drill Press
Festool CT 36 Dust Extractor
Leave a Reply
Want to join the discussion?Feel free to contribute!
Leave a Reply Cancel reply
This site uses Akismet to reduce spam. Learn how your comment data is processed.








Great plans for an alternative to expensive radius tool. Keep them coming….good job!
Thank you once again for a less expensive alternative! Keep these great items coming!!
I have wanted some corner radius templates, but haven’t come up with a good plan. You’ve come up with a great alternative to the cheap plastic and the expensive aluminum ones. Thank you.
Very nice I saw the Woodpecker jig and as usual to expensive for me. I will be making your setup this week.
Thanks, Mac
Awesome!
Thanks Kriss great videos!! I’ve always wanted to order the Woodpecker but just too expensive for me. Question I can’t find the aluminum angle (1/2″ (h) x 3/4″ (w) and 1/16″ thick) at any store (Home Depot/Lowe’s/etc) or metal shop in my town. I’ve also looked online and haven’t been able to locate a site that sells unequal legs (under 8-16 ft.) Do you or anyone have any suggestions?
Thanks! Ken
Sorry you’re having trouble locating this. For what it’s worth, I picked up the profile I used from Lowe’s – it was available in 3 foot length. I don’t think it’s critical that that the legs are uneven, either 1/2″ x 1/2″ or 3/4″ x 3/4″ should work fine.
Any mortise and tenon jig?
Awesome Kriss
I plan on making these sometime soon. Any chance of metric plans?
Cheers
In the United States we use inches.
I am considering to use your radius corner jig to make some 5.0 inch and 5.5 inch radius templates, but thought it might be a good idea to see if you have any advise about wha the best block size would be for a radius that size (4 inch or 4.5 inch might be too small) and I am wondering if I might run into any snags trying to remove that much of a radius once the jig is set up? hoping you may have already tried this. thanks
What a great tool… I need something to round the corners of the 100mm squares.. I have a small laser cutter Si could cut the main template on the laser but would it round only corners? How to make sure it will only do the corners and won’t start buying in to the actual square so in other words how to make sure it will stop the curve flush with the edge?
Thanks Kriss! This is an awesome jig. I made several corner templates from it, and it was very easy to make and use.
If I ever had to do it again (which I probably won’t), as I assemble, I’d add a few pieces of blue tape on top of part C to give my workpieces just a bit of clearance. For those that don’t have a MFT, leave A and F as rectangles so you can clamp it all together. Lastly, if you are cutting a big radius (like 2″ or more), your workpiece might pivot into the jig unless you do some initial trimming with a jigsaw.
Great jig. Saw it before but will built now. Haven’t heard of you and your good idea for a while. Hope everything is good with you.
Clever jig, Thanks so much!