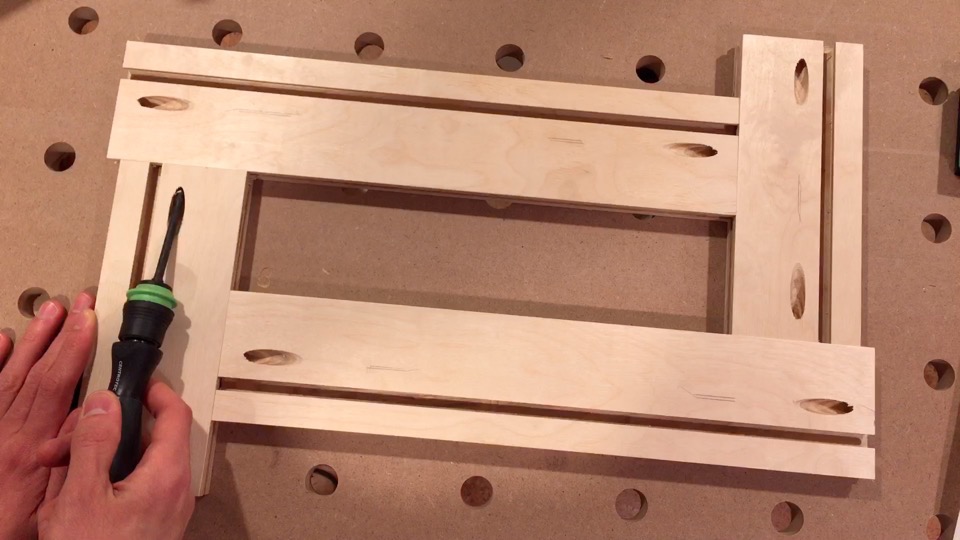
Route cutouts, mortises, and inlay QUICK with this FLEXIBLE jig! Modeled after Festool’s MFS Multi-Routing Template System. (edit: Festool’s MFS system was discontinued effective April 1, 2016 – all the more reason to make your own now)
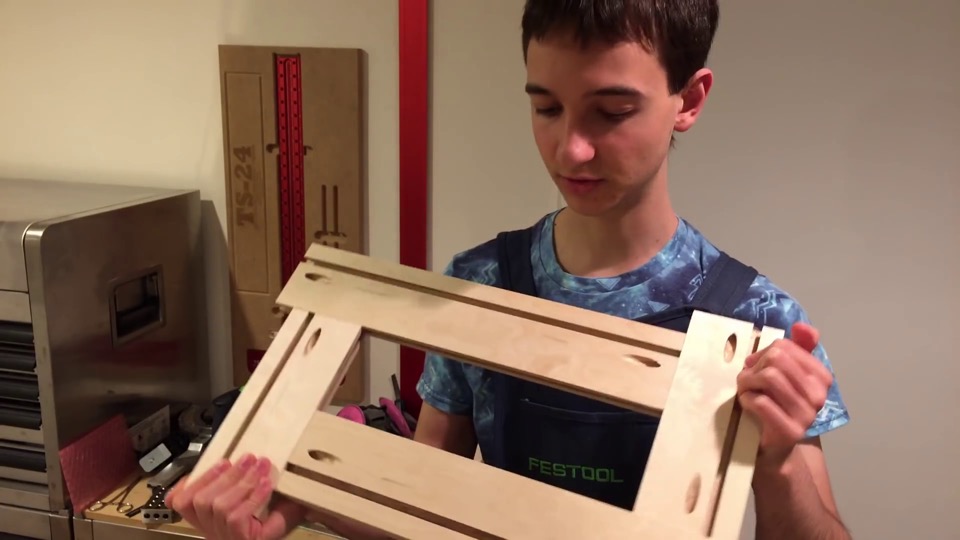
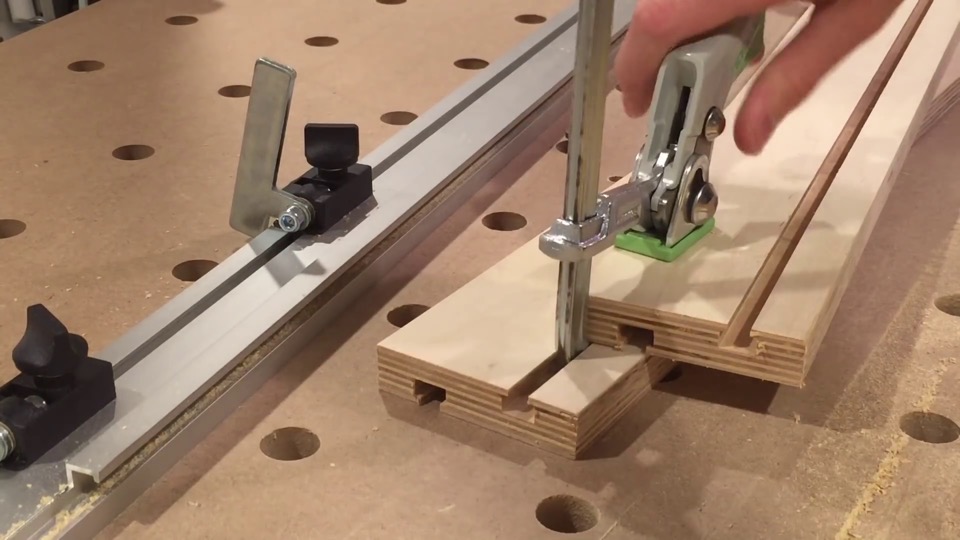
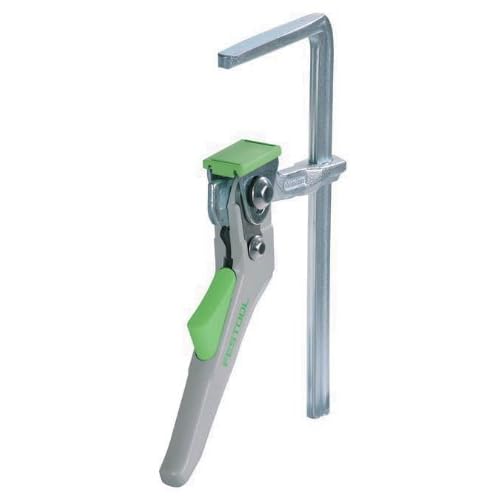
I wanted an adjustable routing template, so I came up with this design modeled closely after the Festool MFS multi-routing template system. It’s loaded with T-tracks. It fits clamps from either side, and is infinitely adjustable with these pocket screw bolts.
So clamp it down, grab a router loaded up with a guide bushing, and make some really cool cutouts. An indispensable accessory for your router, and I’ll show you how to make your own.
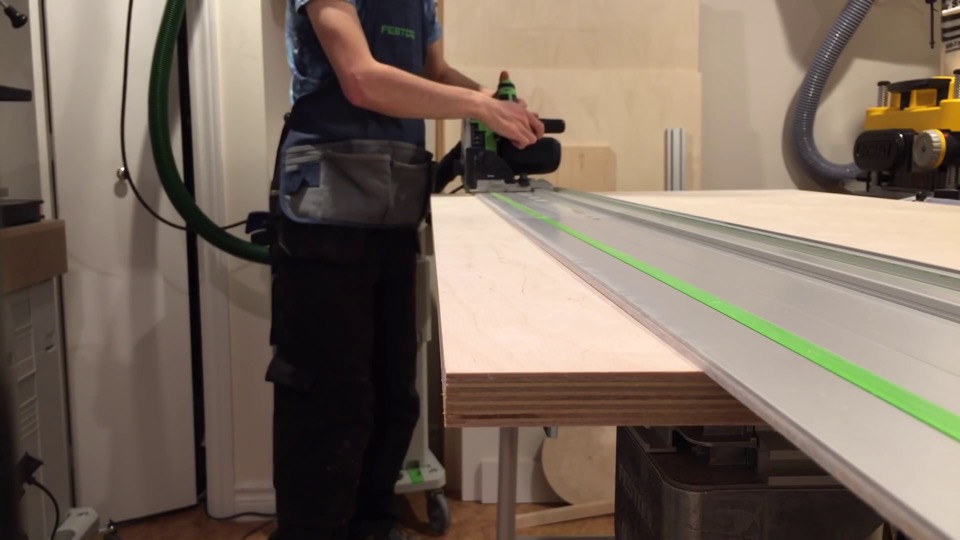
Here I’m ripping the material to width. 3/4″ plywood, 80 millimeters wide.
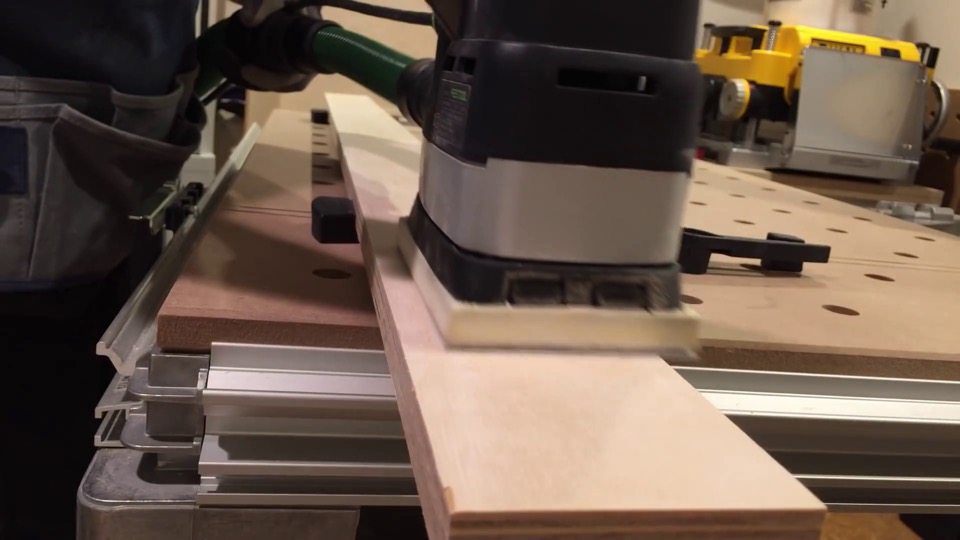
Now is the perfect time to sand the surface. Yes, it will keep our hands free of splinters, but the main reason to sand now is because if we wait until after we’ve cut out the profiles, the surface becomes much more intricate and it’s more difficult to sand without breaking any of the fine edges. If you have a linear sander this is the perfect time to use it. Unlike an orbital sander, a linear sander – when sanding with the grain, there will be virtually no chance of tear-out or breakage on the edges – something that could be an issue with an orbital sander on narrow stock like this. Now if you don’t have a linear sander, I’d recommend just standing gently by hand. Use some fairly fine sandpaper as both linear sanding and hand sanding can leave fairly coarse scratch marks so I’m using 320 grit.
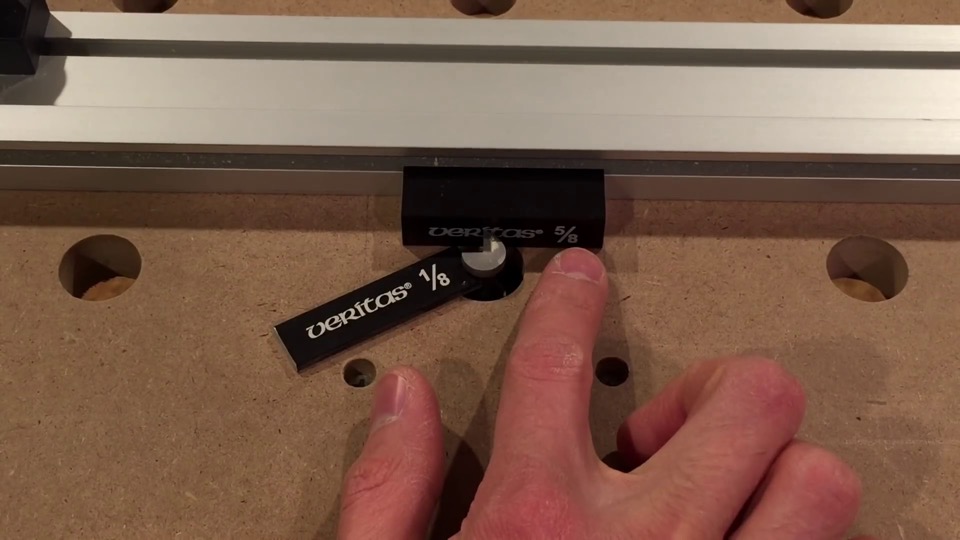
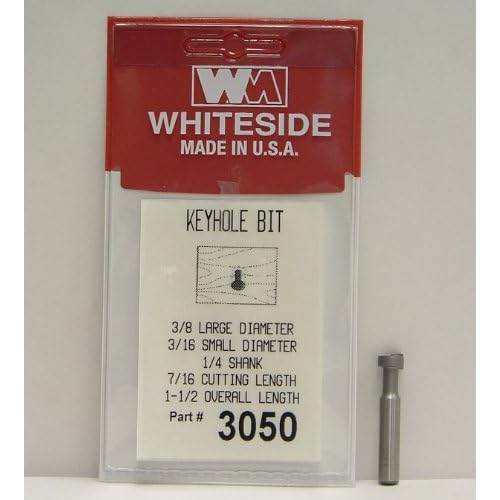
For the first routing operation I’m using this Whiteside keyhole bit. There will be more information in the description, but it’s a 1/2″ diameter and is the size for our clamps slot. To make the clamp slot, the bit is set 5/8″ from the fence and 1/8″ above the table. This bit is actually only 3/16″ tall, but I need a slot that’s 1/4″ high. So this will be the first pass, the next pass I’ll add this extra 1/16″ here, and that will bring the total height of the cutout (of the track) to 1/4″. Off camera, I cut the original piece of material in half – just so it’s easier to manage on the router table.
Now I’ll be routing two profiles on each piece, one from each side, to accommodate the clamps. Having repositioned the bit we can make the second pass.
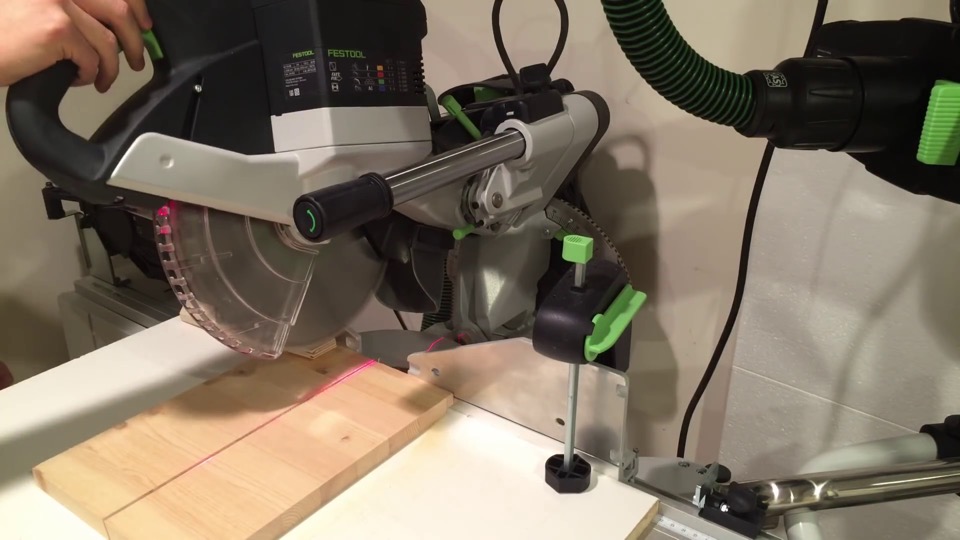
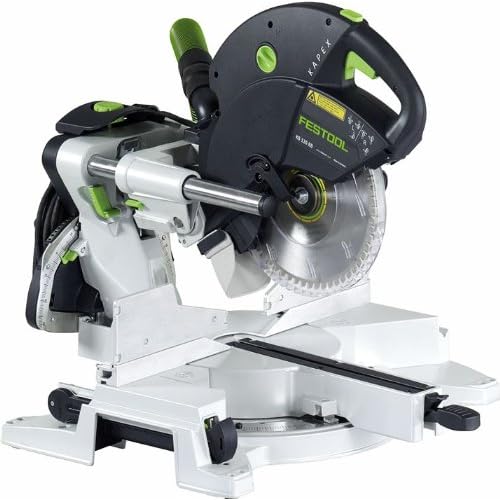
Time for a test fit… works great! So we now have the two T-tracks for our clamp slots. We still need two T-tracks on the side to allow the profiles to connect to each other using the pocket hole (pocket screw) that will go through the middle. The pocket hole is actually a 15-degree angle, so we need these T-tracks on the sides to also match that 15-degree angle. In order to do that safely and precisely at the router table, I’m here at the miter saw to make a 15-degree fence. Let’s take a look at how that’s done.
I’ll tilt the head 15-degrees. Note, if I make a cut now with the head off 90-degrees I’ll ruin my zero clearance insert. Because I don’t want to swap this in and out every time, what I like to do in this situation is use the depth limit and a sacrificial piece of material, so that now the blade will not hit the bottom of the table, but it will still function because it will reach the sacrificial material. So I’ll clamp this down. Grab the material for our router fence, and cut two pieces in half. So we’ll use this to make our 15-degree fence for the router.
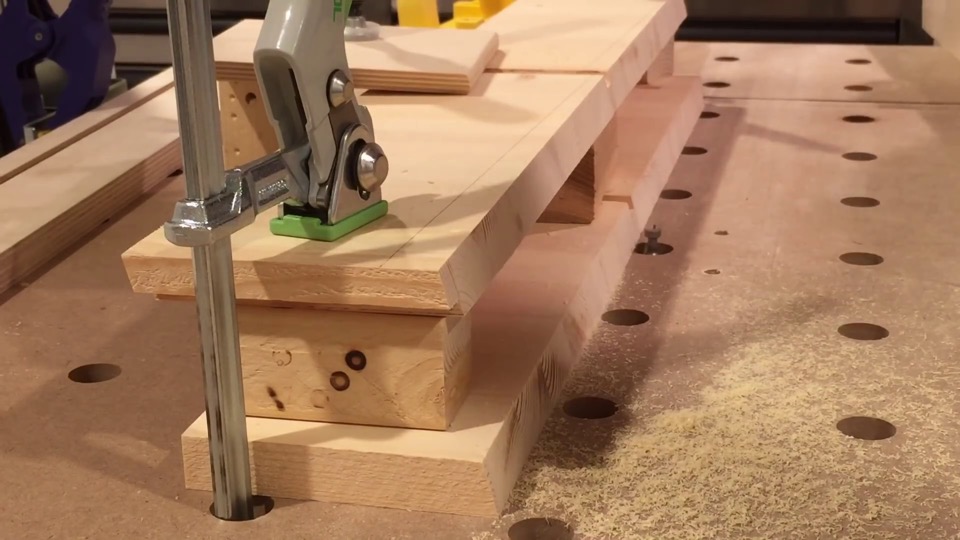
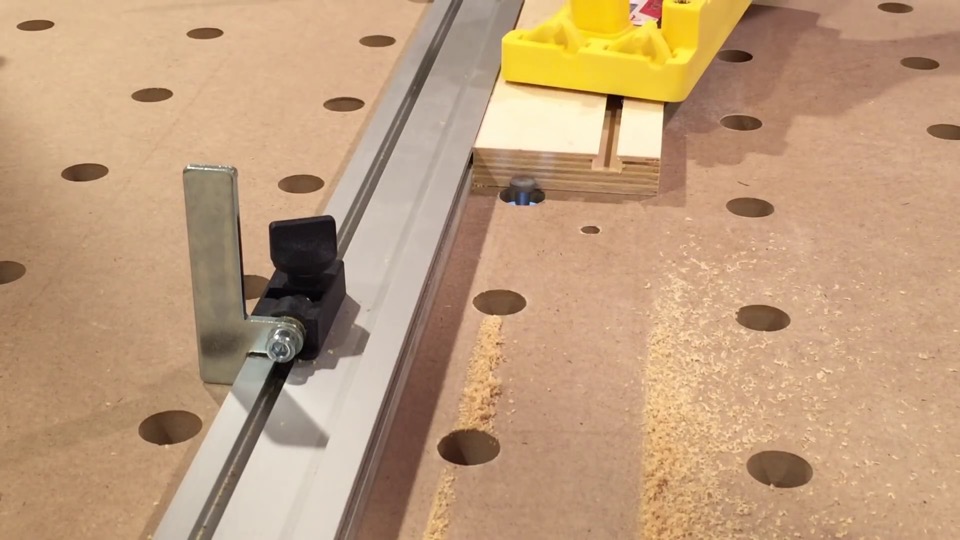
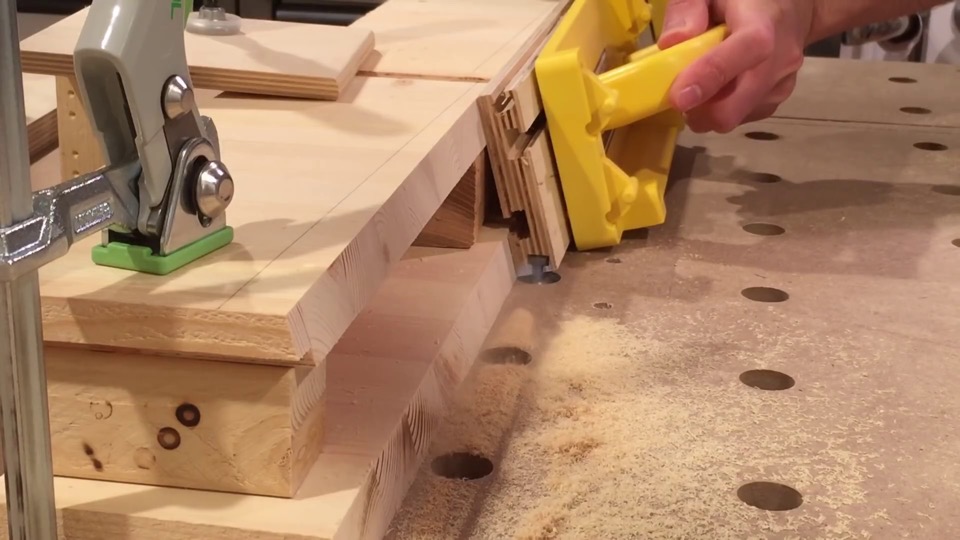
And here’s that 15-degree fence contraption all set up. I used some two-by-two material to raise the height of this second level so that there is full support of the work piece on infeed and outfeed sides. Safaty first: if you don’t feel safe making this cut, please don’t do it. If you do decide to try, make sure you’re using some kind of router push block.
This is now the smaller keyhole bit, again I’ll have details in the description. The bit height and fence location was just a matter of trial and error – made some test cuts until I was happy with the result. But, for reference (I measured after the fact), this is about 3/16″ from the fence, and the height is just under 1/4″.
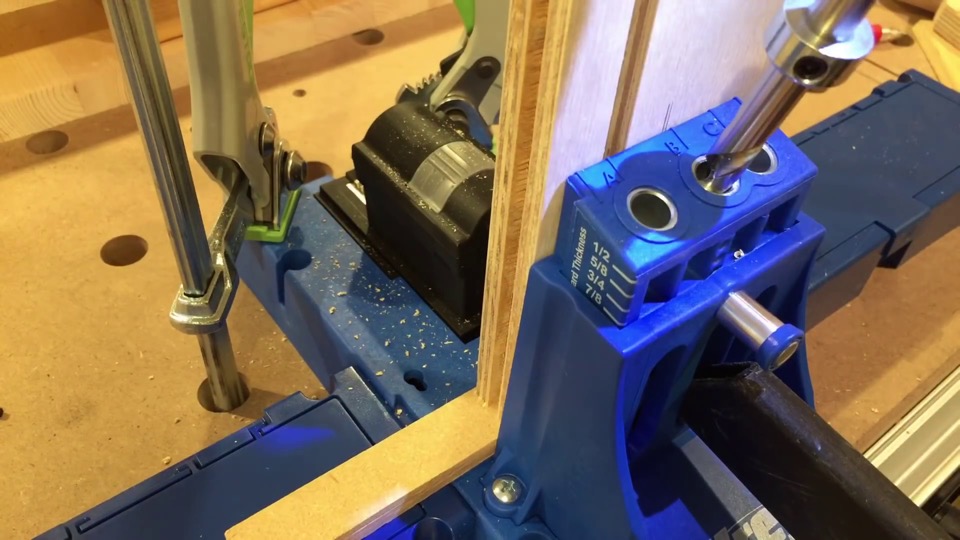
Now the pocket hole is drilled.
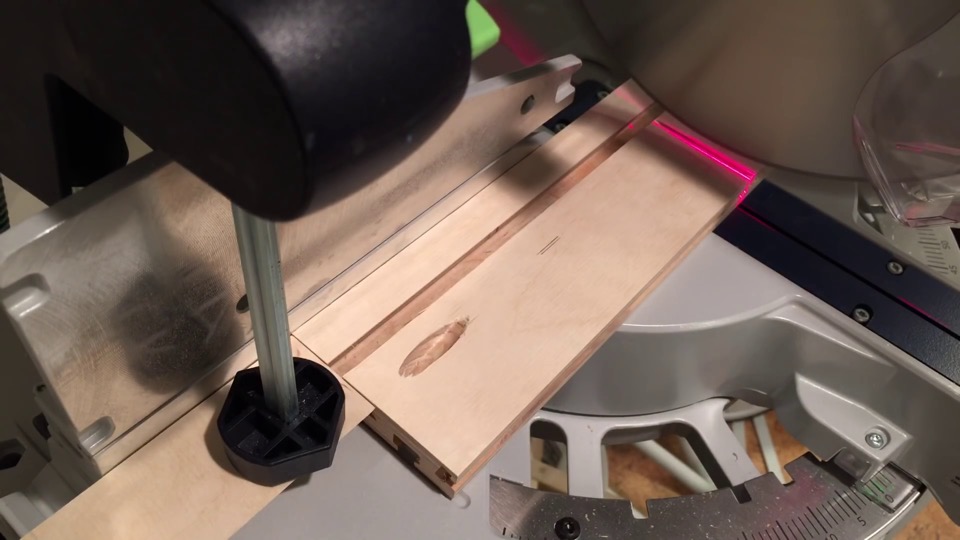
And the workpiece is cut to length at the mitre saw.
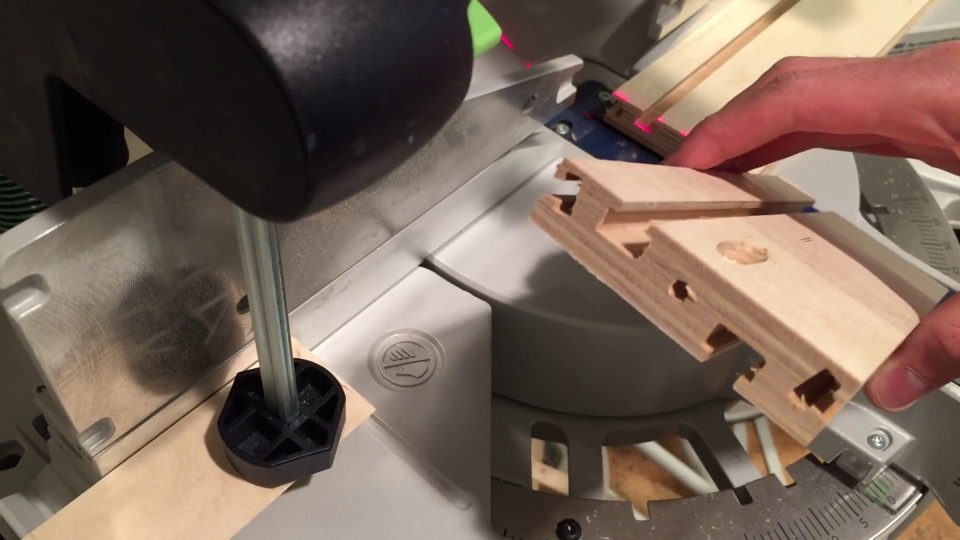
Well I just finished this first piece of the guide, but I realized that I made a mistake. This pocket hole should have been drilled on the other face. That’s because when this is put together I want all the pocket holes to be on the top, but it won’t work out because these T-tracks needed to be this way in order for the pocket screw to go in like that. And, on this piece pocket screw will be going up rather than down (the wrong way, basically). So what I think I can do is drill another pocket hole on the other side, and just ignore the first one.
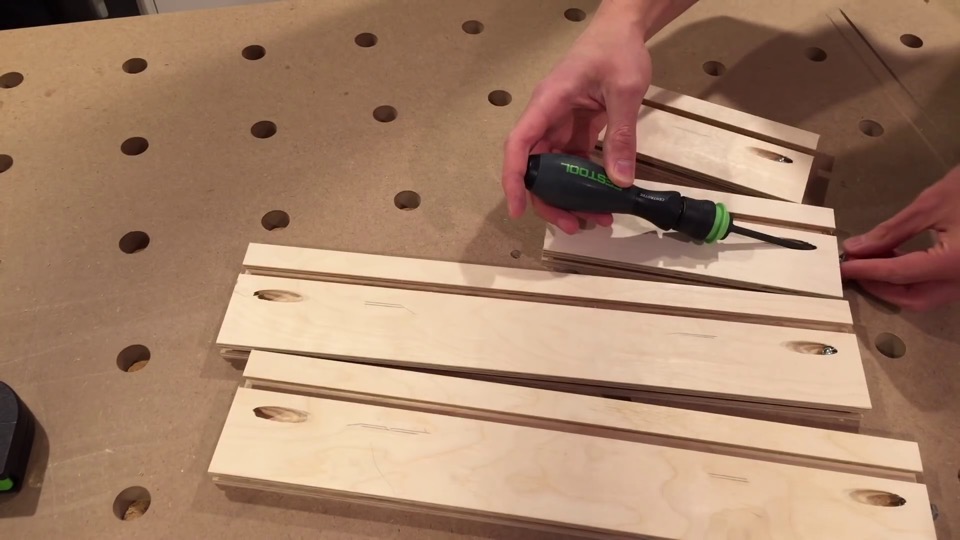
And there are the profiles: 2x 400mm length and 2x 200mm length. Now I’m just going to install these machine screws, and there’s a little nut for each one.
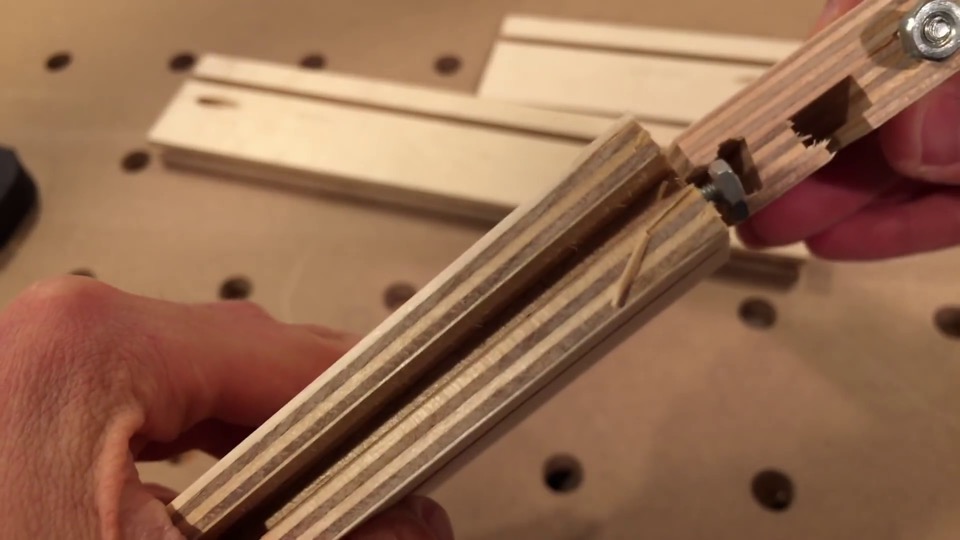
So how this will work now, is the nut slides into this T-track, just like that.
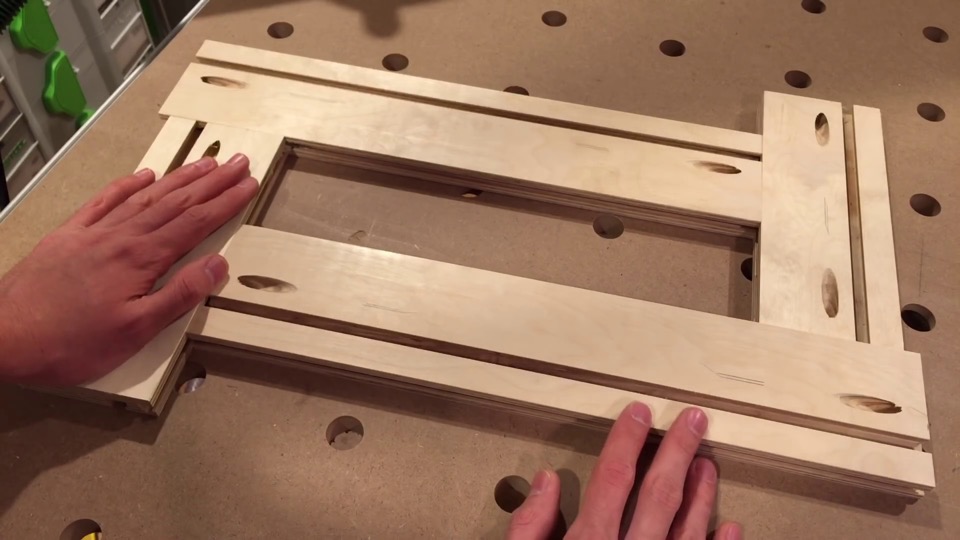
As you can imagine these profiles can be cut to any length, so the possibilities really are limitless. You can join them on together make a very intricate template.
Leave a Reply
Want to join the discussion?Feel free to contribute!
Leave a Reply Cancel reply
This site uses Akismet to reduce spam. Learn how your comment data is processed.






Very impressive presentation. Particularly impressed that you left in the part about making the mistake with the pocket hole and then provided a solution that didn’t involve remaking the piece.
I did not see the plans for this jig. But I note that you just published it today and therefore I may be premature in expecting it. Again, very well put together presentation.
Hi Kriss luv yr jig . However I have a question about the router you appear to have mounted onto the mft3 . Can you provide info about the router and how you mounted it
Would really like to get your thoughts
Many thanks
Marvin adelman
Marvin, here’s a video of the router mount.
I am very impressed with your depth of Festool woodworking knowledge, your creativity and your ability to clearly and efficiently communicate the content. Keep up the good work, clearly you have a promising future ahead (whether in woodworking or any other endeavor).
I look forward to your next post.
Ever consider setting up a Festool School to better share your knowledge and passion. Why not get compensated for your talents.
I was thinking about making this jig but one change I think I will make is to add a 15 deg. stub tendon to reduce racking and keep the parts coplanar. The tendon would slide in the slot cut for the pocket screw/nut. This should eliminate the need for the sand paper modification. I will cut another 15 deg. 3/16″ slot in the mating part and glue a hardwood strip into it to serve as a tendon. The slot will have to be machined so it matches perfectly with the T-slot in the mating piece and any glue squeeze-out is completely removed. Just need some time to get to it.
My only concern there would be the friction that a tenon might introduce when you’re trying to adjust the template. I’ll be curious to hear how it turns out!
Great project, link for router bits is wrong. Should be t-slot not key hole. Need Whiteside 3070 & 3075.
No, actually you do want the key hole bits I linked… those t-slot bits are too big! 3070 is 1-1/16″ large diameter, 3075 is 1-3/16″ large diameter.
Kriss,
you do great work.
Do you have a PDF plan?
Thanks! For this project I only have the SketchUp plan.
Just got done with the jig. Looks and works great. Thanks for the confirmation on the key hole bits. I freaked out when I saw the graphic on the front of the Whiteside packaging. Graphic looked like a old skeleton key hole. Thanks again.
Glad to hear everything worked out in the end.
Love your adjustable router template I’m trying to make one myself My question is about the different things that you have I notice you have measuring sticks I hope that’s what they’re called it’s been a while since I’ve done wood working thank you
Hi Mike. Thank you for the question. I think you might be asking about the red Woodpecker’s T-rule that’s hanging on the wall http://amzn.to/1Q6YKBz <- does this look like what you had in mind?
For what it’s worth I’ll be doing a full shop tour writeup in a couple months. As a quick aside, note that FastEasySmartTOOL recently rebranded as Toolify, so the website to check going forward is http://toolify.ca
Thanks!
No it’s the ones you measure the height of the router bit in your video
Got it. Those are setup blocks from Lee Valley http://www.leevalley.com/en/wood/page.aspx?p=45089&cat=1,43513,51657
Thank you those are exactly what I needed I appreciate it
I need to ask on the small key hole bit you use is it stronger then Other router bits
Thank you. It’s so great you make this guides.
Really not sure why you use two different router bits in the same hole. I have replayed the video several times and I don’t get it.
Can you explain?
Best regards
Christian Søgaard. Scandinavia Denmark.
Hi Kriss
Nice to a fellow Toronto do good (my new home town is Vancouver)
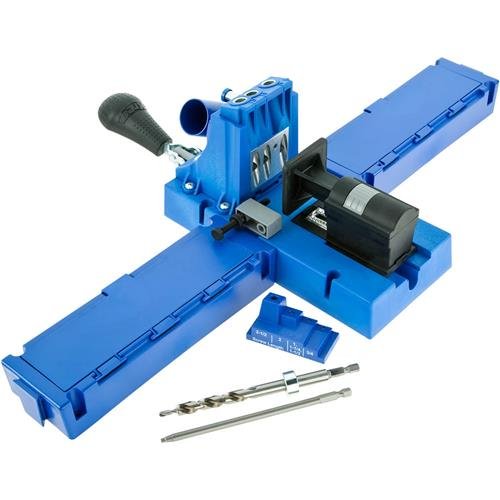
Can you please confirm you Kreg jig setting? In the video it appears to be set to 7/8 but the ply wood thickness is 3/4.
I’m I understanding this correctly?
Hey Robert. For pocket holes the drill bit doesn’t go through the end of the material, whereas in this application, a through hole is required. If I set the thickness to 3/4, I’d drill into the pocket hole jig. So I set it to 7/8 and shim the piece up with sacrificial material.
Hi Kriss
Sorry for the additional question.
Are you using an OF1010?
Do the Lee Valley business fit on your OF1010?
No worries, questions are always welcome! Took me a little while to get back to you on these, but hopefully it’s not too late.
Yes, the Lee Valley brass bushings fit on the OF1010 guide bushing adapter (the adapter is included with the router).
I like what I see on You Tube and want to buy one not make as I am not that skilled as yet. Can you suggest where I can purchase?
Hi Kriss,
I wonder why you needed to make T-Clamps slots on both sides of the plywood? As it seems to me, those from the upper side are not in use…
The same question applies to the pocket holes – only those on one side of each piece seems to be in use.
Thanks!
Hey Ilya,
You’re right – in both cases duplicating the feature is not necessary. I personally like having redundancy so that if something breaks there’s a backup ready to go on the other side; duplicating accomplishes this. Nothing more than that 🙂
Cheers,
Kriss
Thanks a lot! Just saw your reply… 🙂