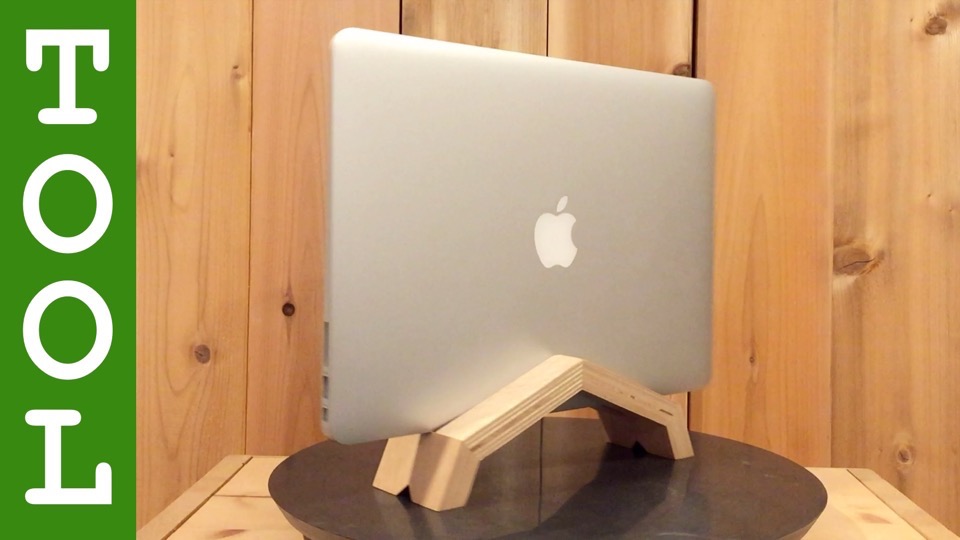
Building a LAPTOP STAND inspired by Twelve South’s BookArc. Positioning a laptop vertically reduces heat buildup on the bottom and allows it to run much COOLER.

I’ve had my eyes on one of these BookArc laptop stands for a few years, but I always hesitate to buy products like that because laptop designs change so often and I don’t want to end up with a $50 brick in a couple of years.
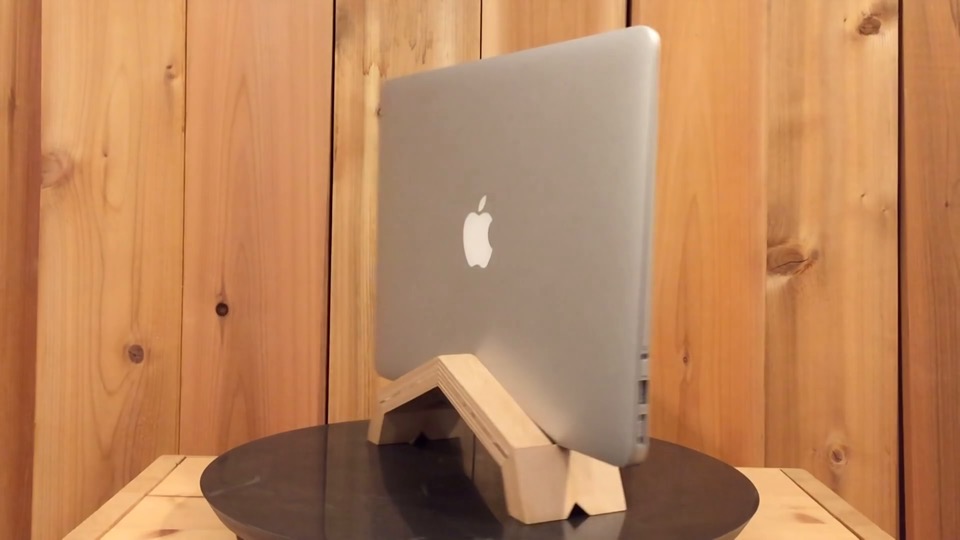
Then I realized I could just make the stand out of plywood. It’s so inexpensive and easy to make that I won’t feel bad if I have to rebuild it sometime down the road. The design is a modified semi-octagon. It can be built to accommodate any laptop size, or even a tablet, or a phone.
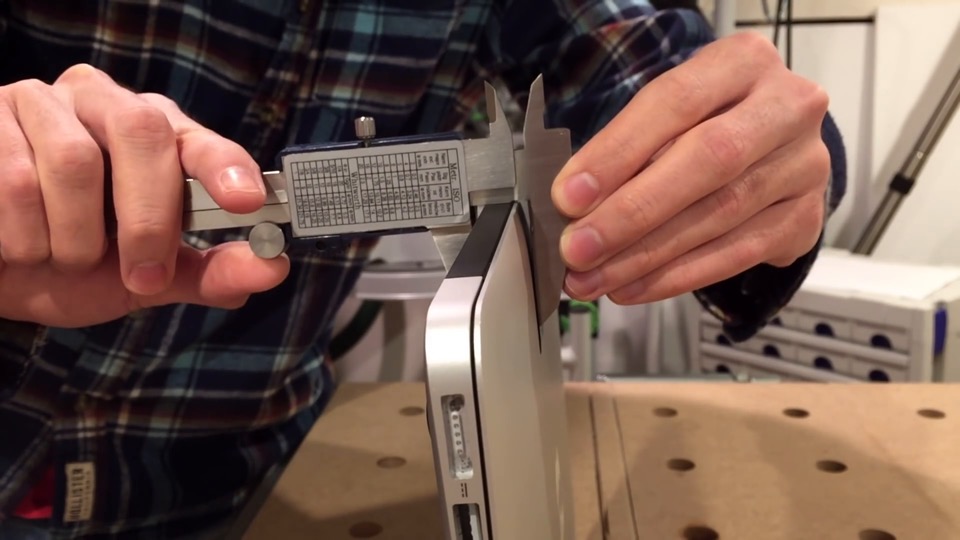
The only measurement you need is the thickness of your device. If you use calipers, I suggest applying some tape to the jaws so you don’t scratch your computer. Don’t ask how I know that.
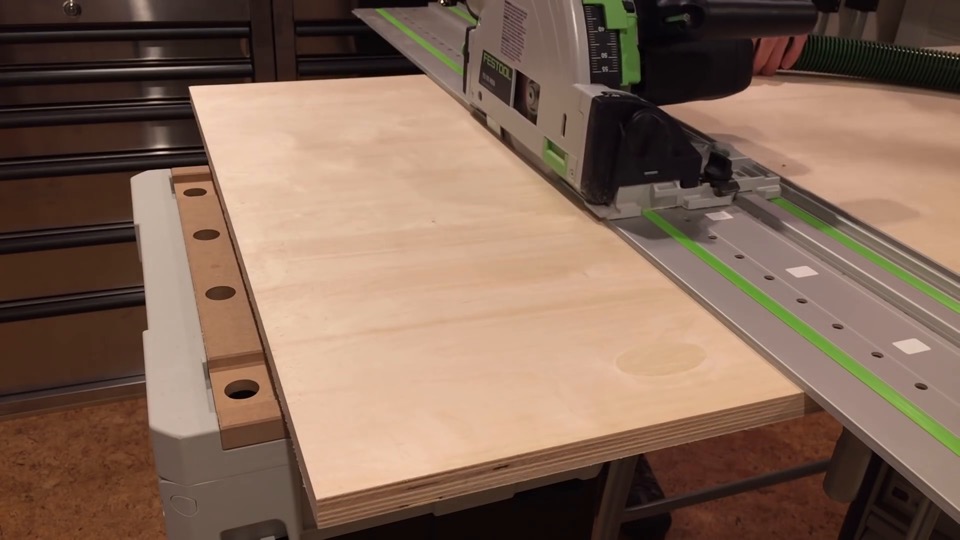
The build begins with a piece of 3/4-inch plywood. I’ll cut it down to a more manageable size.
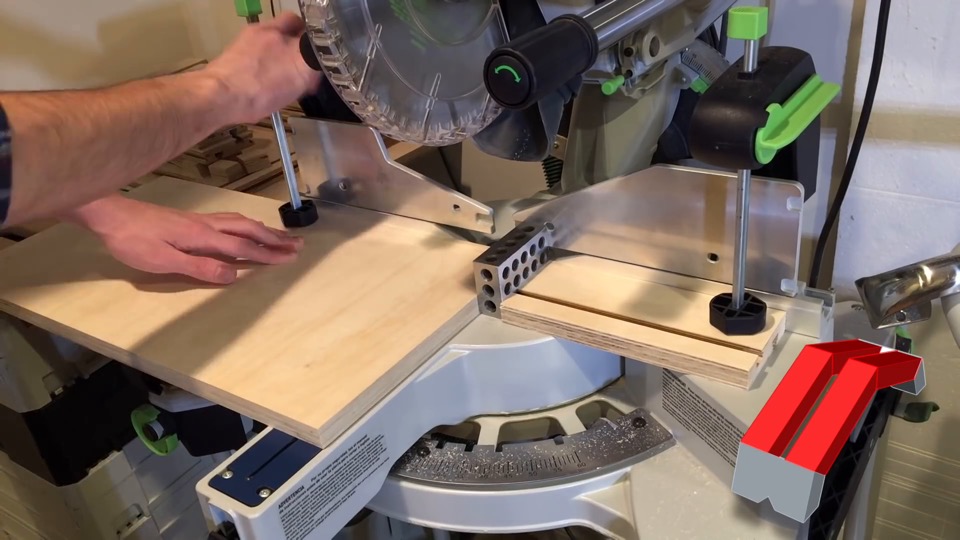
On the miter saw, I square up one edge, then cut two thin strips 1-inch wide. I use setup blocks to position a stop block, making sure to account for the thickness of the blade.
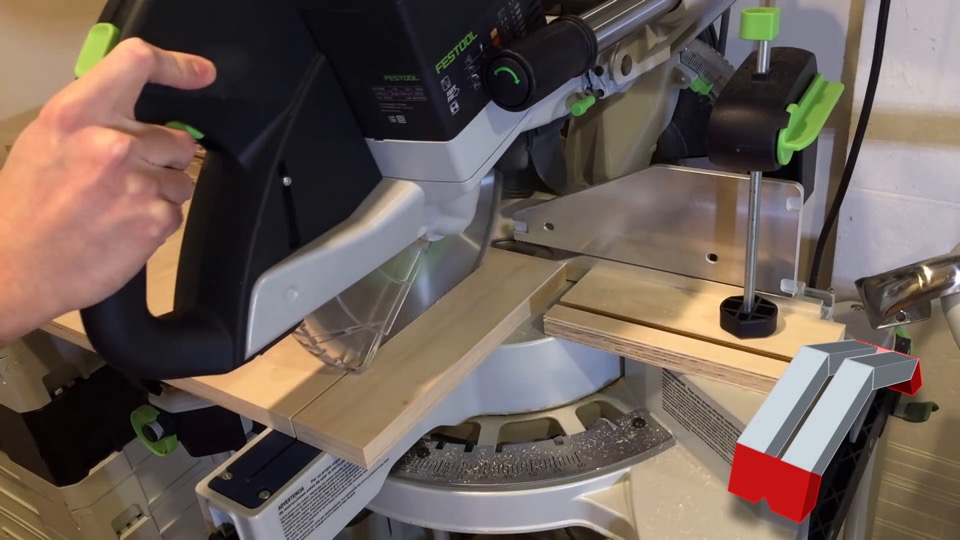
Now I cut one thick strip that’s 2-inches plus the thickness of my laptop.
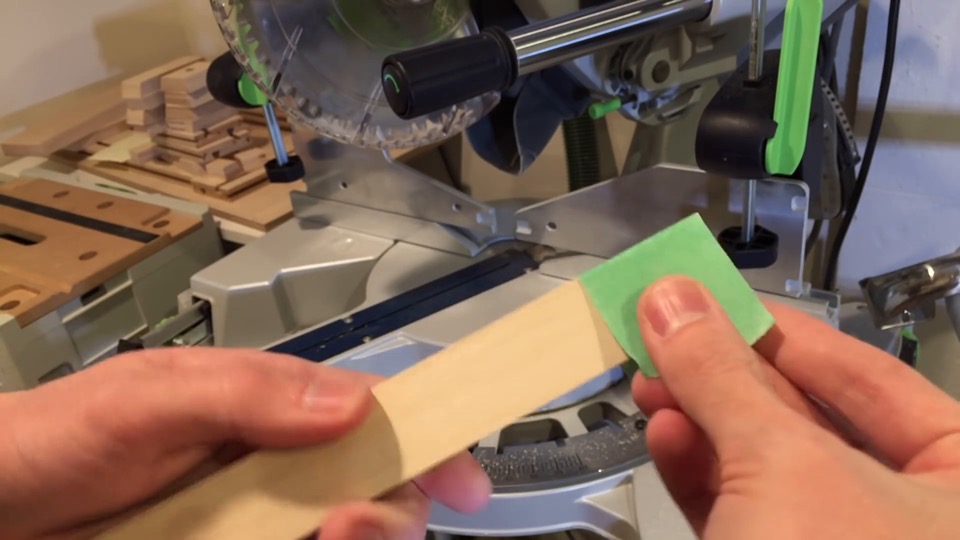
To make the octagon shape, the miter table is set to a 22.5 degree angle. Now since the next series of cuts will go across the plywood face green, I’ve applied some tape to control tearout.
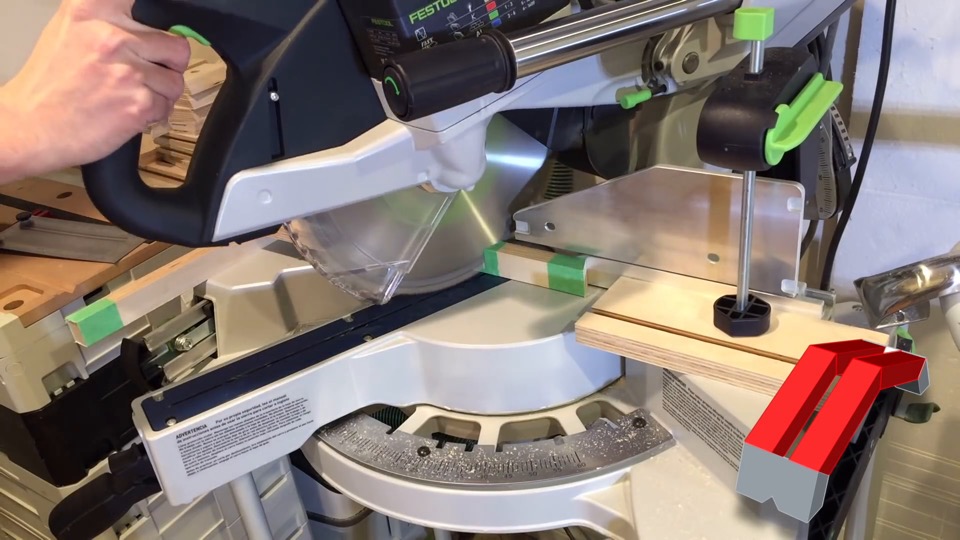
For the long segments, I’m setting a stop block 4-inches out from the blade. Depending on the width of your laptop, you may want to adjust this length so the stand is a reasonable size.
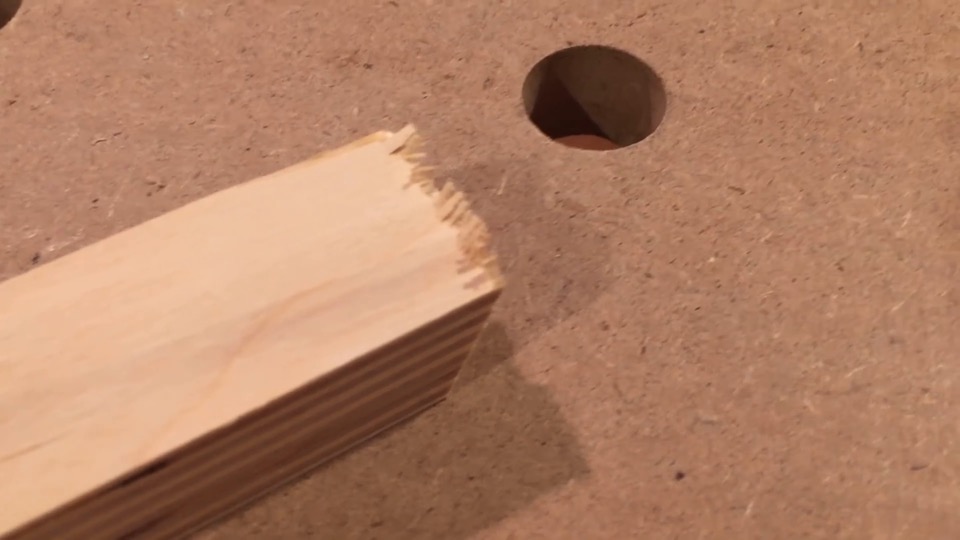
For comparison, this is what would happen if I didn’t use the tape.
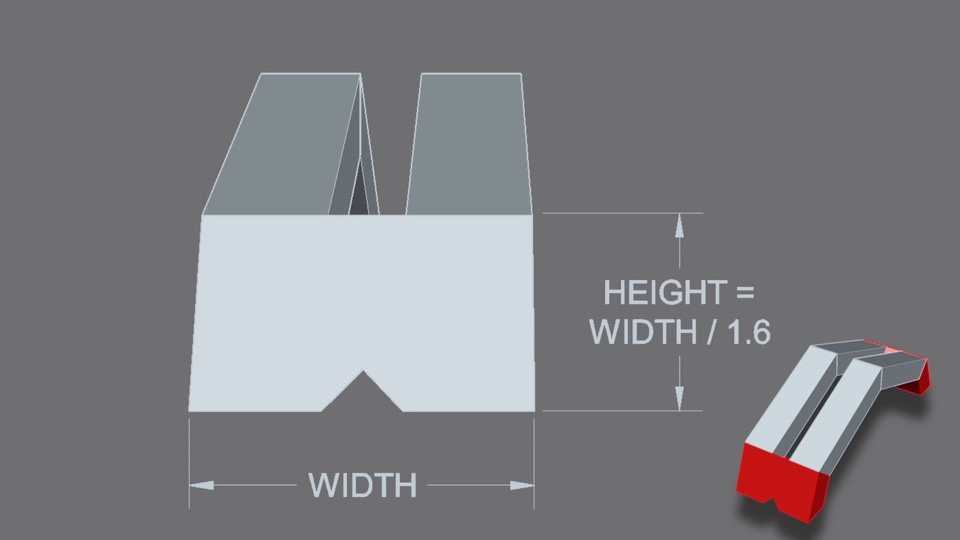
To size the two side pieces, I think it looks best if you design by the golden ratio. That means the height is equal to the width divided by approximately 1.6.
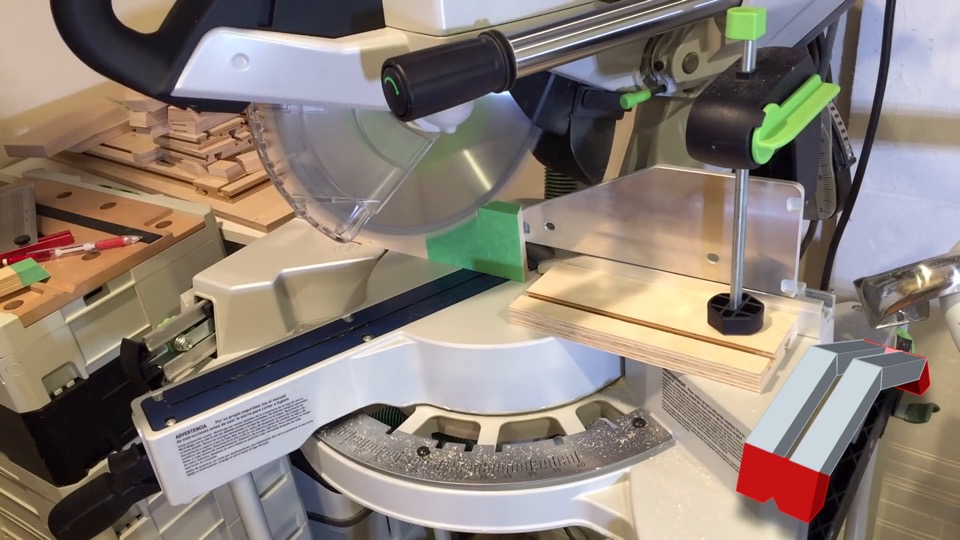
I’ll set the stop block accordingly, and again use tape to control tearout. I’m refraining from providing all the measurements in the video because the dimensions of every laptop are different. If you want to make a stand like this, you can download the plans and follow the guide to design your own.
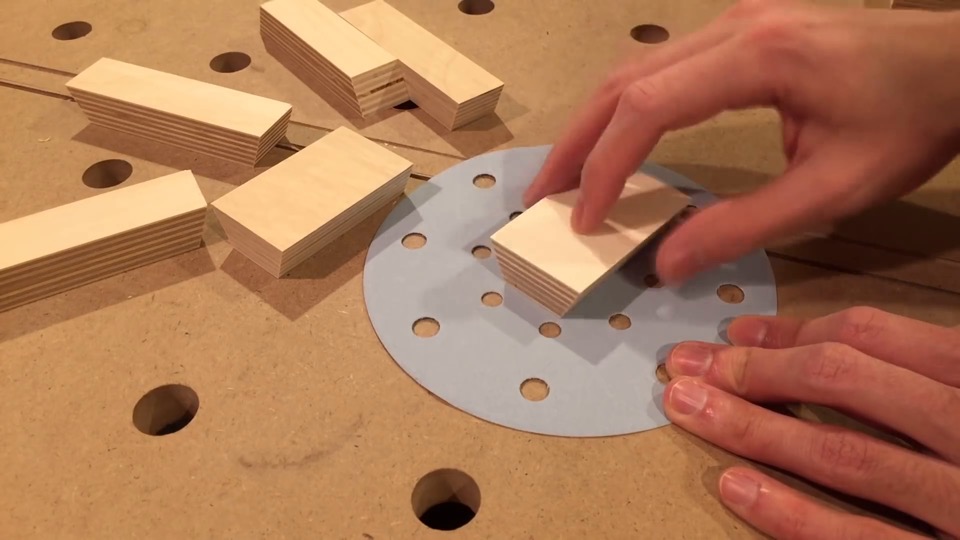
With all the pieces cut, I give everything a light sanding.
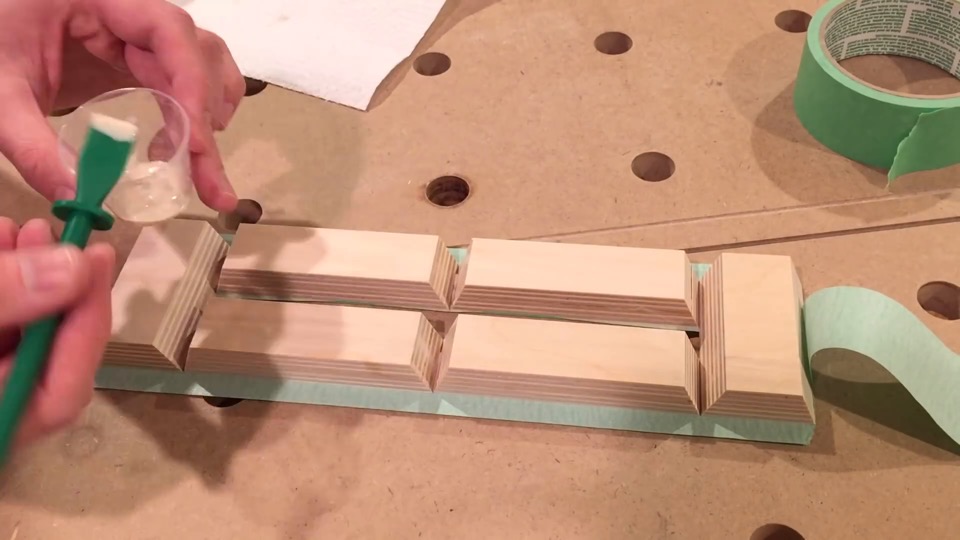
Tape will be used to hold everything together for the glue-up. The strategy is very effective when gluing angle joints like this.
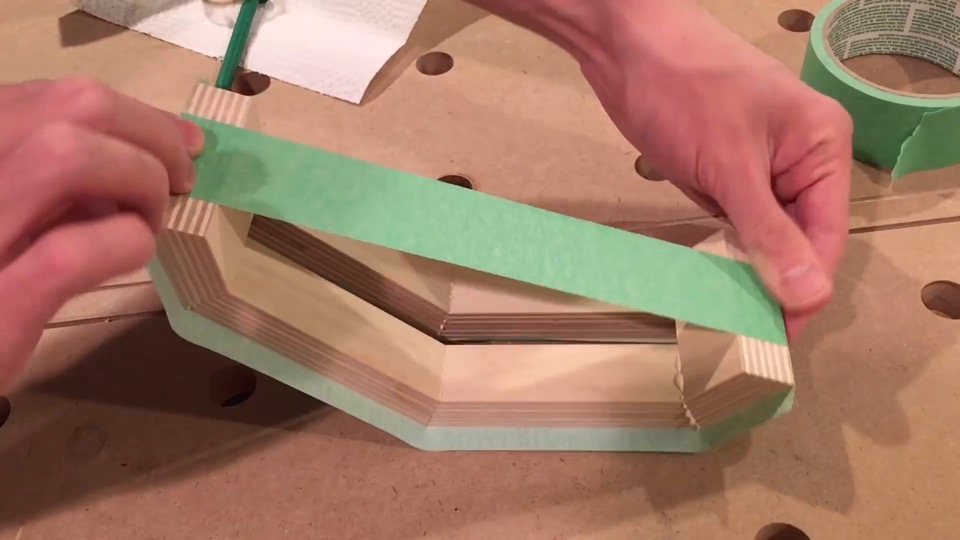
An additional strip of tape will hold it together while the glue dries.
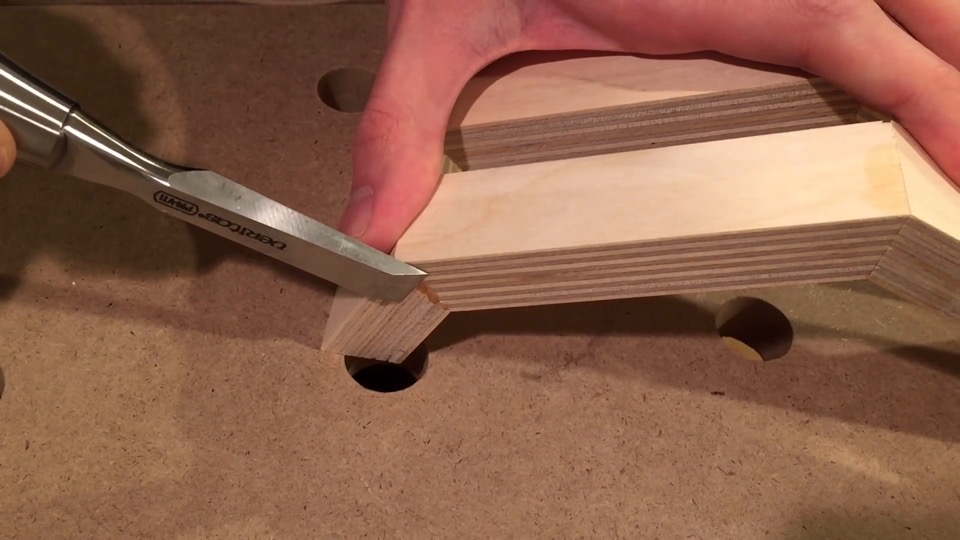
The next day, I peel the tape off and clean up any glue squeeze out.
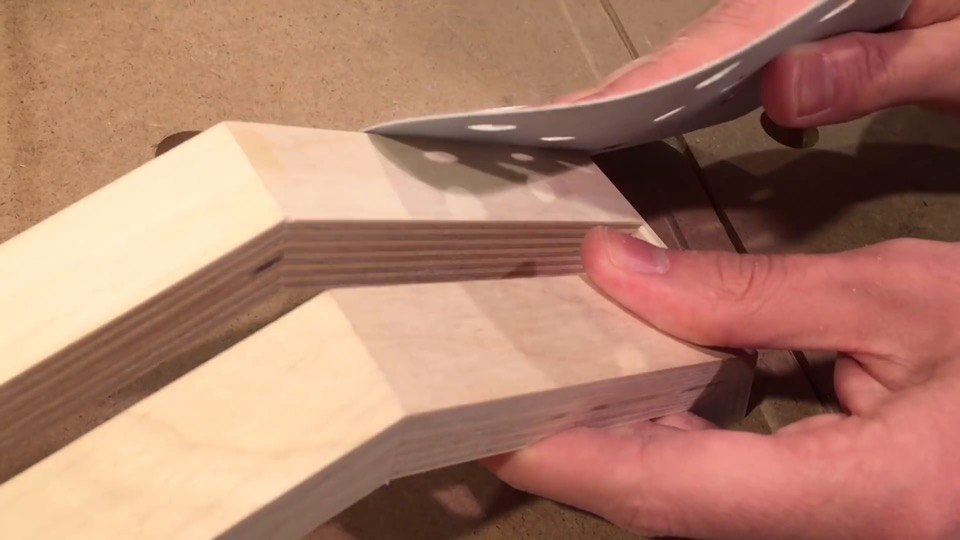
Then I break the edges with a sanding block.
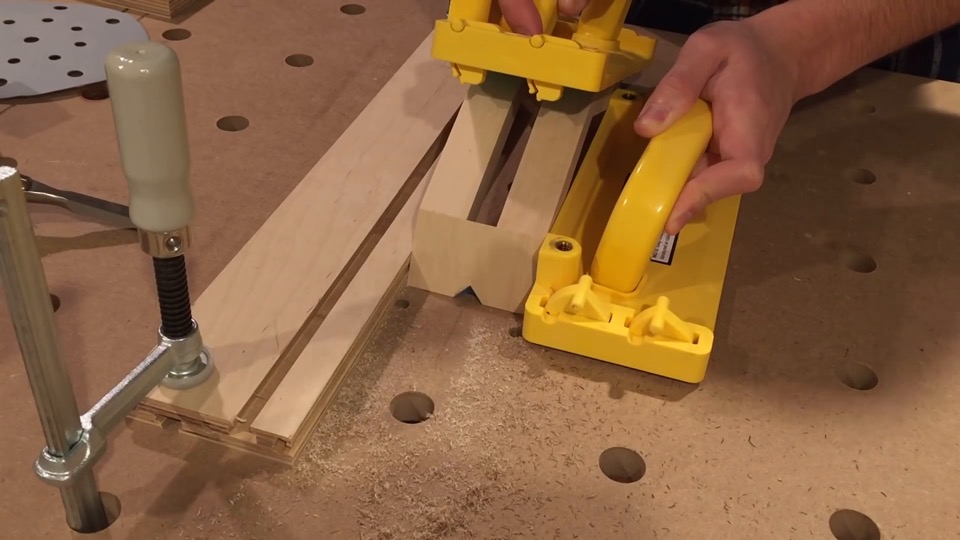
As an optional step, you can route some holes for cable management like I’m doing here at the router table.
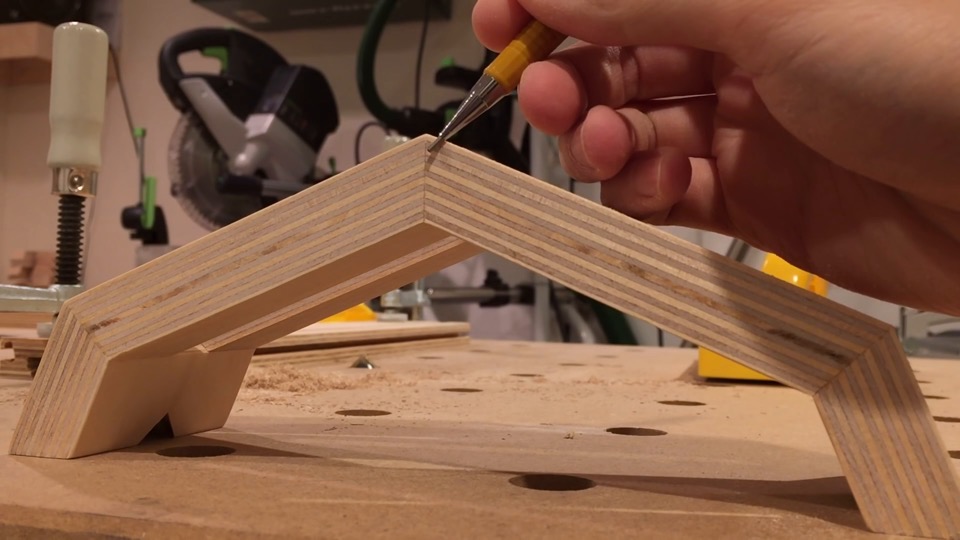
If you think this type of plywood glue joint isn’t very strong, well look closer. If you’re familiar with plywood, you’ll know each layer has alternating grain direction.
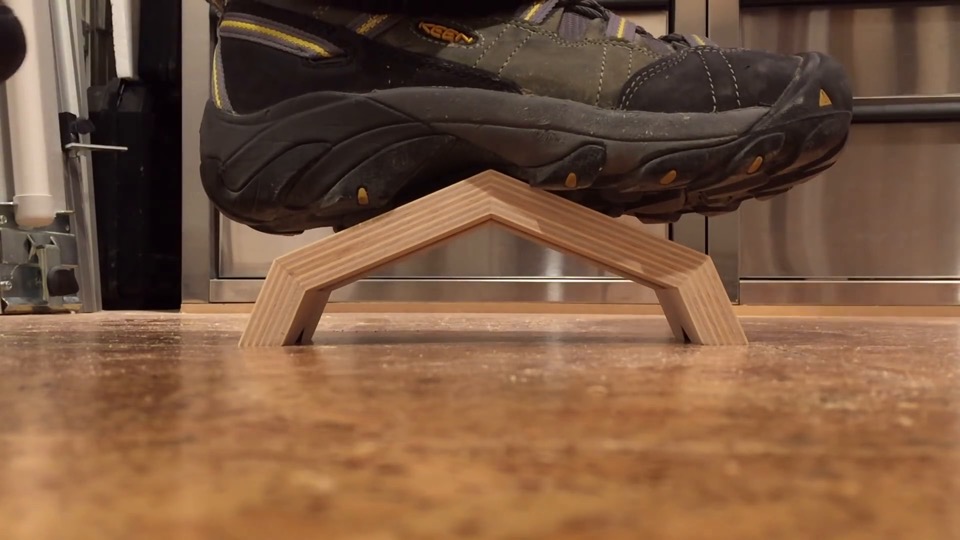
So although every odd layer is an end-grain to end-grain joint (that’s not very strong), every even layer is a long-grain to long-grain joint; and I think it’ll hold up the weight of an average laptop just fine.
I’ll finish the stand with General Finishes Enduro-Var.
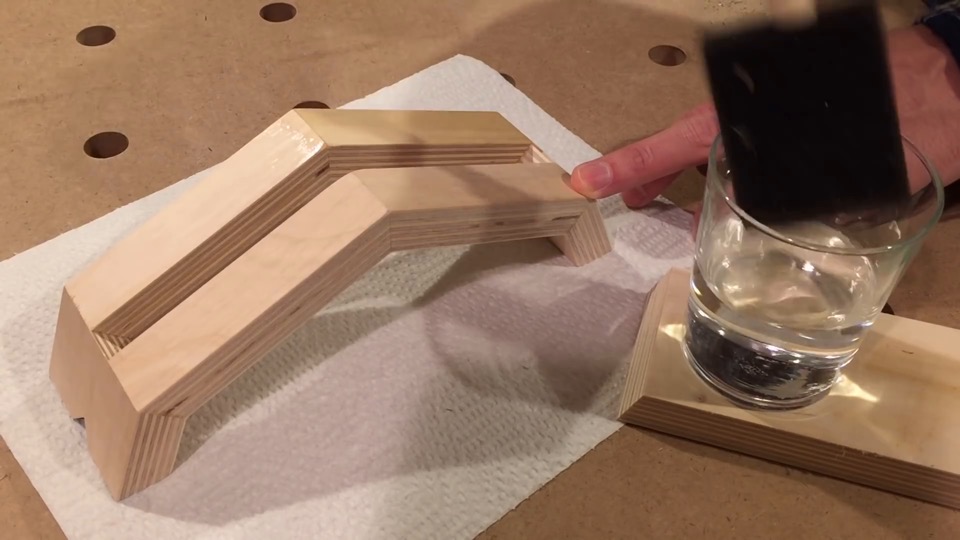
It’s a water-based product, so I pre-raise the grain with water before applying the finish.
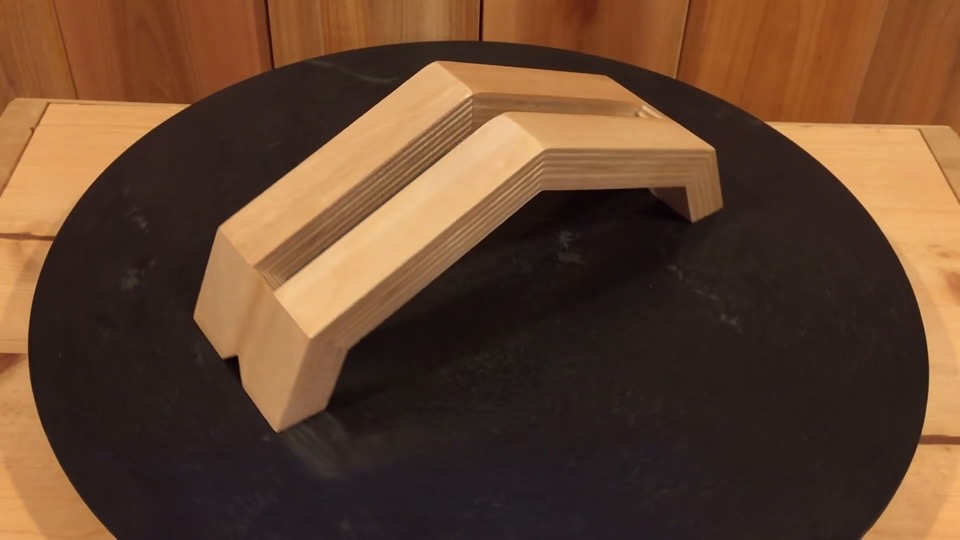
After two coats, sanding in between, this is what it looks like.
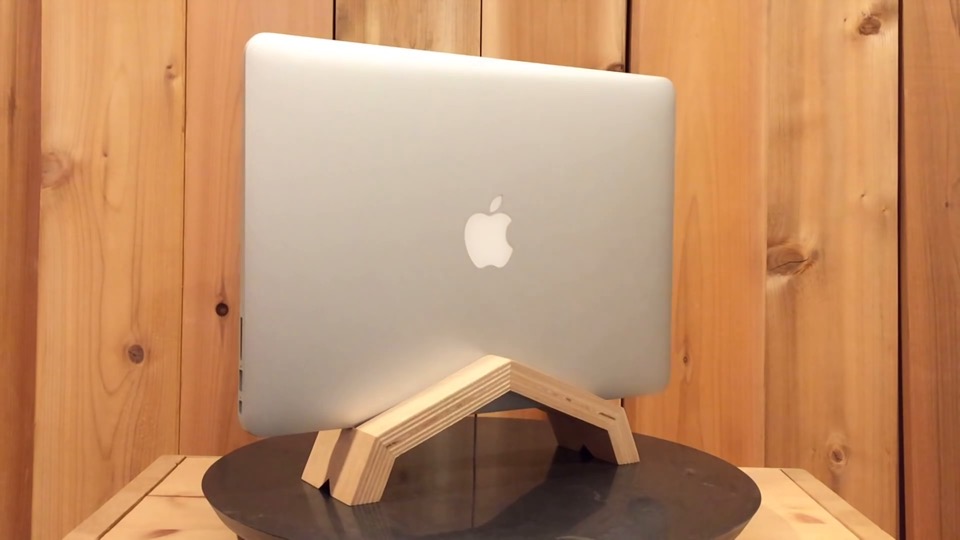
When I’m on my computer I like to focus on one display, so I use the stand to convert my laptop into a desktop. Though it may be counterintuitive at first, when the machine is vertical like this it actually runs cooler because there’s no heat trapped at the bottom of the unit. And yes – the laptop is my only computer, I don’t like the idea of having more than one because that will be yet another thing to update and maintain.
Leave a Reply
Want to join the discussion?Feel free to contribute!
Leave a Reply Cancel reply
This site uses Akismet to reduce spam. Learn how your comment data is processed.










Hi, I have some problems to understand the plan. I don’t understand how to calculate the lenght of the pices that I have to cut. My laptop is 0.6 thick, 12.5 long and 8.5 wide. By the ay I lo e the project and I’Am forma Guatemala.
Hi there! Twelve South here : ) Love the ingenuity and creativity! We did want to point out, though, that our BookArc comes with several different-sized silicon inserts to perfectly fit whatever Mac you may have. And when new versions roll out, so do new versions of our inserts! The BookArc is actually the first product we ever released and it’s still compatible with the MacBook 10 years later : ) We also don’t want you to be stuck with a $50 brick! Lol
What a great little video and planes with very nice photo guide…
Thanks