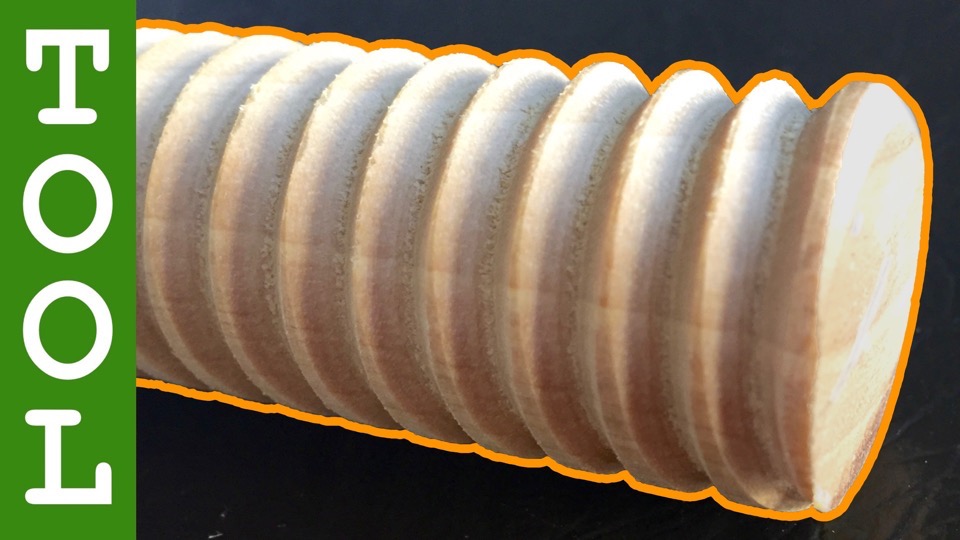
A funny looking router jig that MIRACULOUSLY forms threaded wood rods!
Wooden threads on the router table. This is the ultimate thread cutting jig.
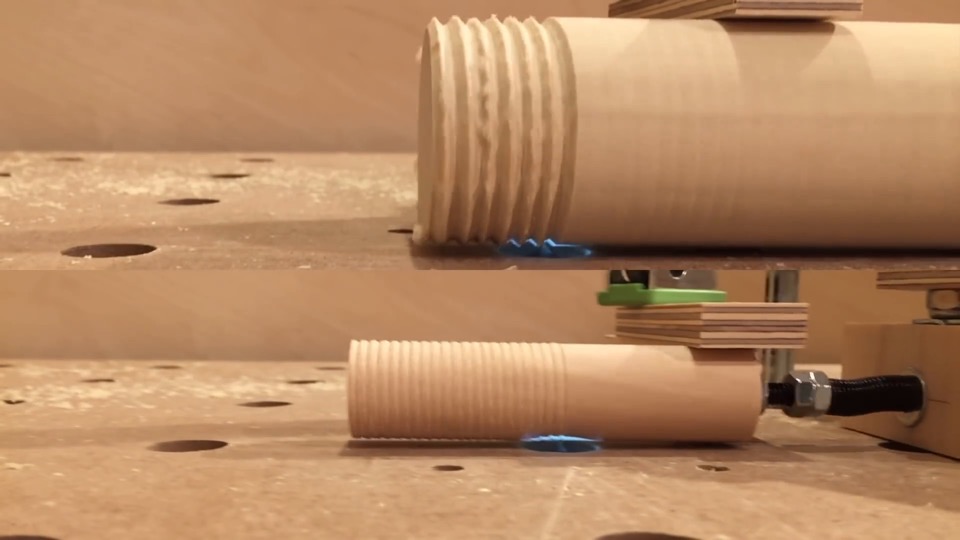
Cut fine threads, cut course threads. Virtually any size.
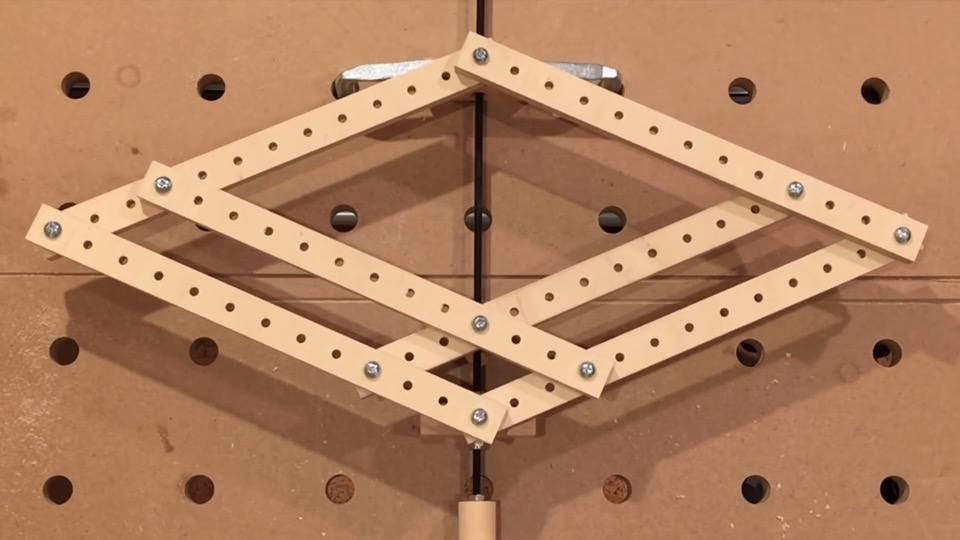
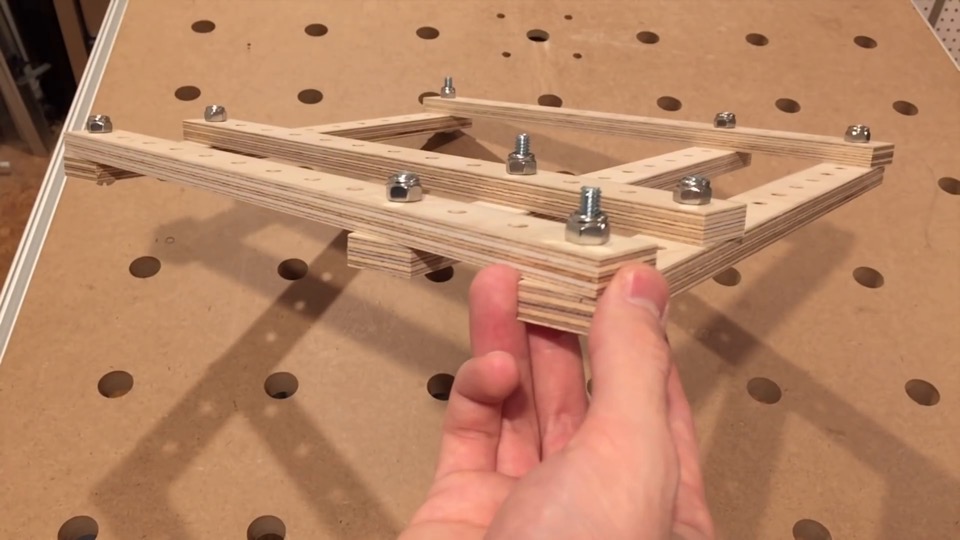
You might recognize this mechanism as a pantograph.
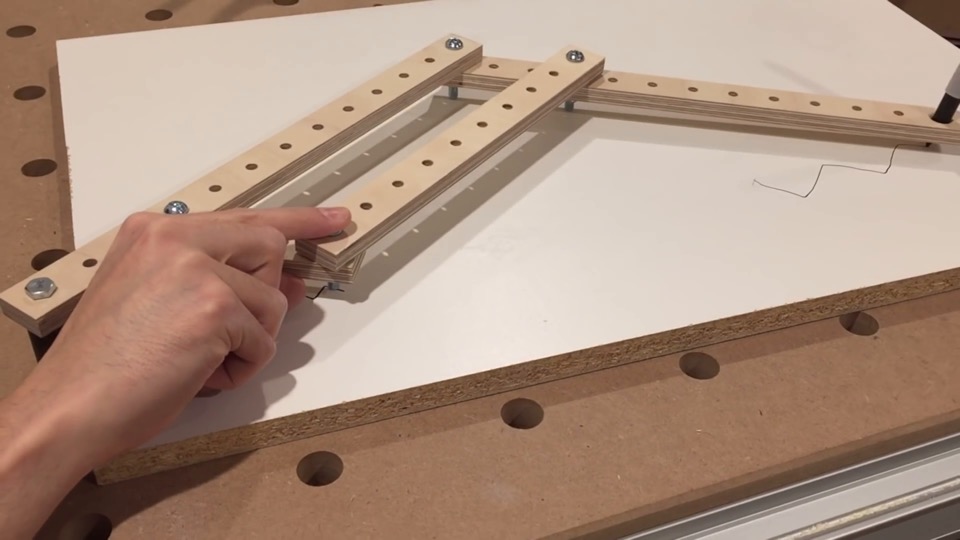
By tracing over a shape with a pantograph, it can be scaled different amounts depending on the configuration.
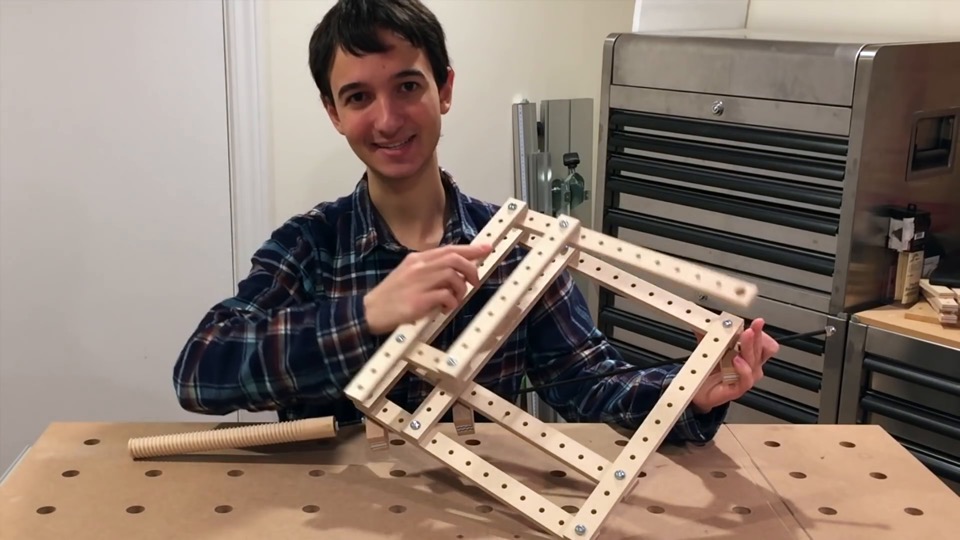
The jig is basically two pantographs back-to-back. Two instead of one, for symmetry and better stability.
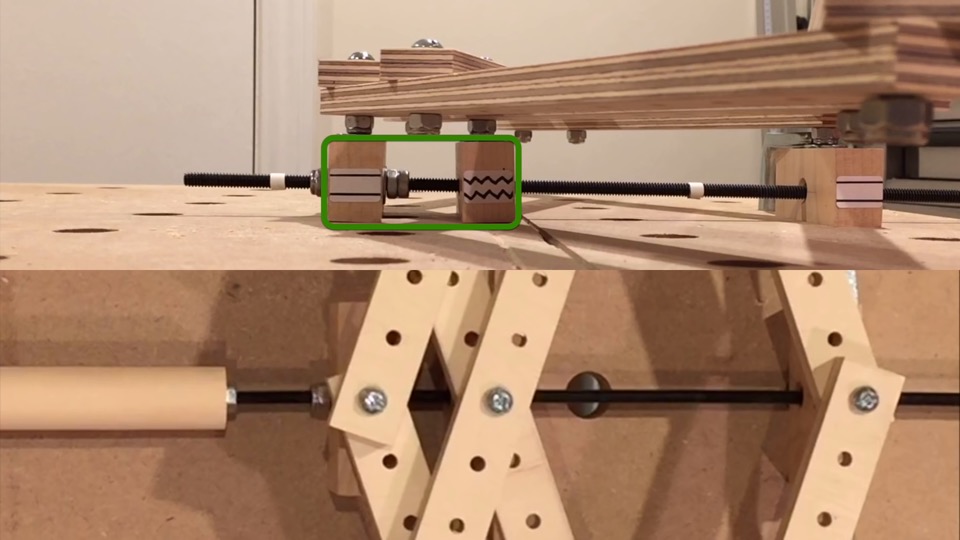
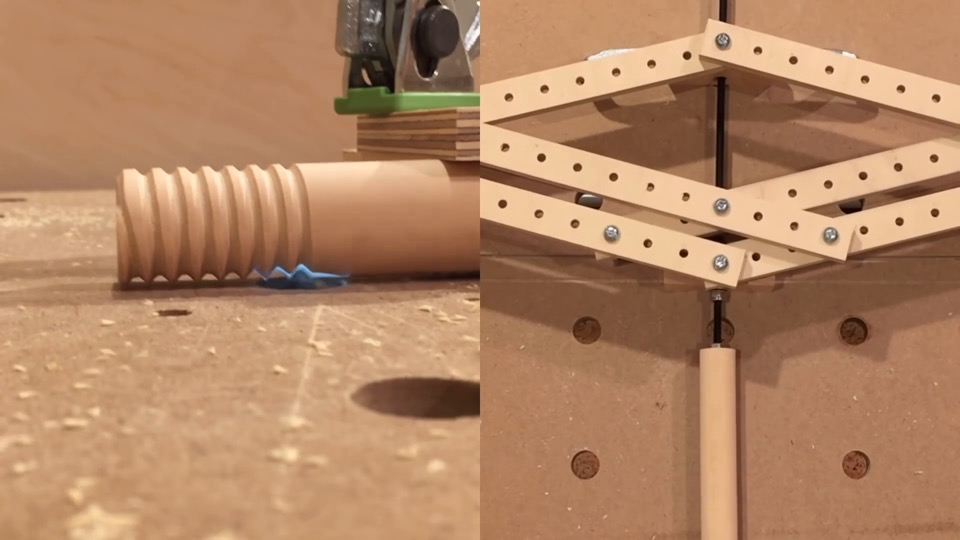
The size of the pantograph is precisely controlled with a metal threaded rod. Spinning the rod advances it through the threaded insert in the middle, and that pushes out the block in front. That enlarges the small section, and geometry of the pantograph takes care of the rest.

This rod does double duty because it’s also what spins the wooden dowel around. So basically when you rotate the threaded rod, you rotate the wooden dowel, and as everything is rotating, the pantograph mechanism pushes the dowel across the router bit. That gets you a threaded wooden dowel.
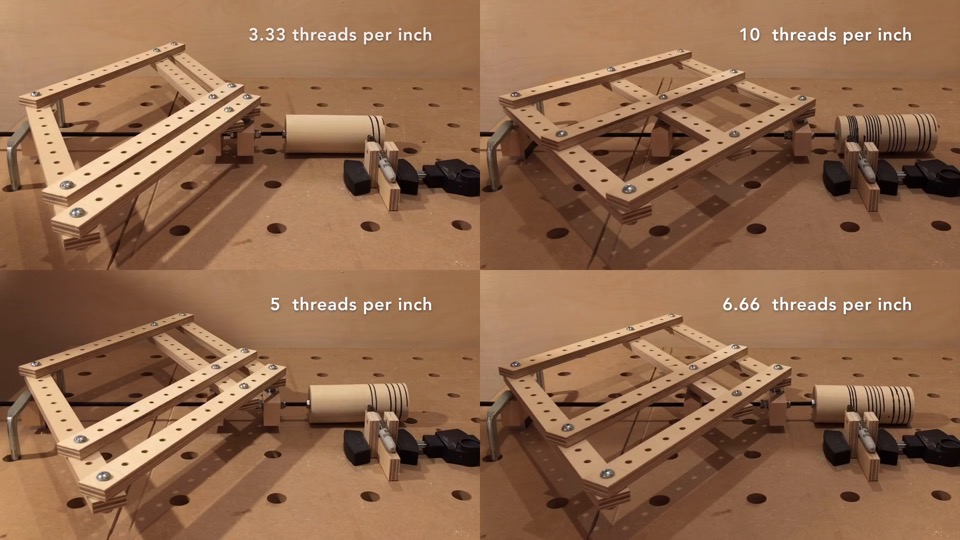
Changing the pantograph scaling factor, you can make a variety of wooden threads that are scalings of the metal rod.
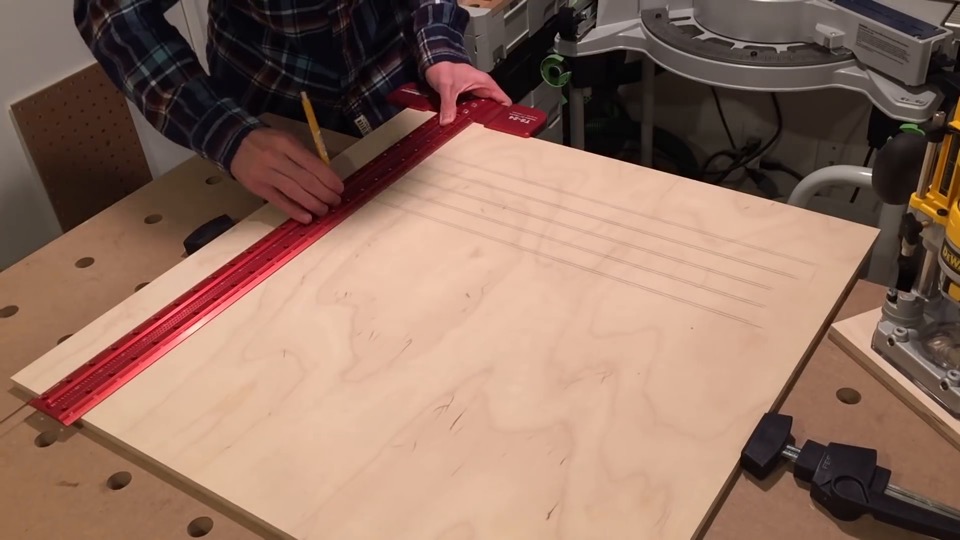
The segments that form the pantograph are made of 1/2-inch plywood. Each has thirteen 1/4-inch diameter holes spaced 1-inch apart.
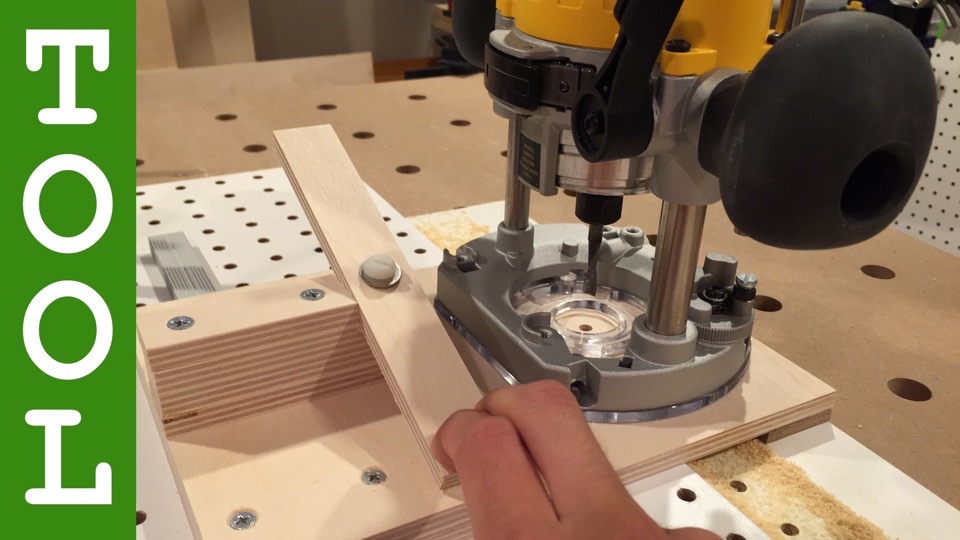
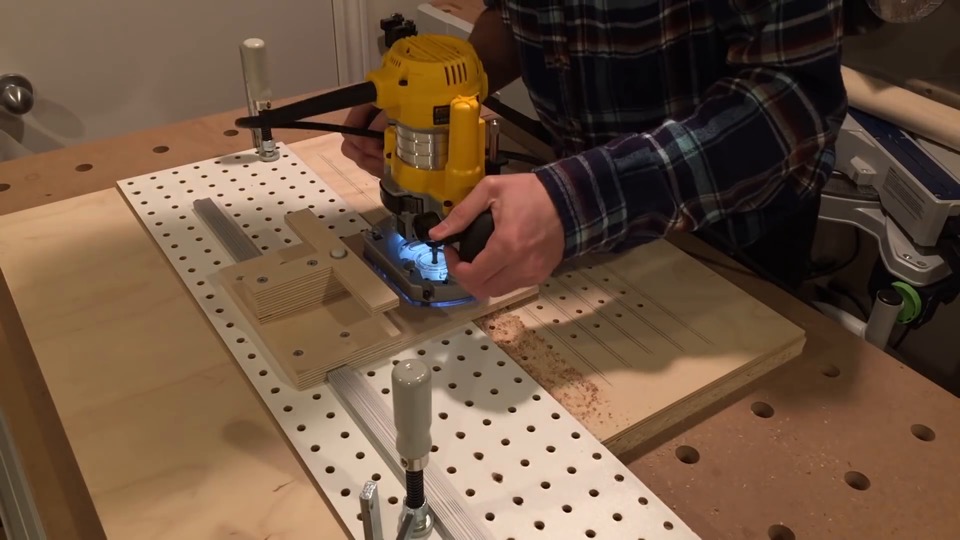
This is a perfect opportunity to use my shelf pin hole drilling jig.
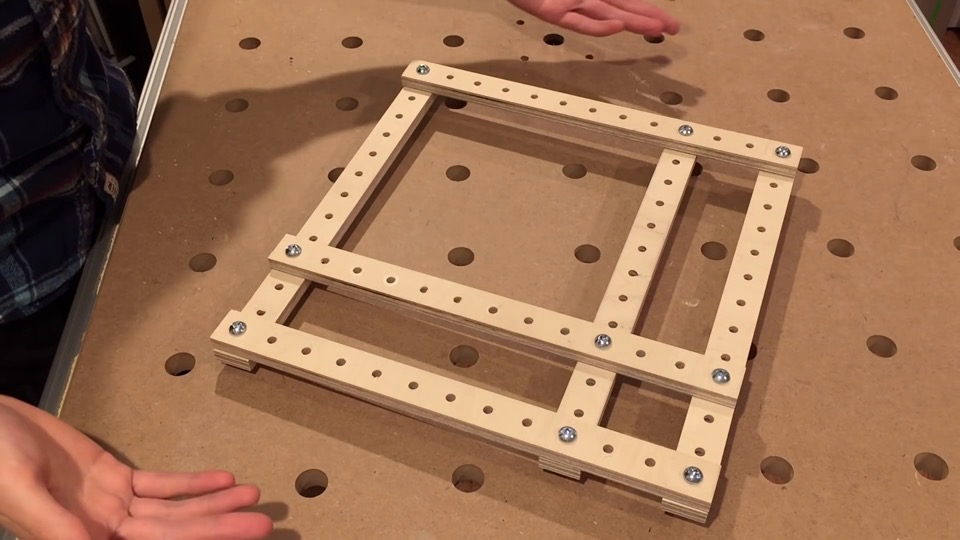
With the six segments cut, I’ll assemble this in a 3:1 ratio. There’s the mechanism assembled.
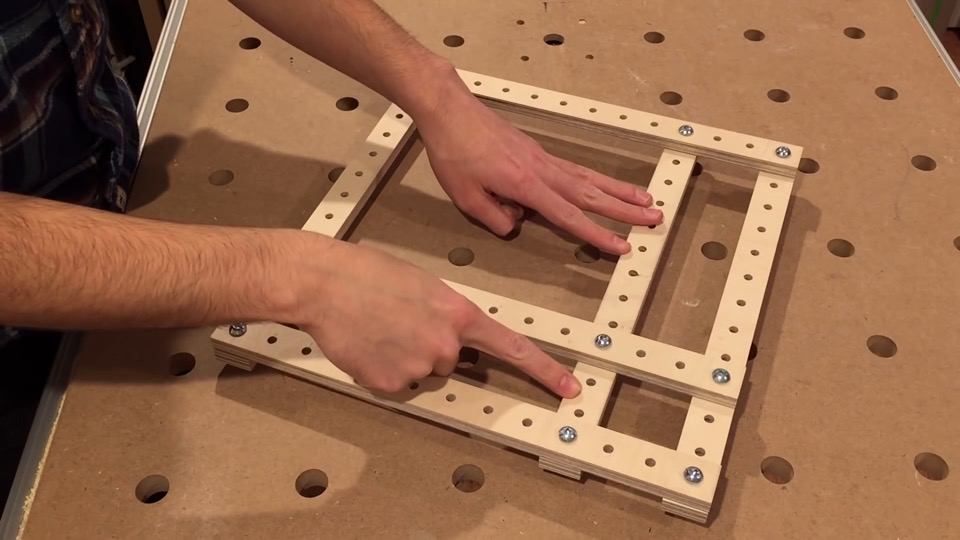
What the ratio means, in this case 3:1 is that taking the distance here to be one unit, this distance is triple that amount. So any change in the diagonal distance for the small section, will be magnified three times in a large section – for a total end-to-end scale up of 4.
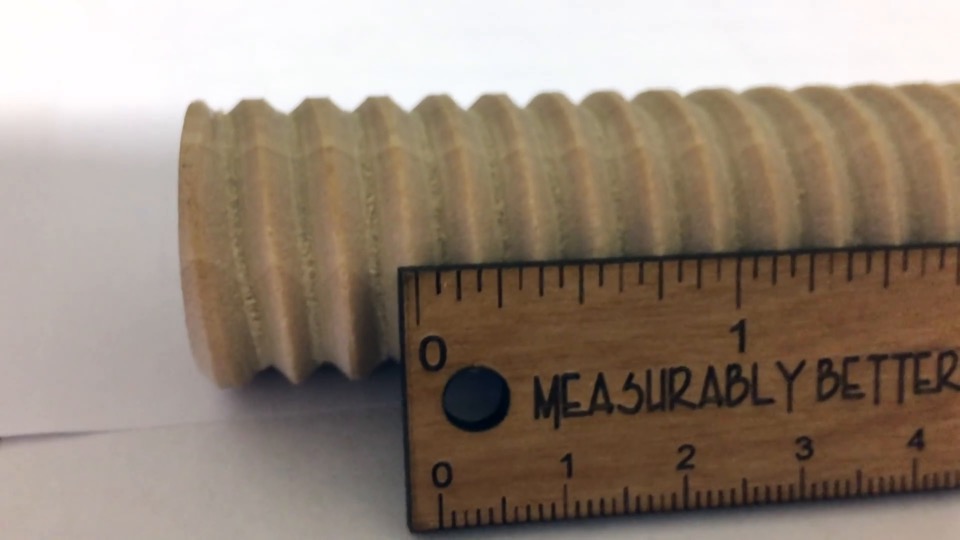
Using a 20 threads-per-inch metal rod, that puts five threads per inch on the wooden dowel.
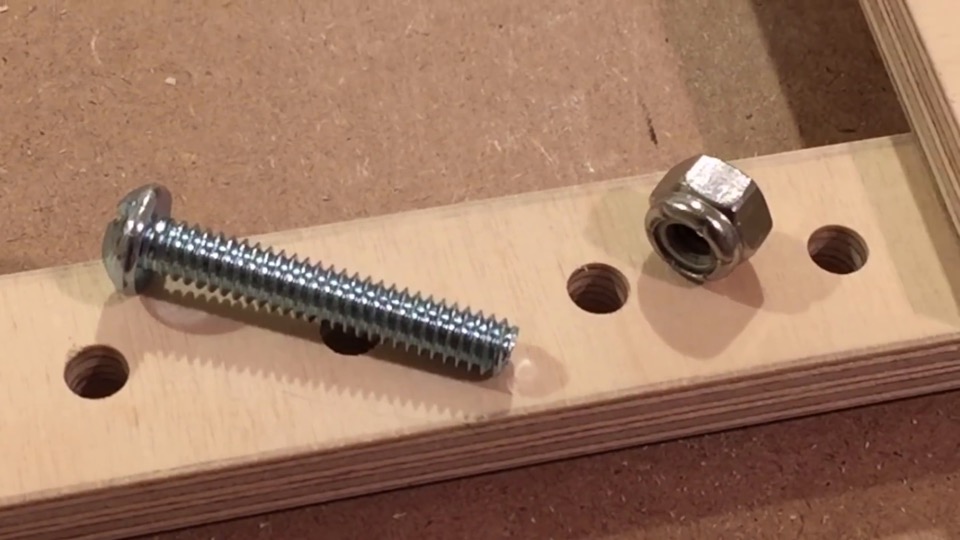
The screws used to keep this together are regular machine screws, but the nuts (they’re called nylon lock nuts) have a plastic ring inside so they don’t come loose with repeated expanding and folding of the mechanism.
The three centre joints use slightly longer screws so they can connect to the threaded rod guide blocks.
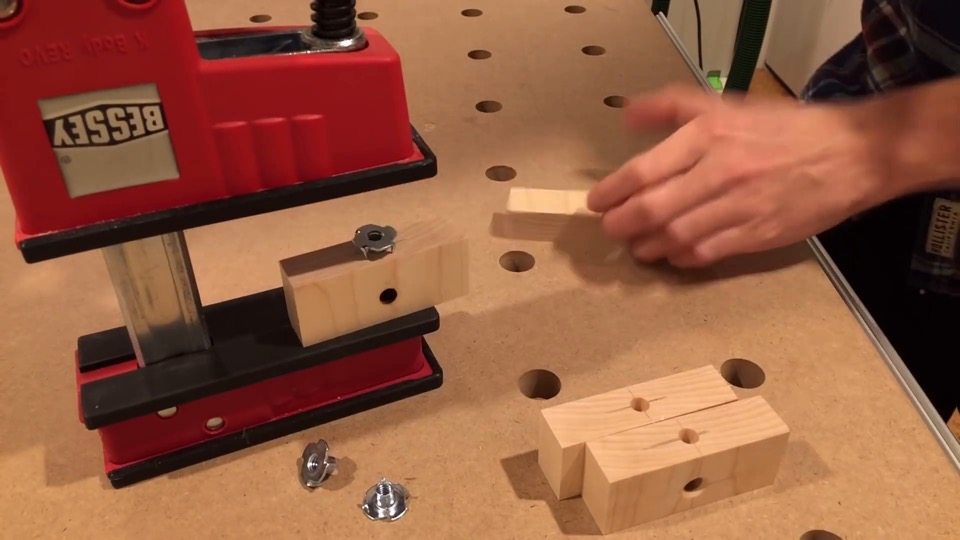
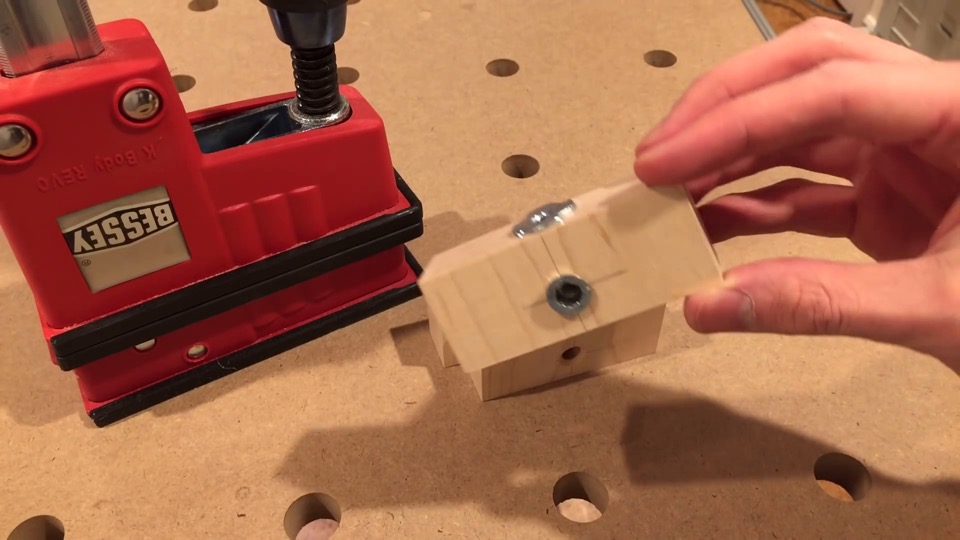
The blocks are made of maple. Each has a T-nut pressed into the top for connection with the pantograph.
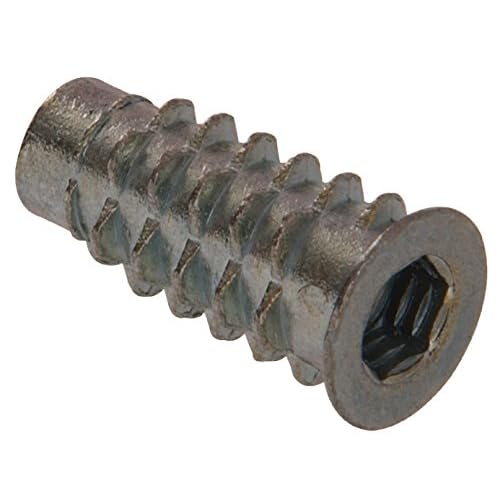
In one of them, I’ve also placed a threaded insert.
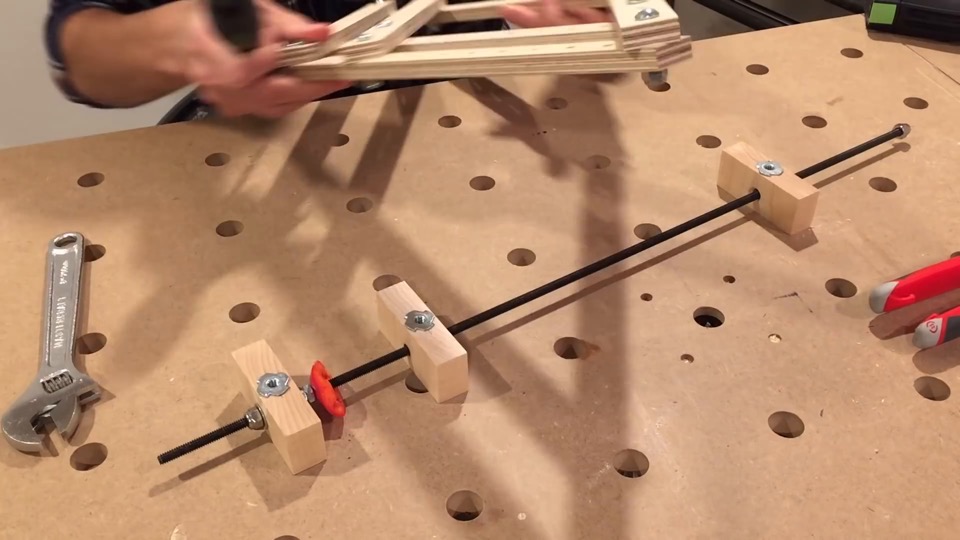
Now putting the skewer together. First, a block with straight through clearance hole, then the threaded insert block, some red pepper, two regular hex nuts – I’ll tighten these against each other so they can’t move, a washer, another block with straight through clearance hole, another washer, and finally a nylon lock nut.
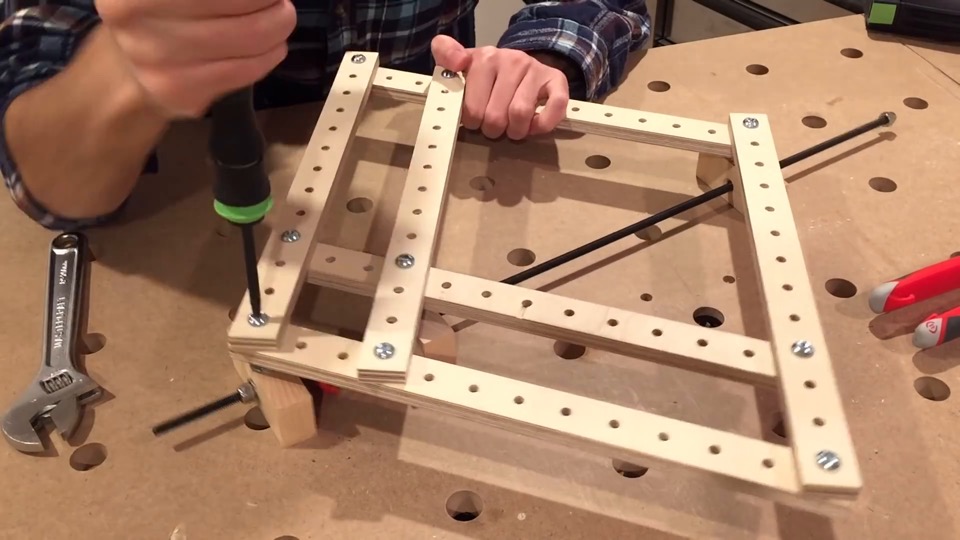
Now the pantograph can be attached on top.
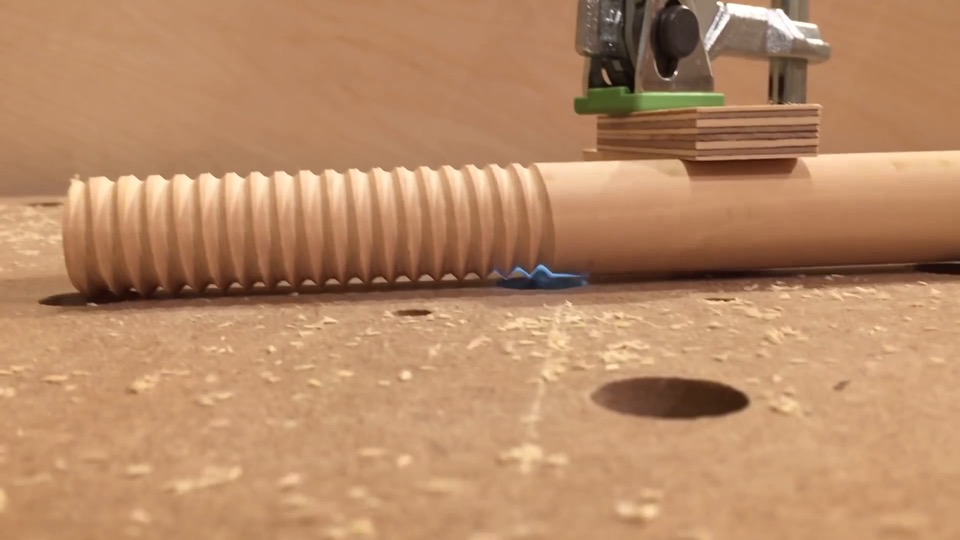
That’s all there is to it!
 http://toolify.ca/wp-content/uploads/0020-toolify.jpg
540
960
Kriss
/wp-content/uploads/logo/toolify_enfold_header_x96.png
Kriss2015-10-01 08:00:012016-12-16 09:17:13How to Make Wooden Hex Nuts
 http://toolify.ca/wp-content/uploads/0015-toolify.jpg
540
960
Kriss
/wp-content/uploads/logo/toolify_enfold_header_x96.png
Kriss2015-06-19 08:00:092016-12-17 08:12:53How to Make a Shelf Pin Hole Drilling Jig
http://toolify.ca/wp-content/uploads/0015-toolify.jpg
540
960
Kriss
/wp-content/uploads/logo/toolify_enfold_header_x96.png
Kriss2015-06-19 08:00:092016-12-17 08:12:53How to Make a Shelf Pin Hole Drilling JigLeave a Reply
Want to join the discussion?Feel free to contribute!
Leave a Reply Cancel reply
This site uses Akismet to reduce spam. Learn how your comment data is processed.










Awesome Kriss! Your approach is so different from many others and I always look forward to your innovative ideas. -Thanks.
I’m happy you like it, Rick! Thanks!!
Any chance you could post a quick drawing of the Jig and how to set it up?
Thanks
Hopefully I was able to answer your question on RouterForums. Let me know if you have further concerns.
Cheers,
Kriss