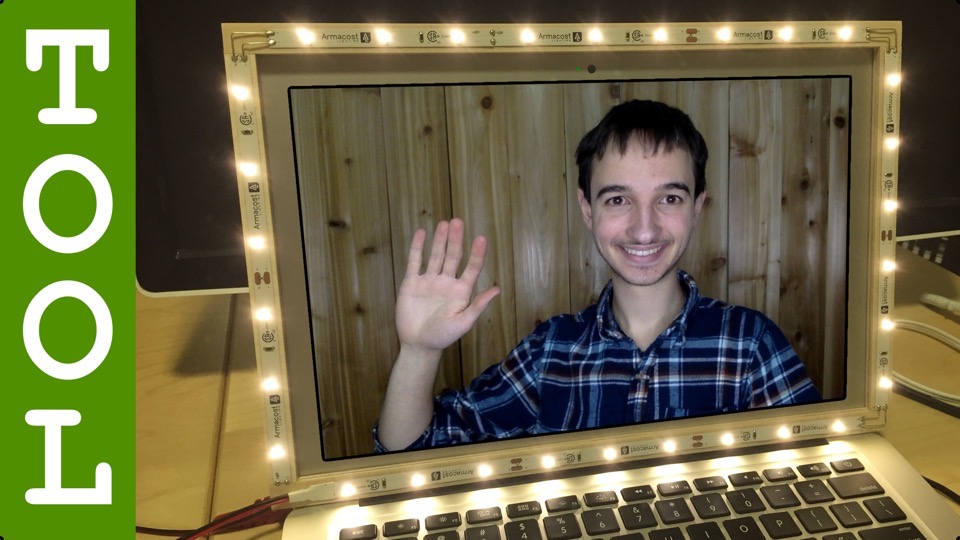
A very simple, very useful DIY LED rectangular frame light. Use it for video chats on Skype/Hangouts/FaceTime/etc and experience significantly improved picture quality!
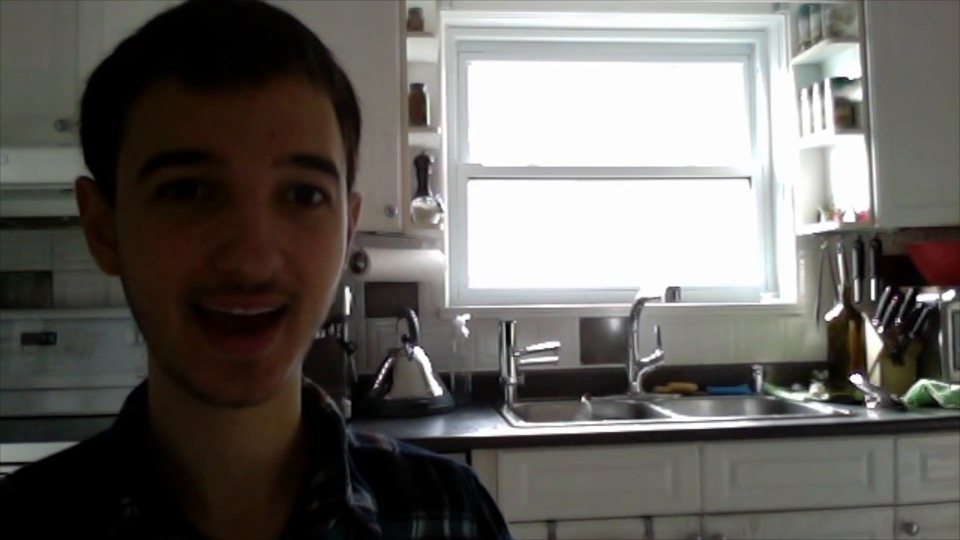
Ever tried to video chat with someone, but there’s a giant window behind you; so your video ends up looking something like this?
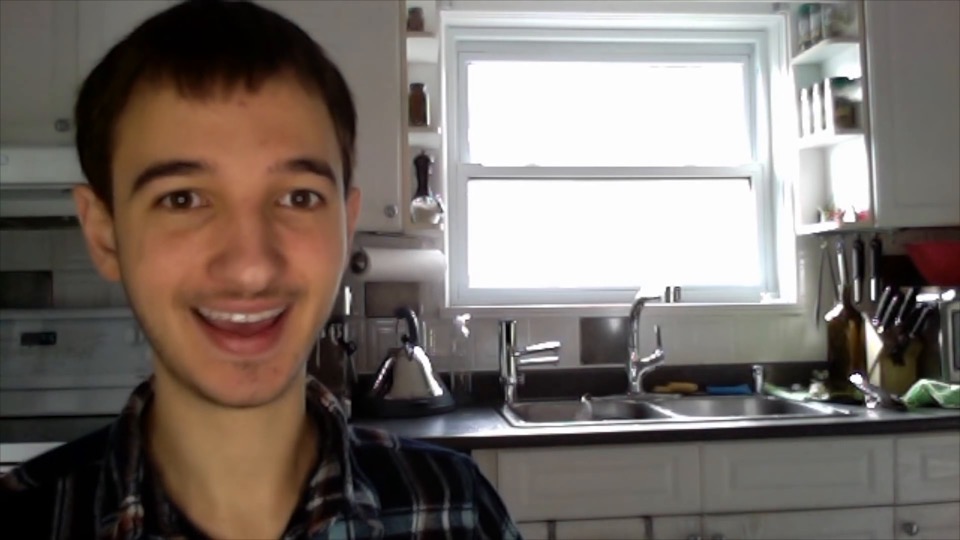
Well today we’re building a video chat light to fix it! (or at least make it a little better). Hey guys, I’m Kriss and it’s time to build something!
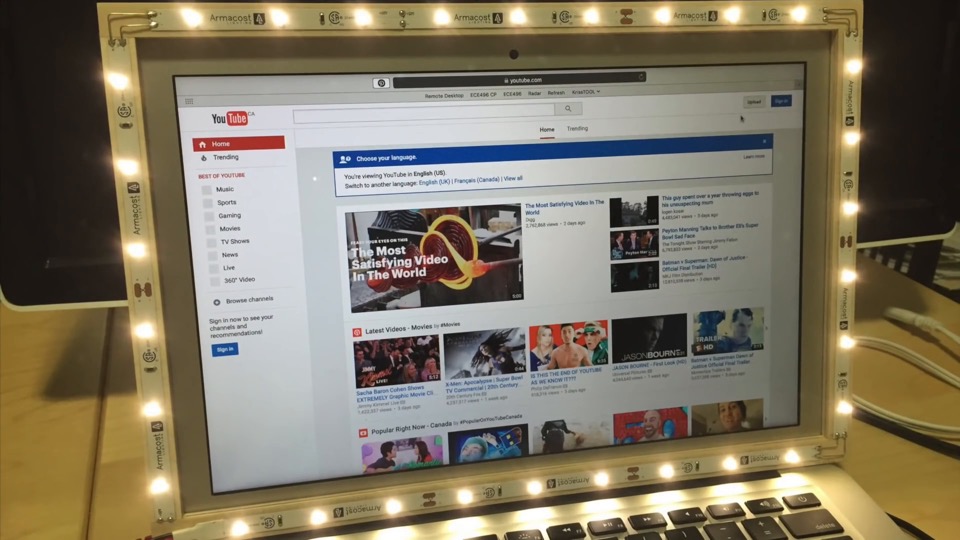
Today I’m making this rectangular frame LED light. Super basic, low-cost, but as you just saw extremely useful for some situations.
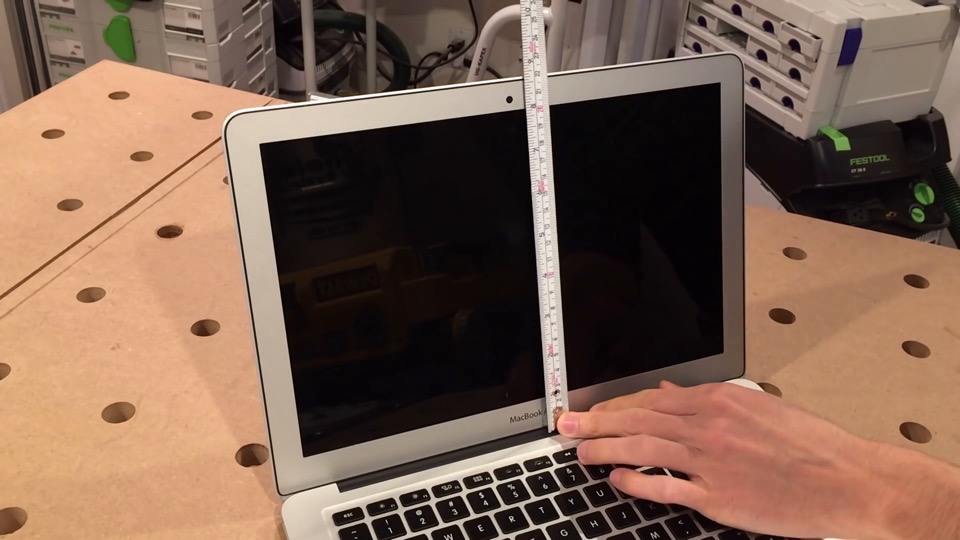
To make it, you’ll want to start by measuring your laptop display. Measure all around the outside and keep clear of the webcam; we don’t want that getting covered up. I’m going to construct this so it’s a proud of the display by 1/4-inch on all sides. That means I’m adding a quarter inch to the vertical measurement, and a total of half an inch to the horizontal measurement.
Once you have those dimensions, start cutting the material to build the frame.
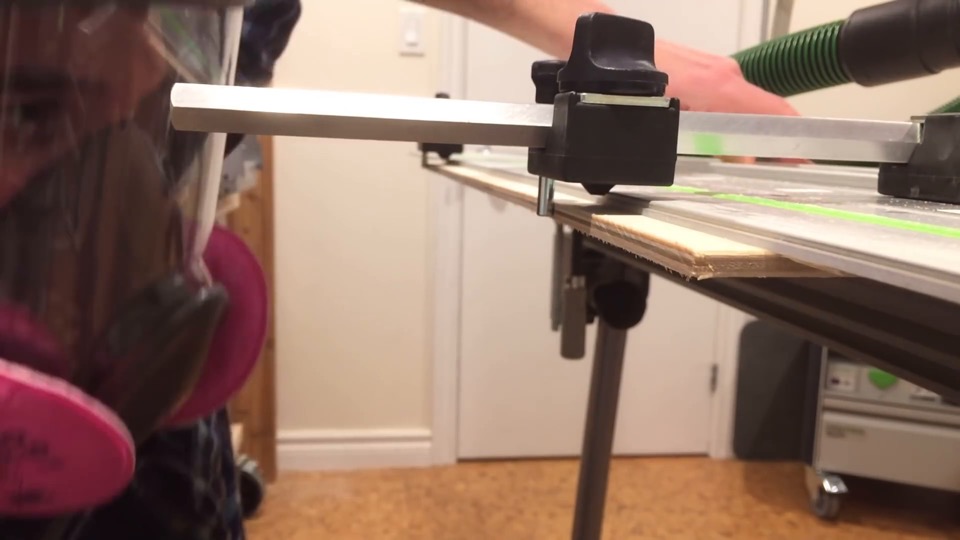
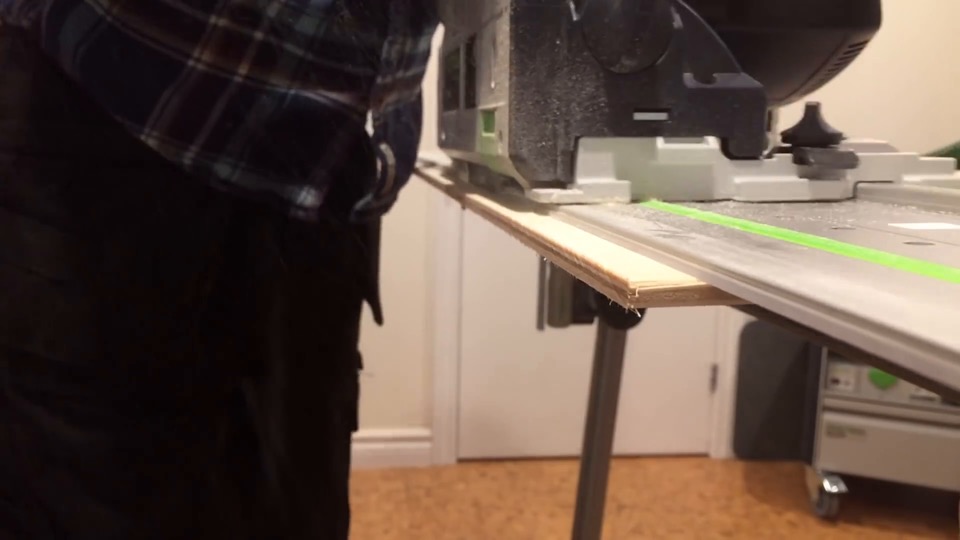
I’m using 1/4-inch thick plywood that I’ll rip into 1/2-inch wide strips.
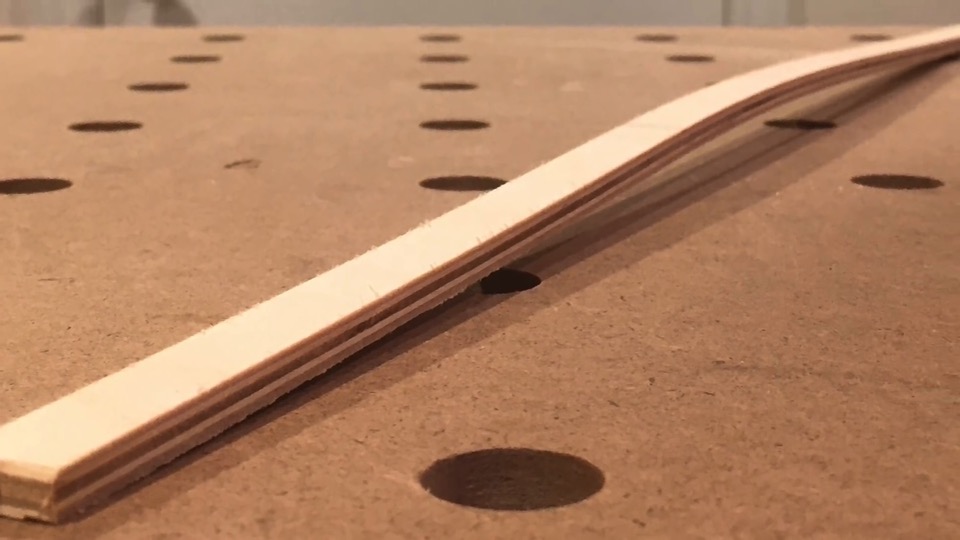
If you have trouble with the flatness of the 1/2-inch strips after you cut them like I did, just try to cut away the bent parts so you’re left with something as straight as possible.
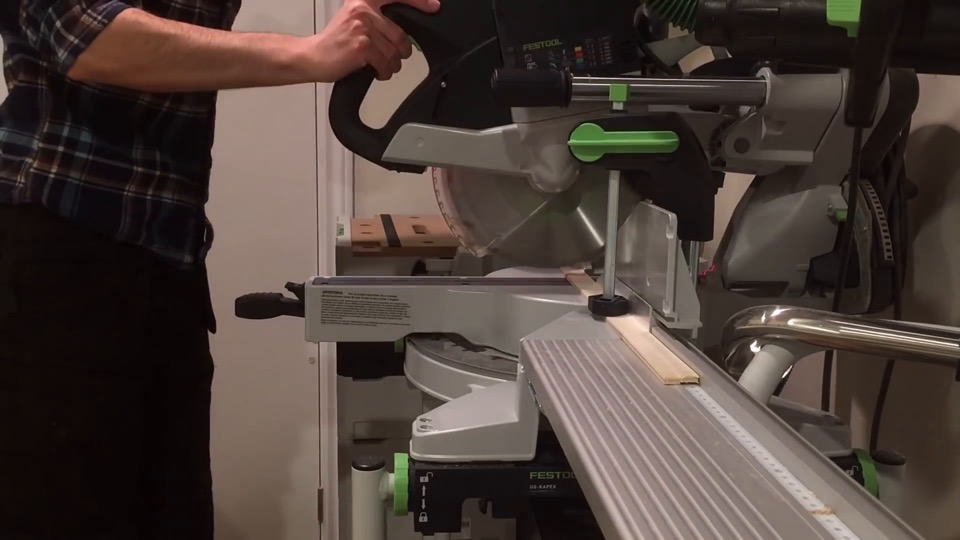
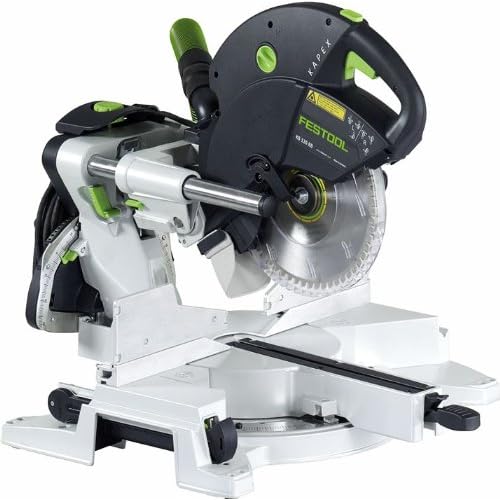
Next, it’s a matter of cross cutting these strips to length. I cut them in pairs to ensure opposite sides of the frame will be perfectly matched. Just a few cuts here and all four sides of the frame are at final length.
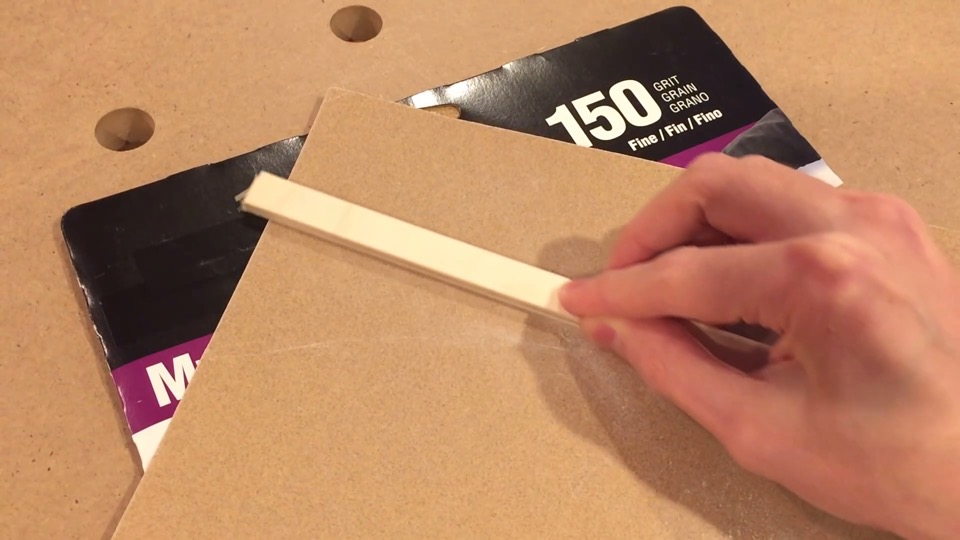
WE INTERRUPT THIS PROGRAM TO BRING YOU LIFE-SAVING TECHNOLOGY: sponsored by the splinter eliminator 150.
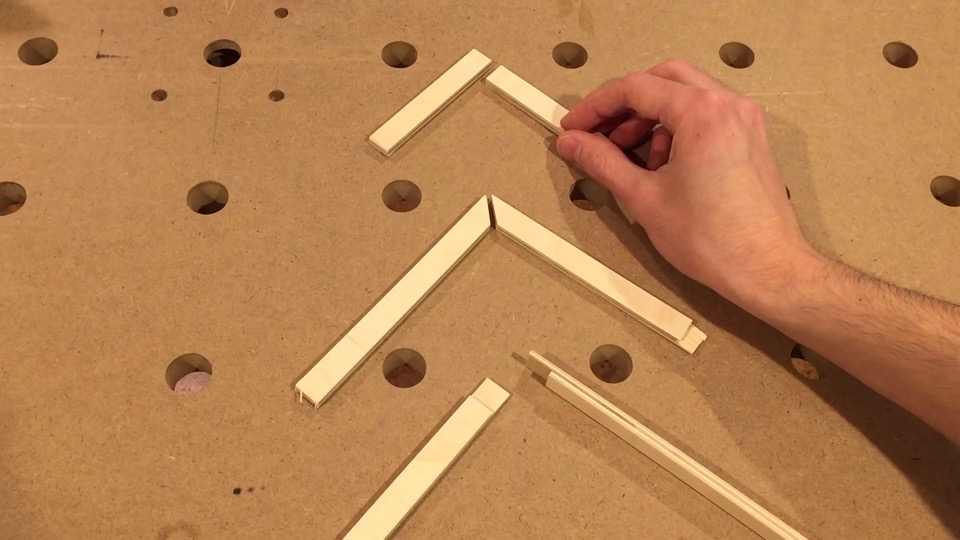
For joinery, there are a few options available – and I thought about this for a while because there’s not a lot of material to work with here, but we really need to maximize our glue surface. A butt joint like this will almost certainly be too weak; a 45 degree miter joint does provide more glue surface, but those can be pretty tricky to get right; so the solution I decided to go with is a half lap. That’s when the meeting pieces are cut with a rabbet like this, and to come together they just overlap. Lots of long grain to long grain glue surface here.
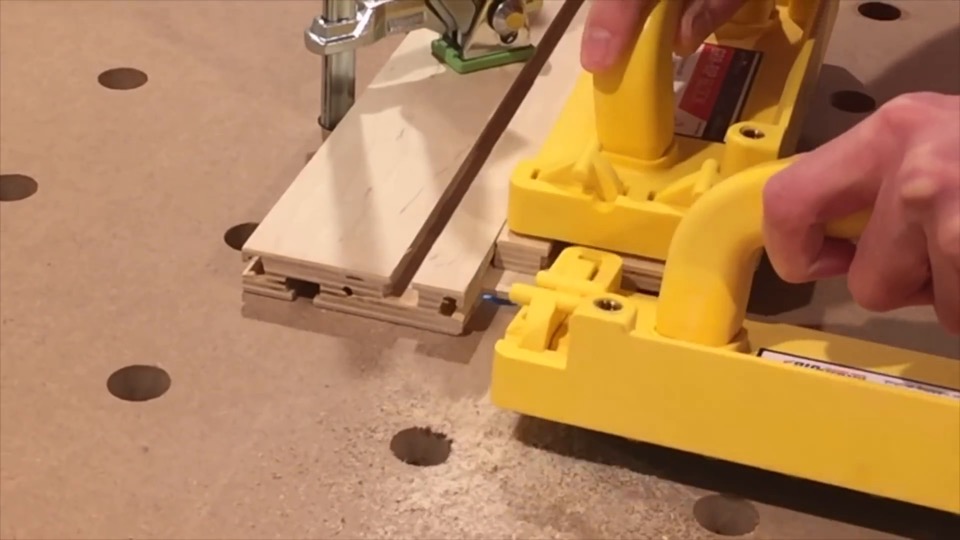
A half lap joint is pretty easy to make on the router table, but if you don’t have one you could do this just as well with a few passes on a table saw. Notice that to prevent blowout at the back of the cut when I do this I’m supporting the material with a sacrificial backer board. That also helps to keep the workpiece square to the fence.
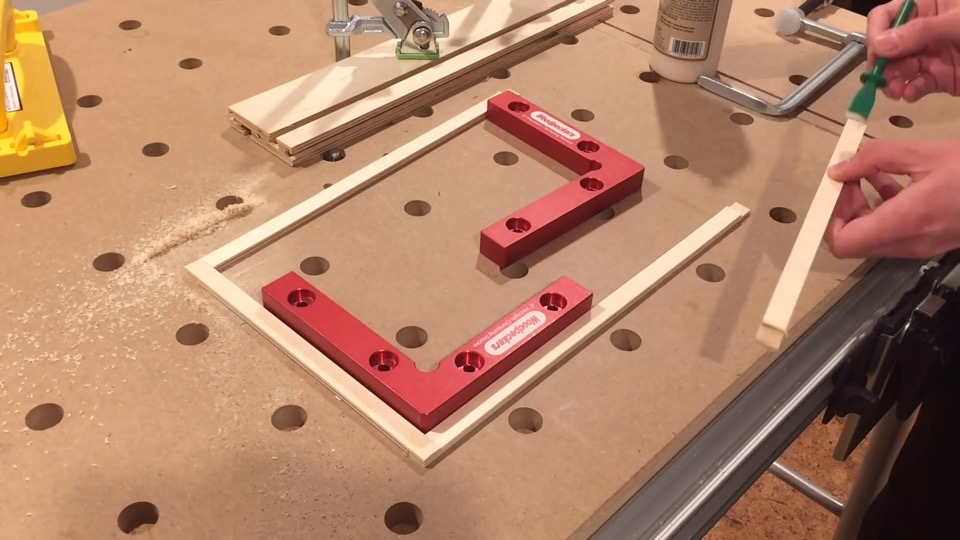
Now I’m ready to glue all of it together. I’ll say upfront upfront that I don’t have much experience with glue ups and even for this seemingly simple case I struggled more than I would like.
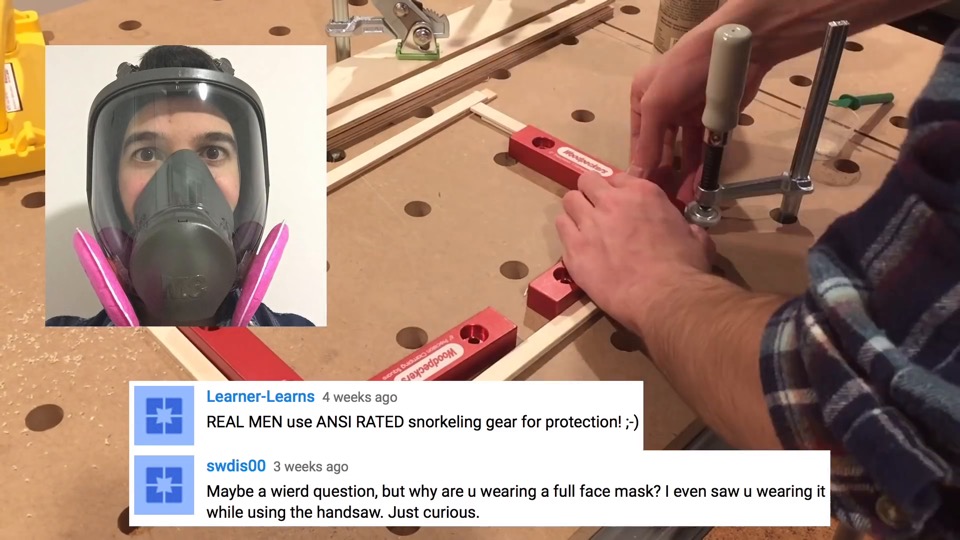
While you’re enjoying my mishaps, I want to address some comments from my last video regarding the respirator I’m wearing. I actually find this full-face respirator more comfortable to wear than a half face-piece mask, and although you might say you’re not always producing sawdust, it actually takes a significant time for the little particles of dust to settle on the floor. I’ve made a habit of wearing the respirator when I’m in the shop regardless of what I’m doing in there – and yes I’ll even wear hit during a glue-up. It may be overkill, but seriously there’s nothing to lose. Why take the chance? And at the risk of losing some viewers my safety PSA of the month, is that I think a lot of people underestimate the dangers of sawdust in their lungs. If there’s just one piece of advice I hope you will take for me is to take the subject of air filtration seriously. If you’re doing any type of woodworking and you can smell the word, that means you’re breathing sawdust. I apologize for getting a little carried away there but I wanted to say this for a while. But hey, look! The glue up is done.
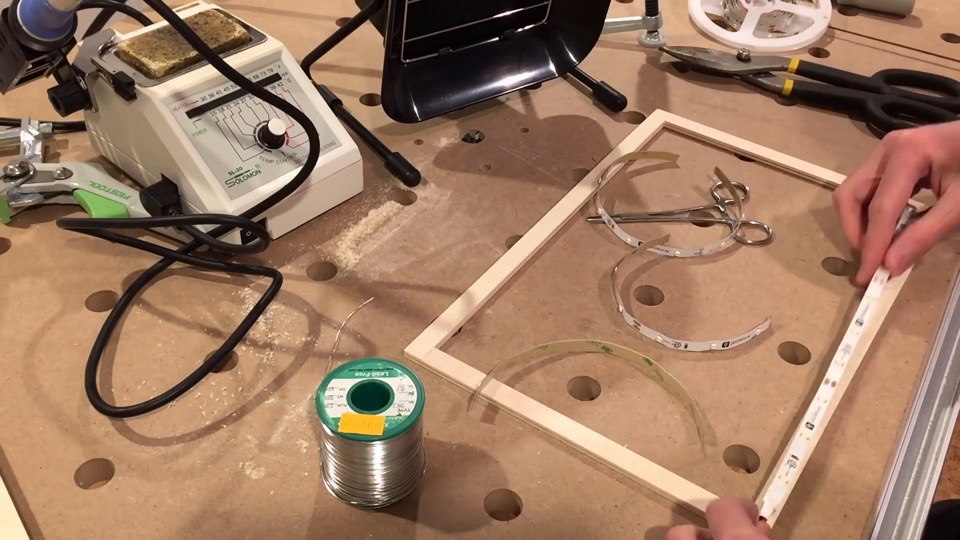
Now moving on to make some more fumes that you shouldn’t breathe, soldering up the LED strips. Since it’s not possible to make a sharp ninety degree bend with LED strip, I have to cut it down to four segments. This stuff is packed with double-sided tape, so the application is pretty quick – especially in fast motion.
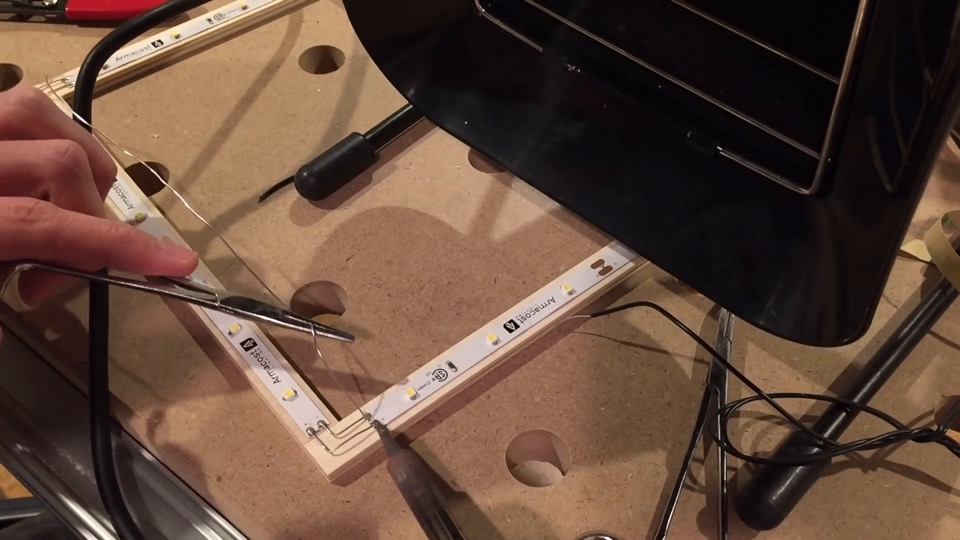
Now because the LED strip is cut up, I have to solder some wires to reconnect it. So we turn on the soldering iron and wait… Another safety PSA: don’t forget your solder fume extractor! I was lucky that this is the new LED strip, and it already had a power cable sticking out on this end, so I didn’t have to touch that.
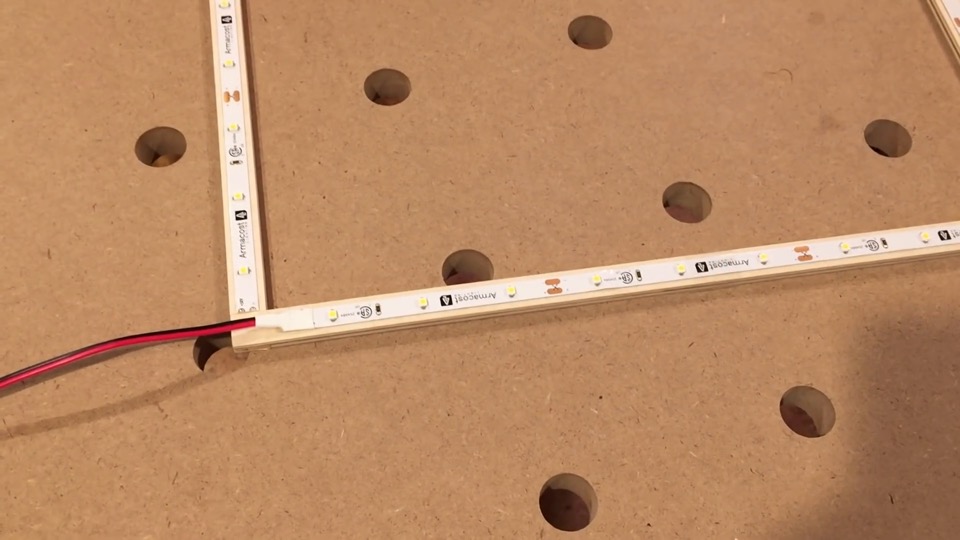
Power will enter here, and get distributed to all the other lights. Let’s plug it in!
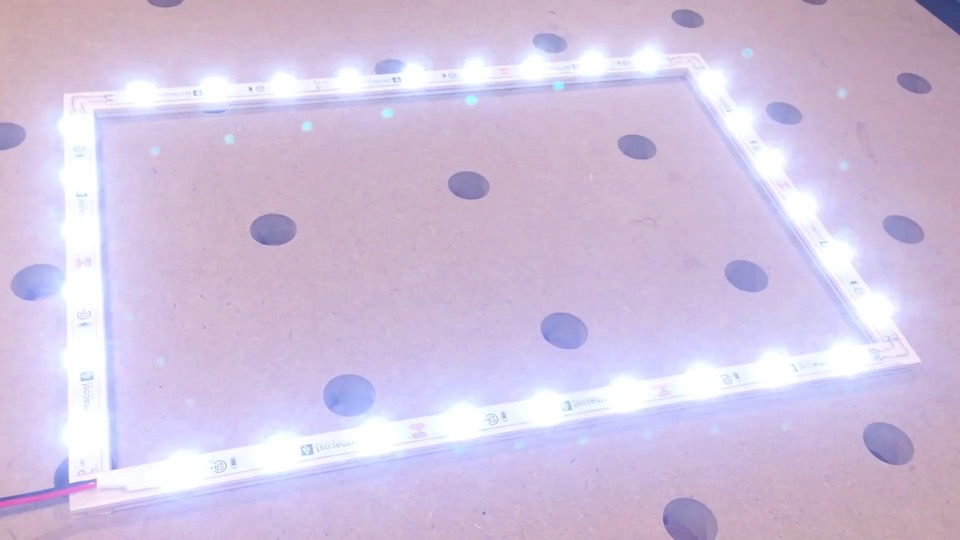
I hope it comes across on camera, but this light is really bright. Too bight! It’s even making some funny green dots appear on my camera, so next I want to be able to dim the brightness down. Sure, you couldn’t buy a commercially available dimmer switch, but I don’t need anything fancy for the way I’m going to be using this; and although I’ll do might seem unusual, I think it will work pretty well.
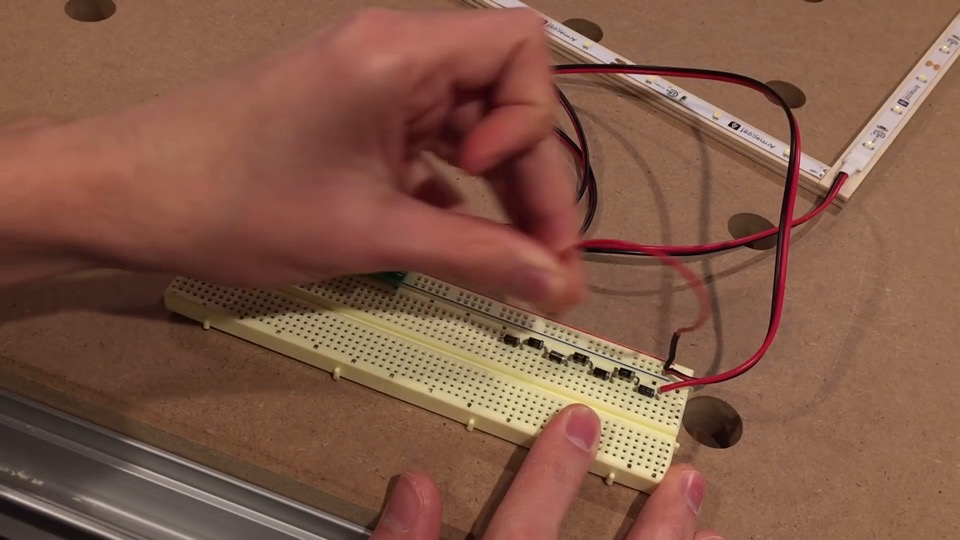
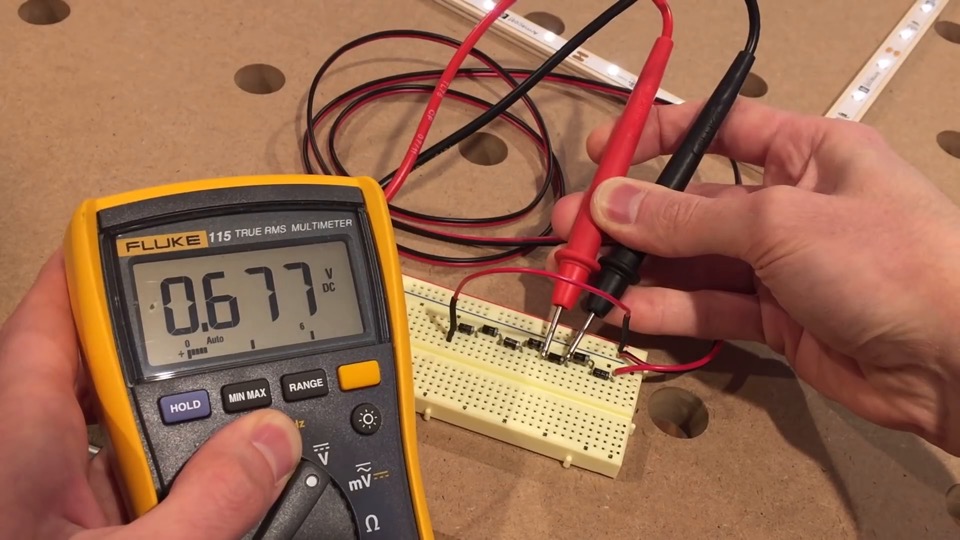
Basically I’ve got a breadboard, the 12V power line coming in, and then put a bunch of diodes in series.
Each diode has a voltage drop across, it usually about 0.7V – you could measure if you want but the exact value isn’t really important – what matters is that depending on where I connect the output wire I can change the number of diodes on the signal path, which changes the voltage, and that in turn adjusts the brightness. Now the frame and power controller are all ready to go!
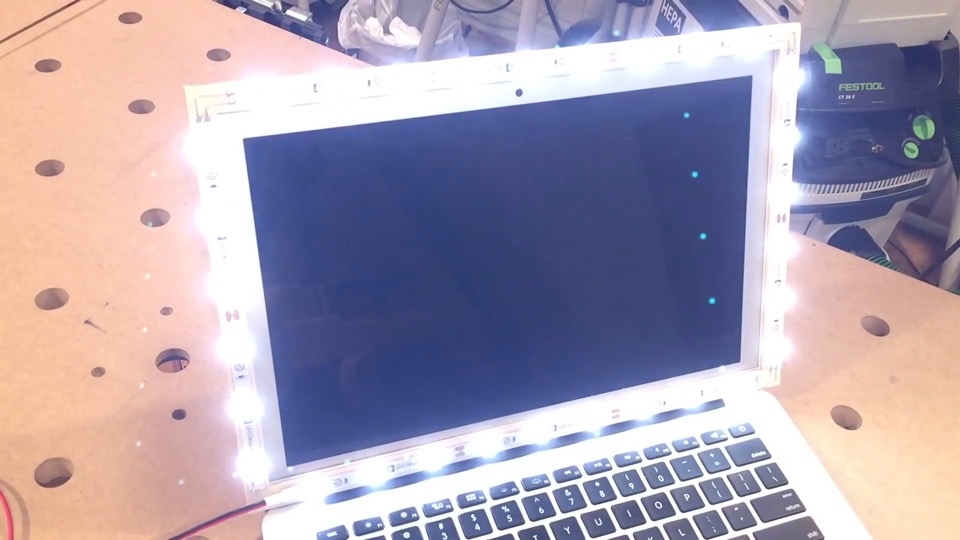
Just sit it on your computer and light it up! I’ve been using this light for a few weeks now, and really have nothing but good things to say about it.
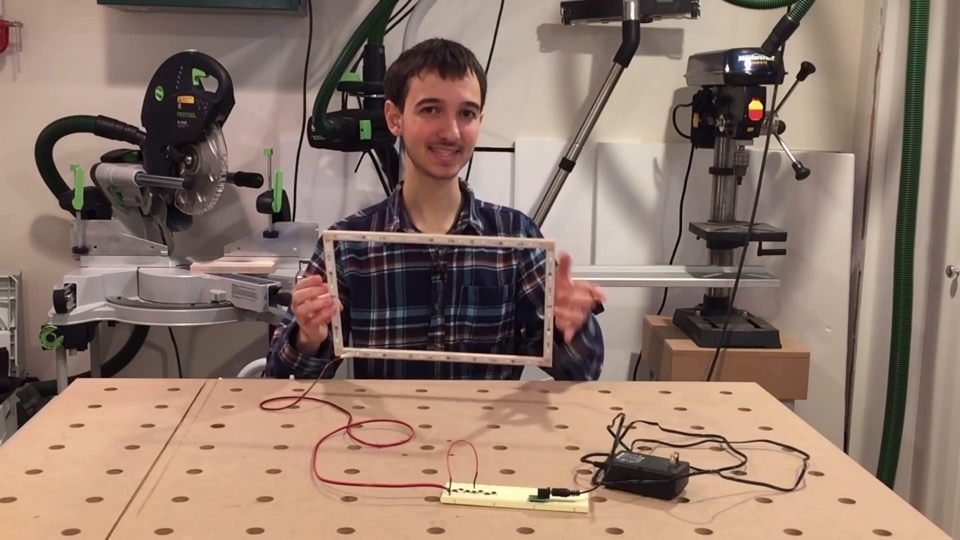
I really wish laptops just came with this kind of thing built in, but until that day comes it’s not too difficult to make one. If you think of any other applications for this kind of LED frame light, let me know in the comments! Anyway, I hope you enjoyed this project. Stay awesome! And I’ll see you again soon.
Festool Tape Measure
Festool Edge Stop
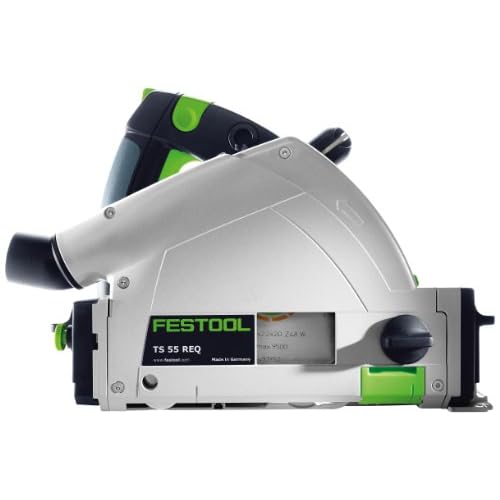
Festool TS 55 Track Saw
Festool KS 120 Miter Saw
150 Grit Sandpaper
Whiteside 1/2-inch Straight Router Bit
Microjig GRR-Rip Push Block
DeWALT DW611 Router Kit
Festool MFT/3 Multifunction Table
Glue Spreader
Woodpeckers Clamping Square
3M P100 Particulate Filters
3M Full Facepiece Respirator
3M Half Facepiece Respirator
Festool Screw Clamps (2 pack)
Festool Ratcheting Quick Clamp
Temperature Controlled Soldering Iron
Weller Smoke Absorber
Locking Needle-Nose Pliers
Fluke 115 Multimeter












Leave a Reply
Want to join the discussion?Feel free to contribute!